
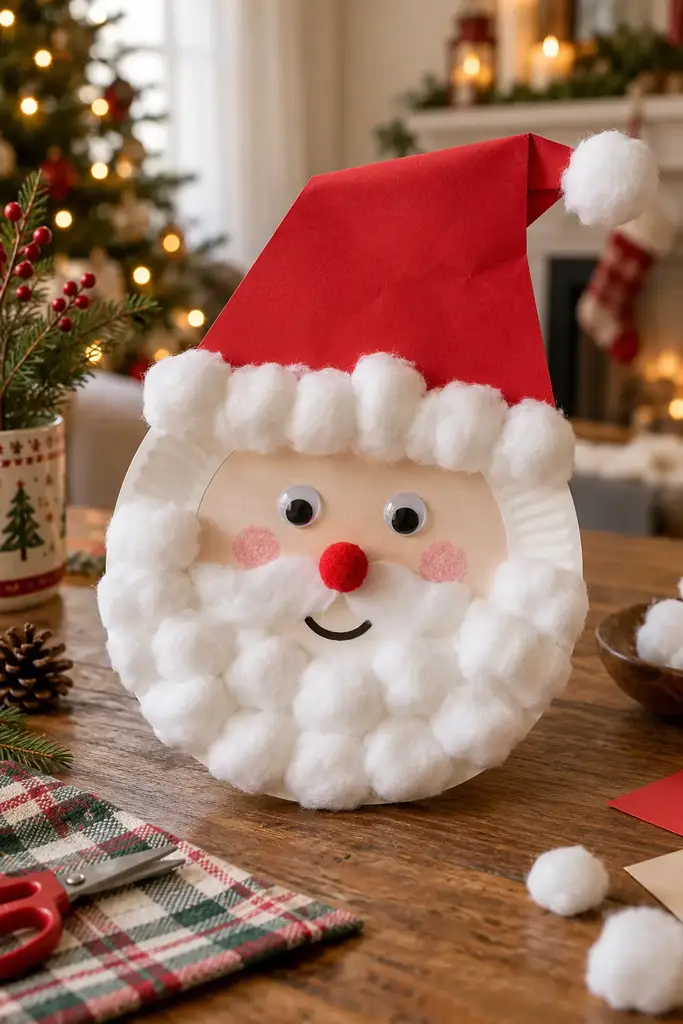
Christmas crafts for kids can include more cutting, folding and building than a toddler activity. These seventeen ideas suit a supervised craft session where children choose colors and assemble recognizable decorations. Match the tools and small parts to each child’s ability, and let an adult handle sharp blades, hot glue and any oven work.
In this post: 17 ideas
- Paper-plate Santa
- Craft-stick reindeer
- Tissue-paper Christmas tree
- Paper-cup snowmen
- Handprint paper wreath
- Cardboard gingerbread houses
- Pom-pom ornaments
- Paper-chain Santa
- Pinecone Christmas trees
- Salt-dough handprint Santa
- Coffee-filter snowflakes
- Paper-bag reindeer puppet
- Yarn-wrapped cardboard stars
- Cupcake-liner angels
- Sponge-stamped wrapping paper
- Paper-strip baubles
- Egg-carton Christmas bells
1. Paper-plate Santa
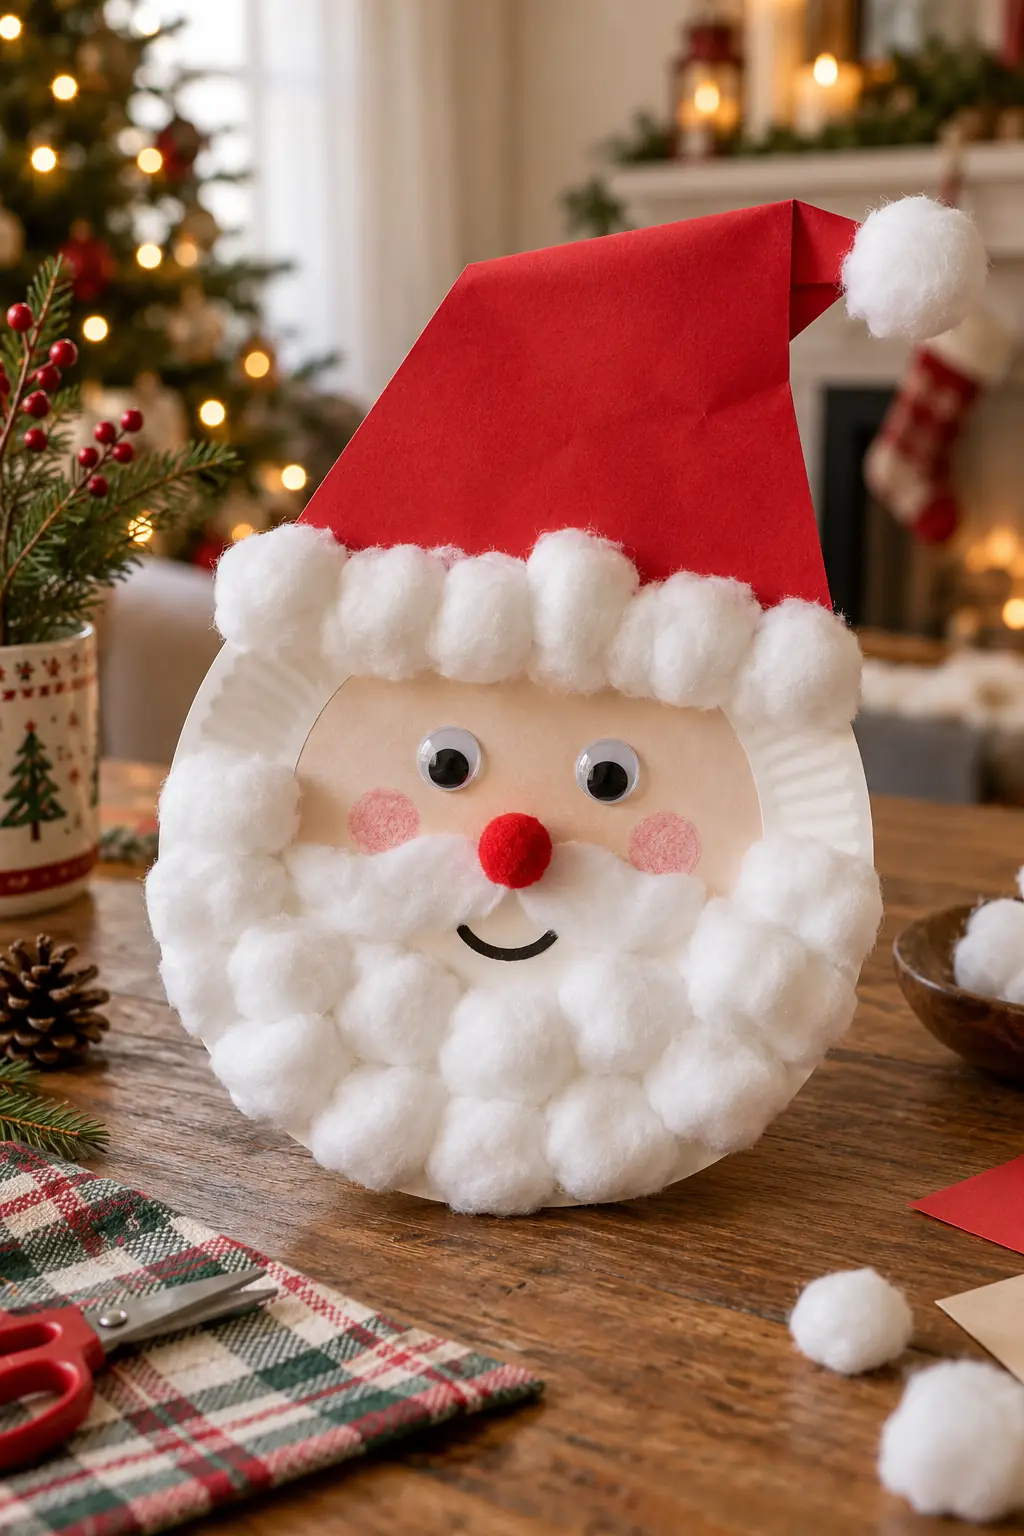
The round plate provides a ready-made face, leaving children to build the hat and beard around it. Large white paper or cotton shapes create texture without complicated cutting.
Cut a broad red hat and arrange it before gluing. Let children draw facial details or use large paper features. Add the beard in sections and dry the plate flat; younger makers should skip loose tiny pom-poms or plastic eyes.
2. Craft-stick reindeer
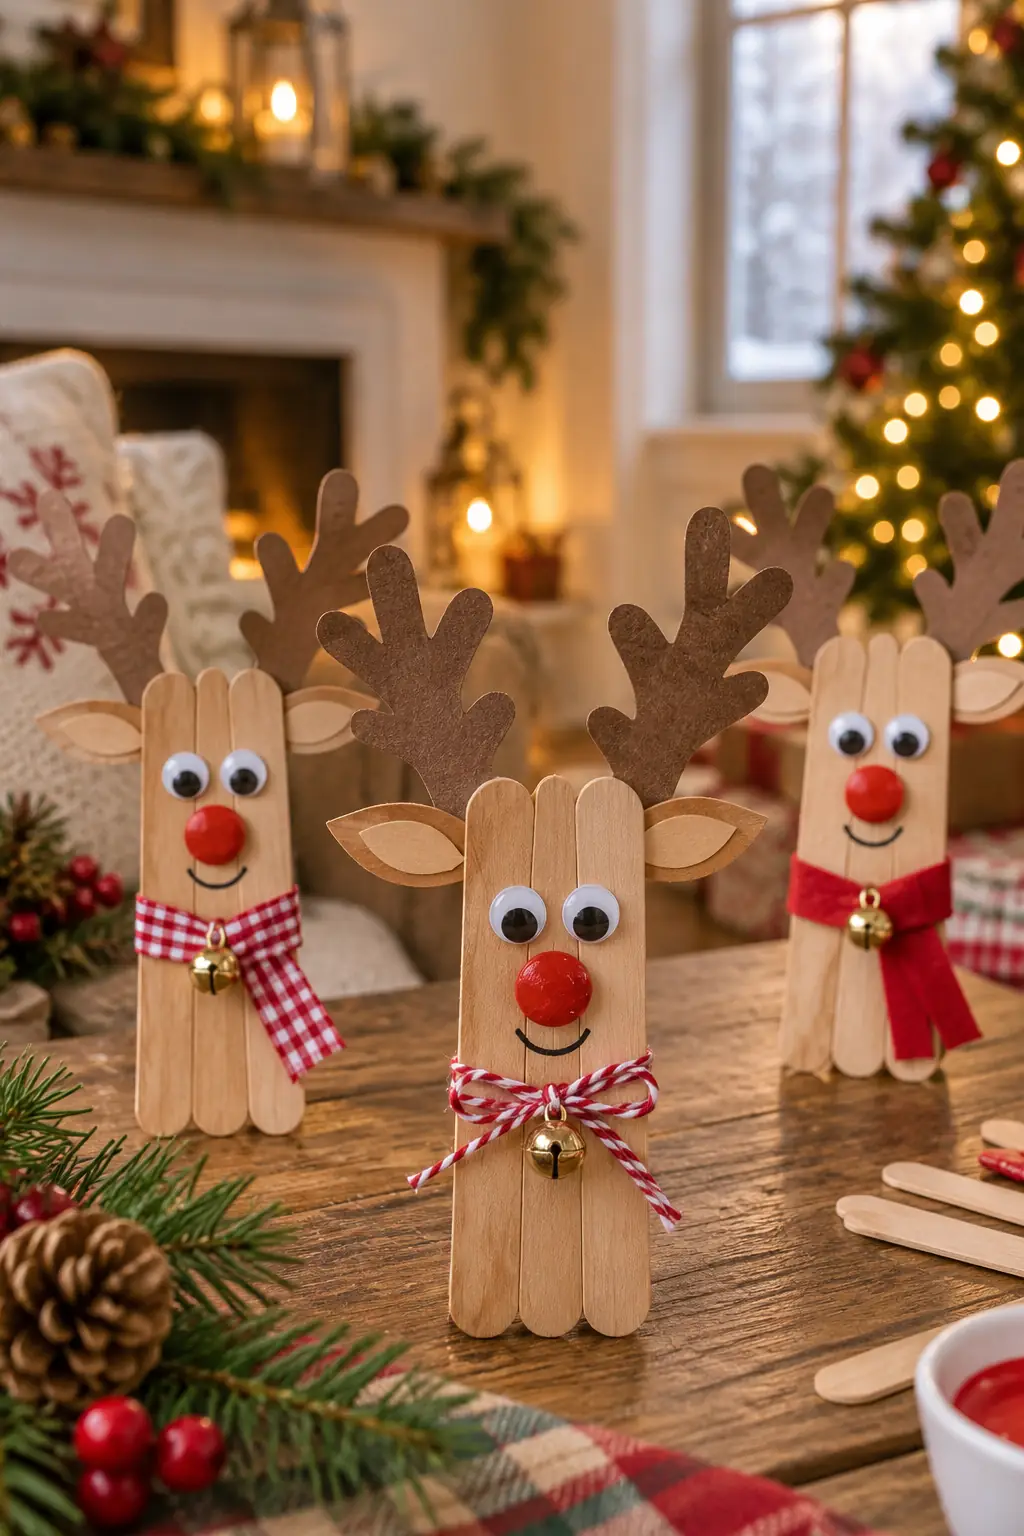
Parallel sticks make a simple body that children can paint and decorate. A scarf adds color while the antlers create the recognizable outline.
Join the sticks with short backing pieces and suitable craft glue. An adult can prepare the base in advance if drying time would interrupt the session. Add cardstock antlers and drawn eyes, then attach a hanging loop securely if it will be an ornament.
3. Tissue-paper Christmas tree
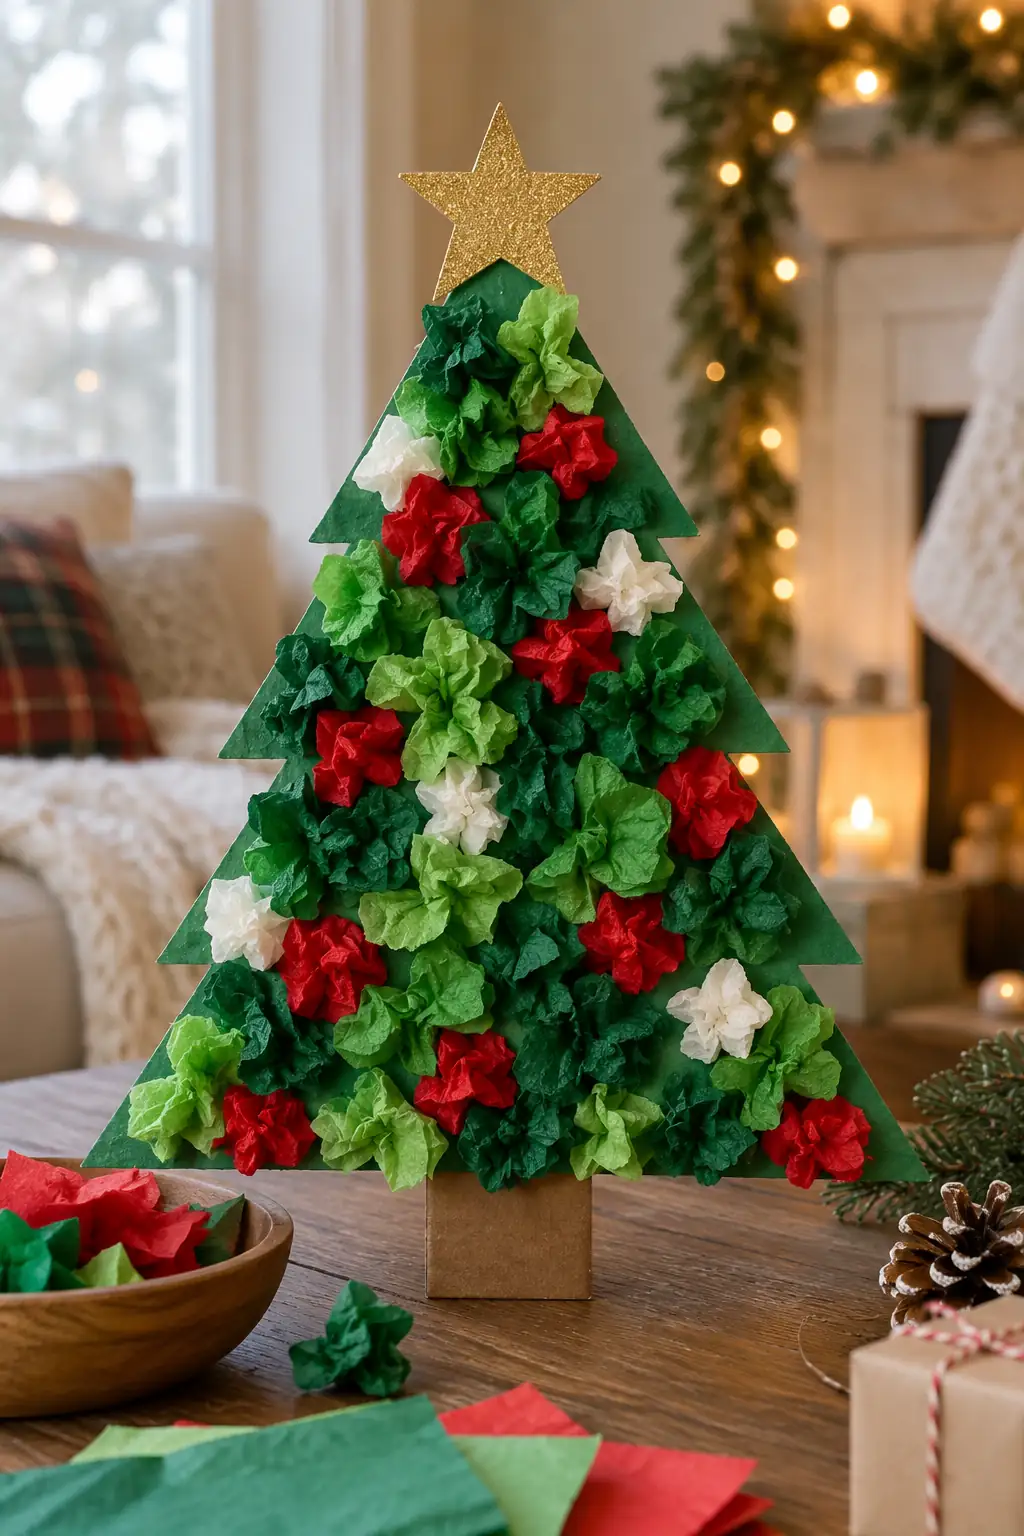
Scrunched tissue creates a full surface from inexpensive materials. A cone or triangle base lets children build texture gradually rather than cutting out many precise shapes.
Prepare a firm base and offer small manageable sheets of tissue. Apply glue to one area at a time and press on the scrunched pieces. Use larger paper decorations for younger children and leave the tree standing where it can dry undisturbed.
4. Paper-cup snowmen
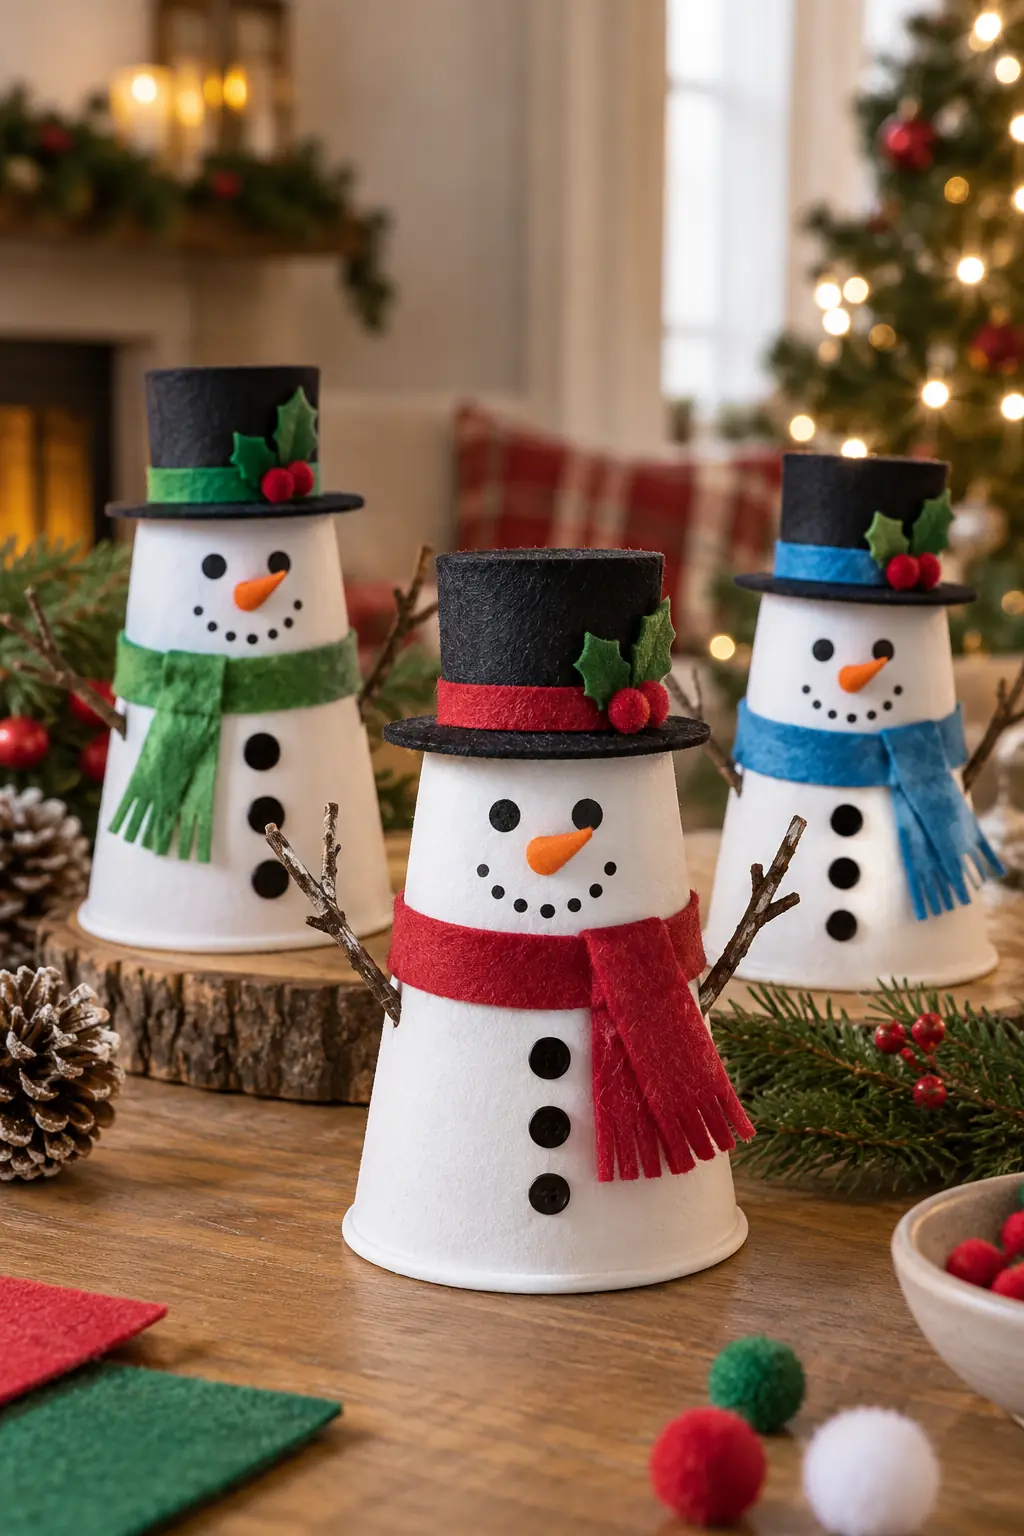
An upside-down cup creates a stable snowman body. Different scarf colors and drawn expressions make a group feel varied without changing the basic method.
Use clean craft cups and draw the face and buttons before adding the hat. Wrap a short paper scarf around the upper section. If children use fabric, keep loose lengths short and avoid attaching small pieces that younger siblings could remove.
5. Handprint paper wreath
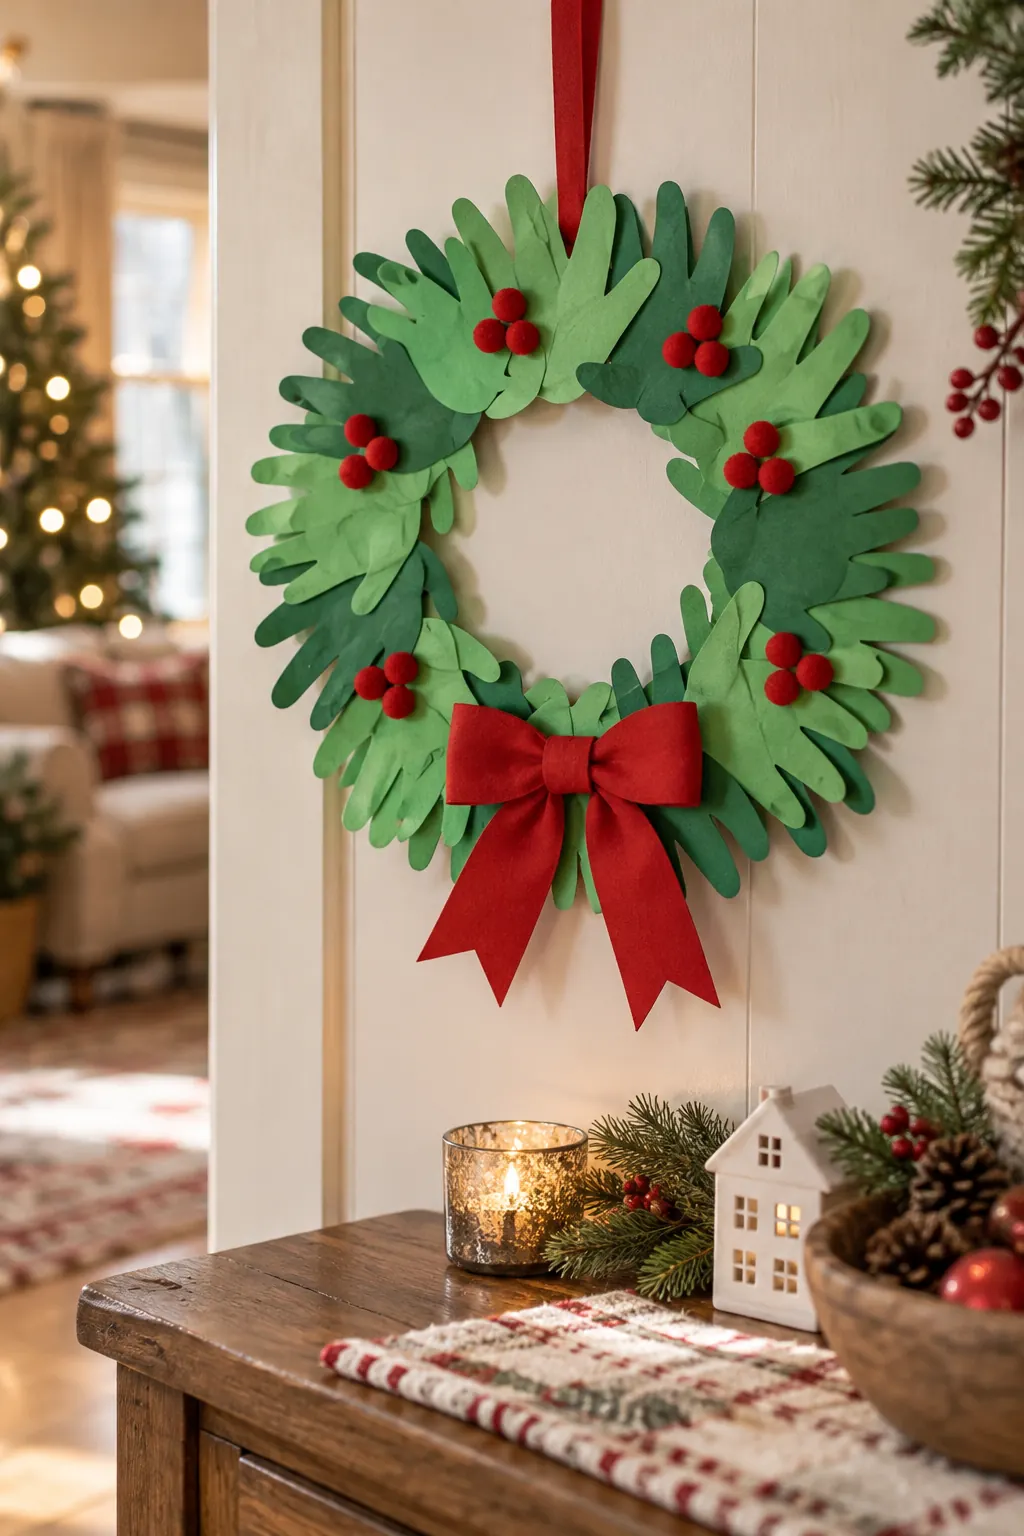
Overlapping hand shapes form the wreath’s leaves. It is a useful group craft because several children can contribute a handprint to one shared decoration.
Trace hands on green paper and let children cut them if they can use scissors safely. Glue the shapes around a sturdy card ring, keeping fingers visible at the outside edge. Add a large paper bow and a secure hanging loop.
For a quieter drawing break between glue projects, try these easy Christmas drawing ideas.
6. Cardboard gingerbread houses
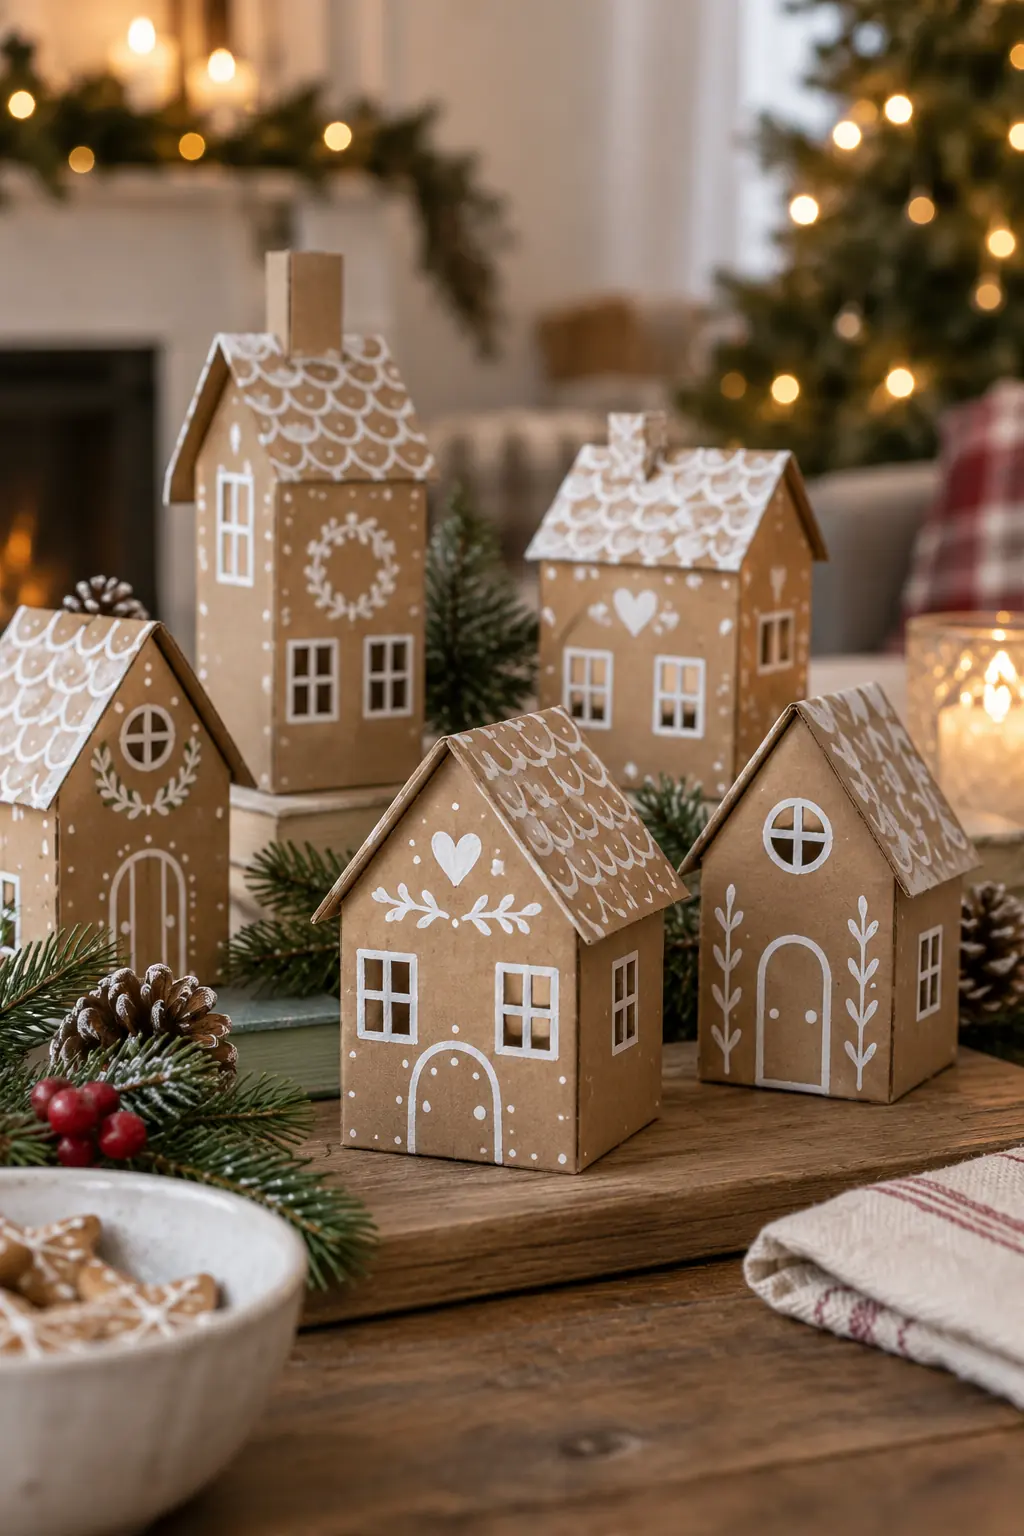
Corrugated cardboard already has a gingerbread-like color. White painted lines suggest icing, so the houses do not need a full coat of paint.
An adult cuts the main panels and any window openings. Assemble with tabs or suitable glue, then let children add white patterns once the structure is firm. Use only battery lights if the house includes a lighted interior.
7. Pom-pom ornaments
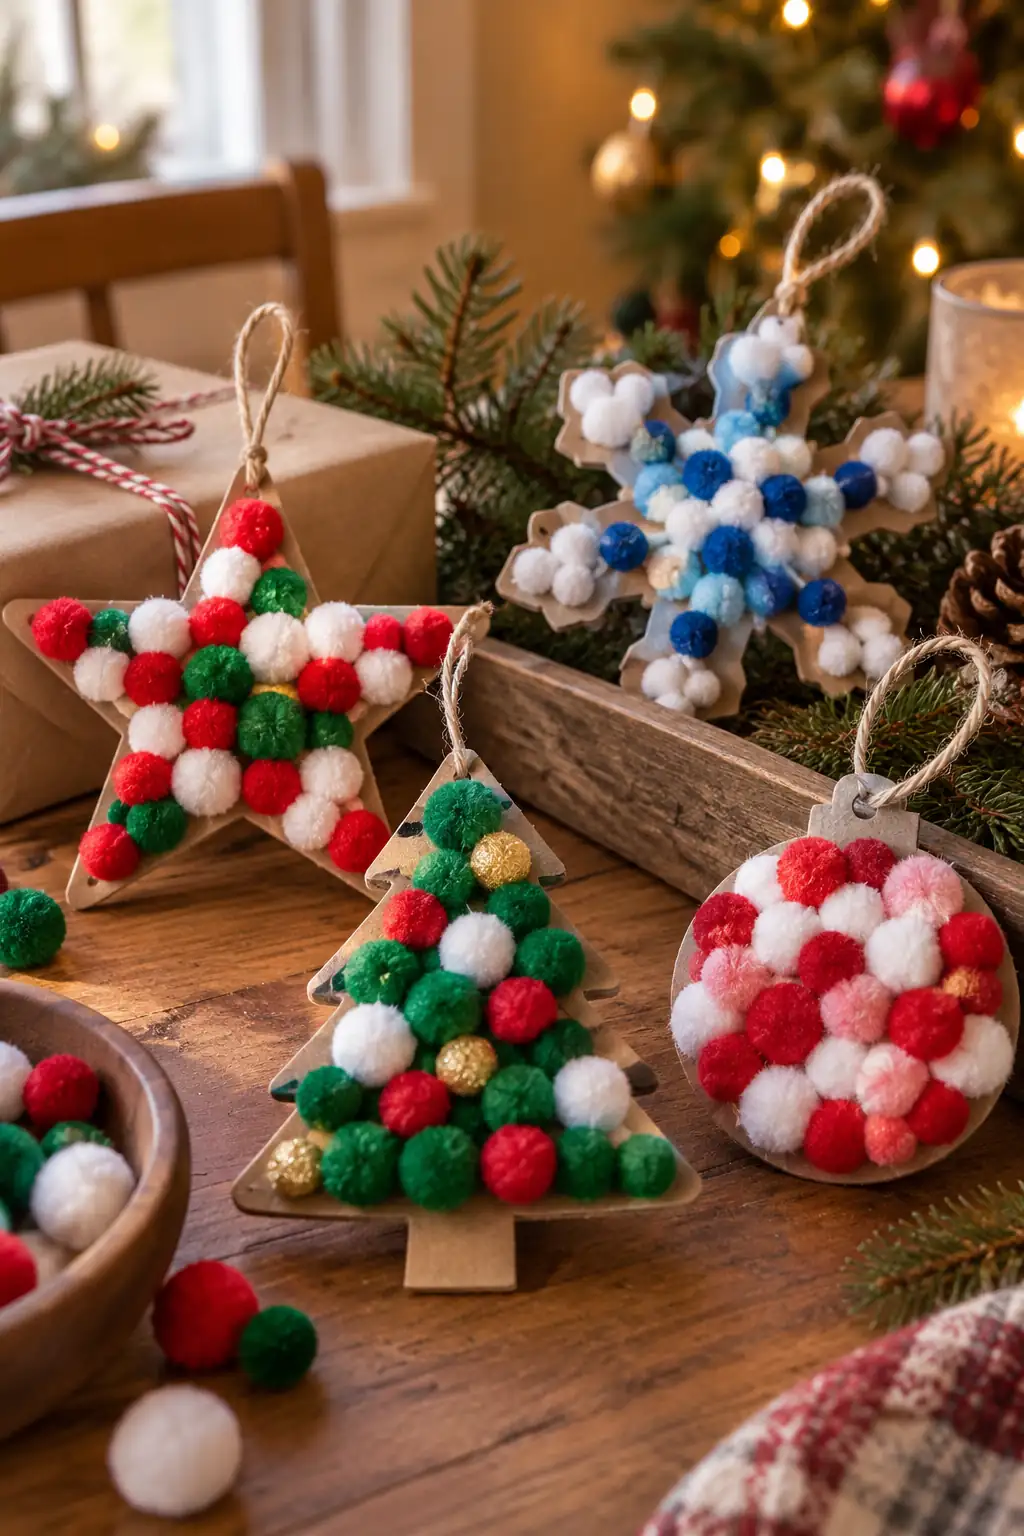
A cardboard star or tree becomes colorful when covered with soft pom-poms. Choosing a limited palette helps children make a coordinated set.
Prepare a strong base and attach the hanging loop before decorating. Offer larger pieces appropriate to the child’s age and use craft glue as directed. For younger children, substitute crumpled paper or painted dots for small detachable pom-poms.
8. Paper-chain Santa
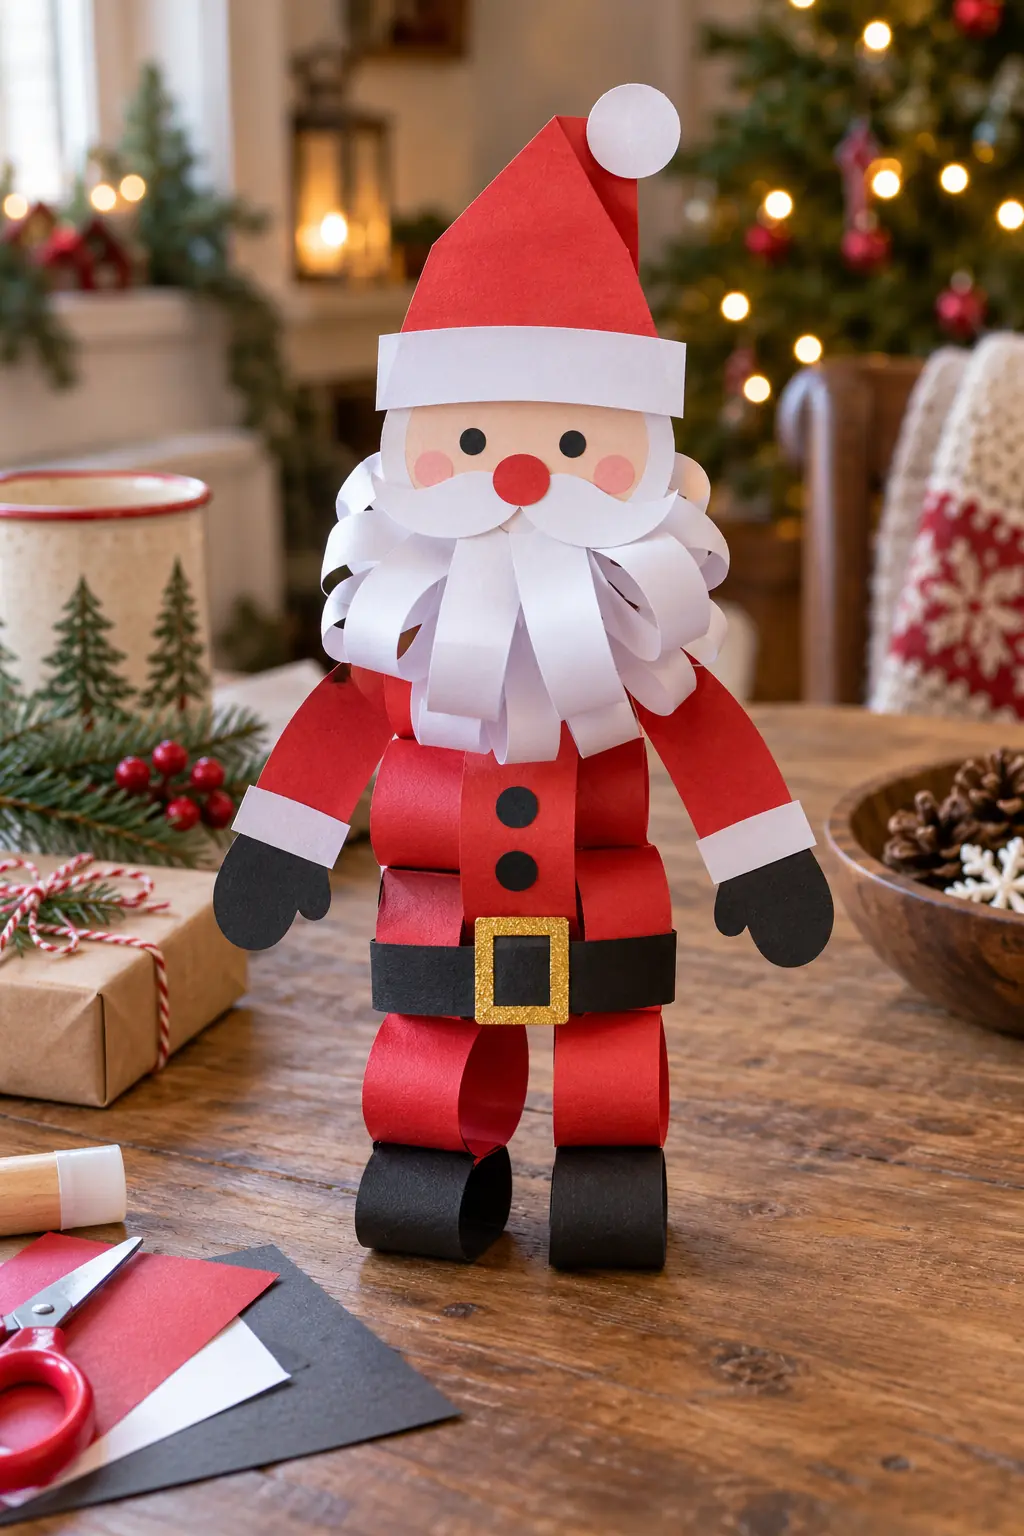
Paper loops introduce simple three-dimensional construction. The moving legs make the finished Santa more playful than a flat picture.
Cut strips of similar width and show how one loop passes through another. Glue or tape each join and make two equal-length legs. Add a flat Santa body above them and keep the decoration away from places where the chains could be pulled.
 You may also like19 Creative Christmas Gift Ideas for Everyone
9. Pinecone Christmas trees
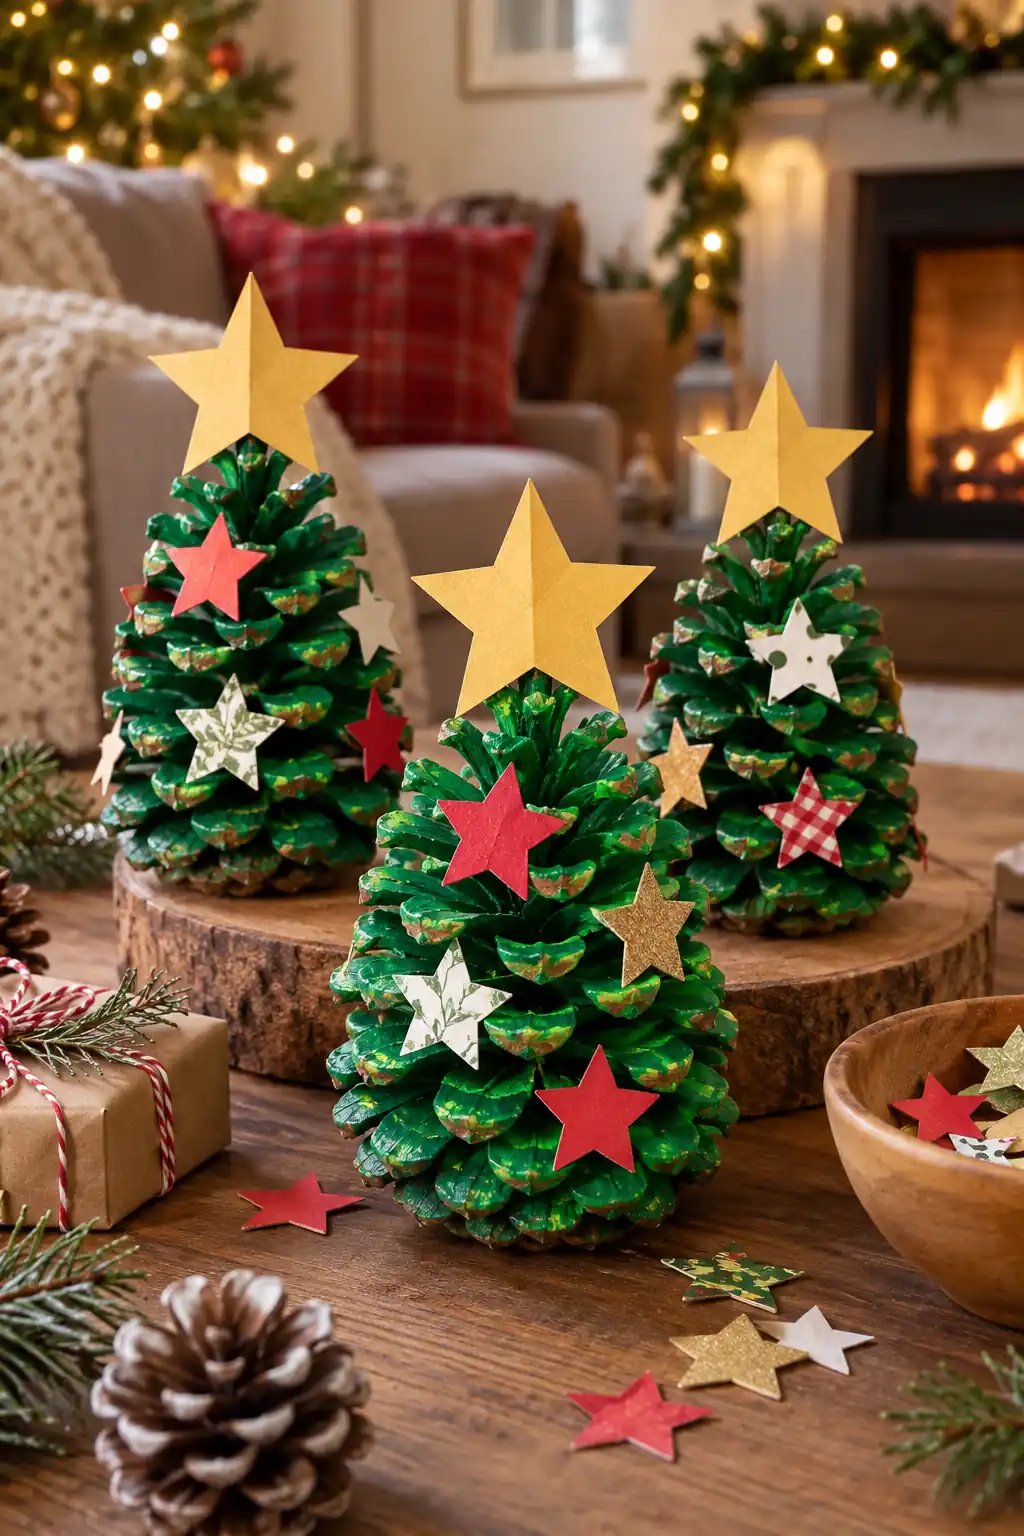
The scales of a pinecone make natural branches. A little green paint and a paper star are enough to create a miniature tree.
Use clean, dry cones with no sharp or loose pieces. Set each one on a stable base before painting. Let it dry before adding decorations, and have an adult handle any adhesive requiring heat.
10. Salt-dough handprint Santa
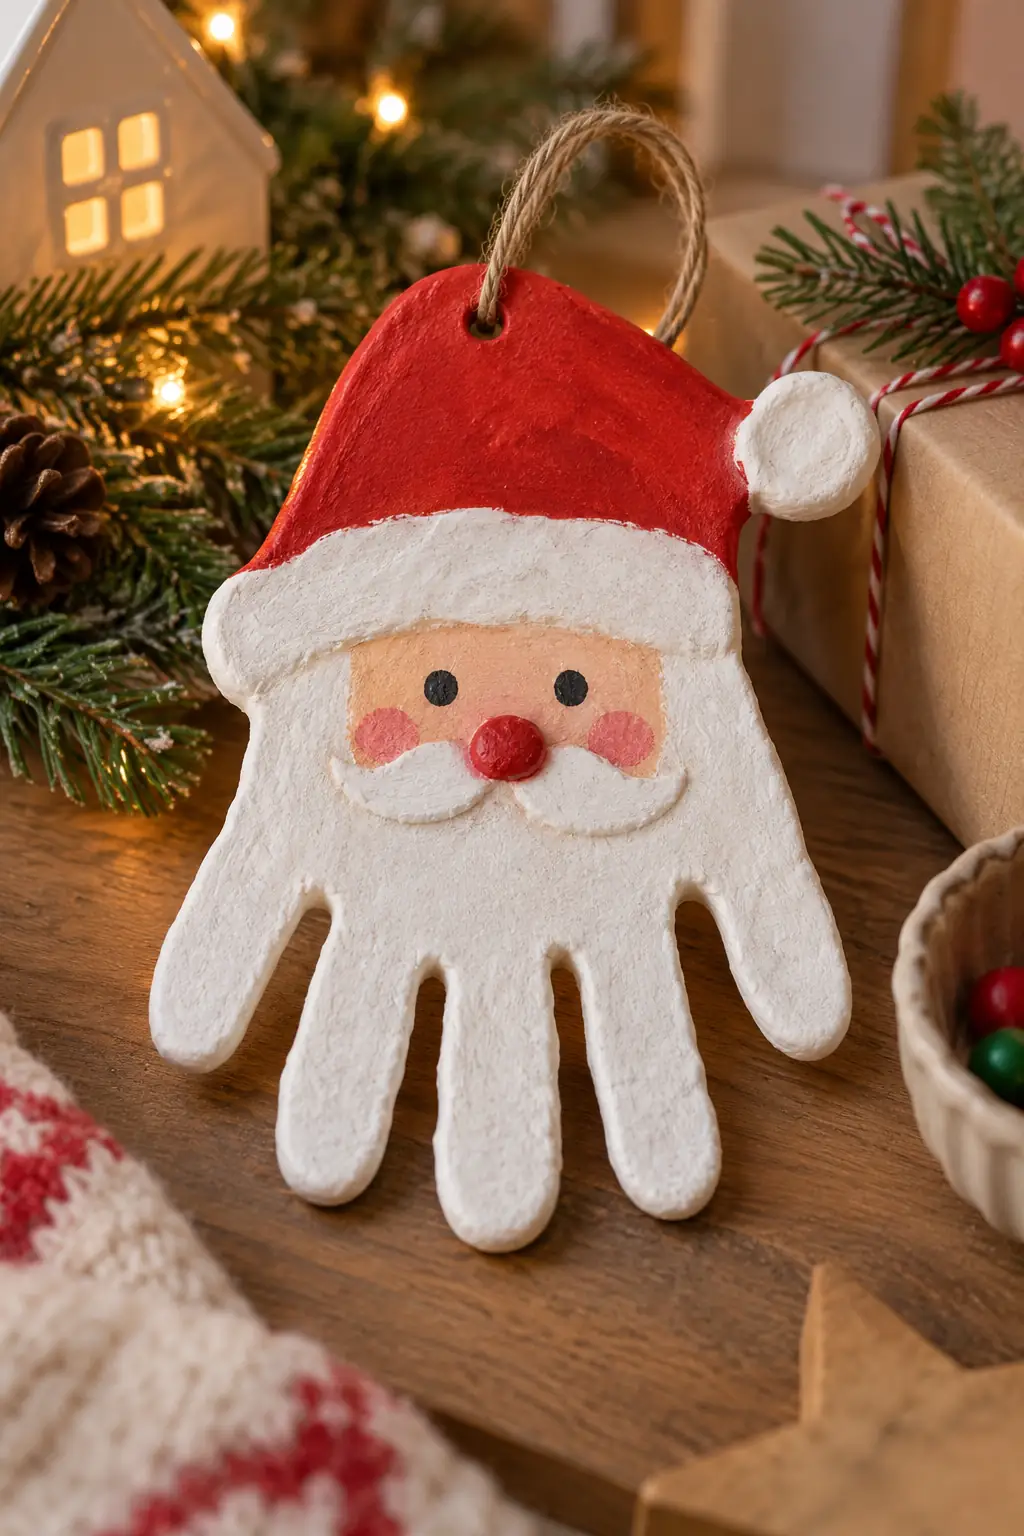
The fingers become the beard, making the hand shape part of the design. This is a keepsake project rather than a quick activity that is finished in one sitting.
Use a tested salt-dough recipe and its drying method, with an adult handling heating. Make a hanging hole before drying and paint only once dry throughout. Keep both the dough and finished ornament away from pets and anyone who may eat it.
11. Coffee-filter snowflakes
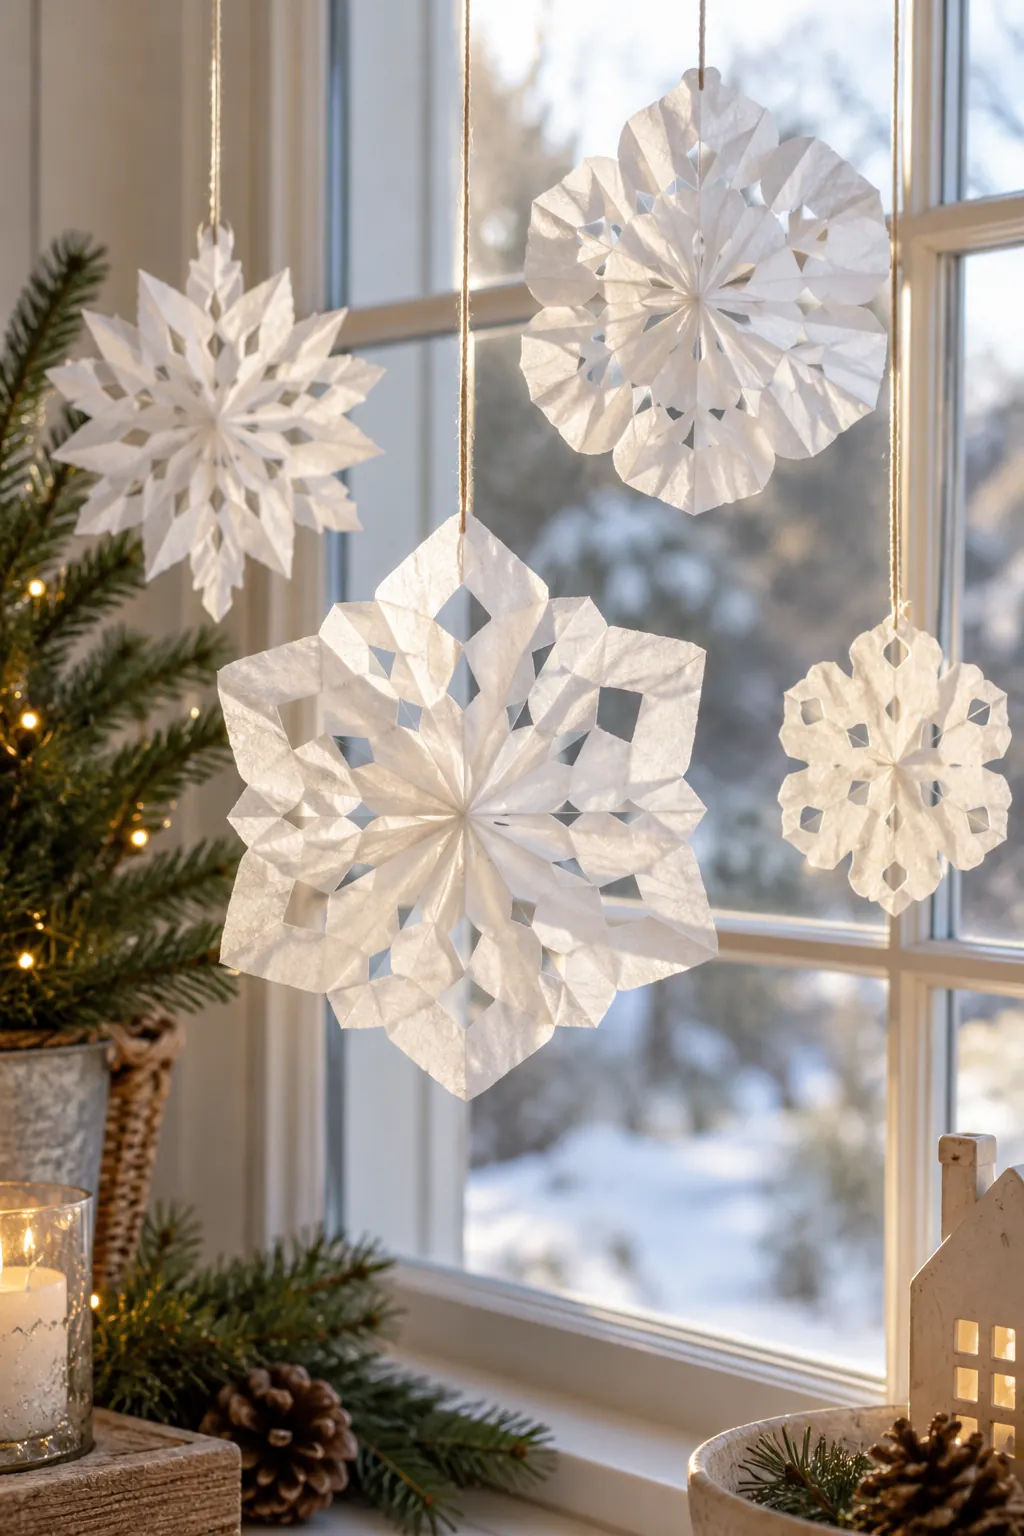
Thin paper opens into delicate snowflake patterns. Different cuts create variety, so children can experiment without needing every piece to match.
Fold the filter into a manageable wedge and cut small shapes from the edges with appropriate scissors. An adult can help with thicker folds. Open gently and flatten the snowflake before hanging it with a short secure loop.
If the children want to make more tree decorations, these Christmas tree crafts use several of the same materials.
12. Paper-bag reindeer puppet
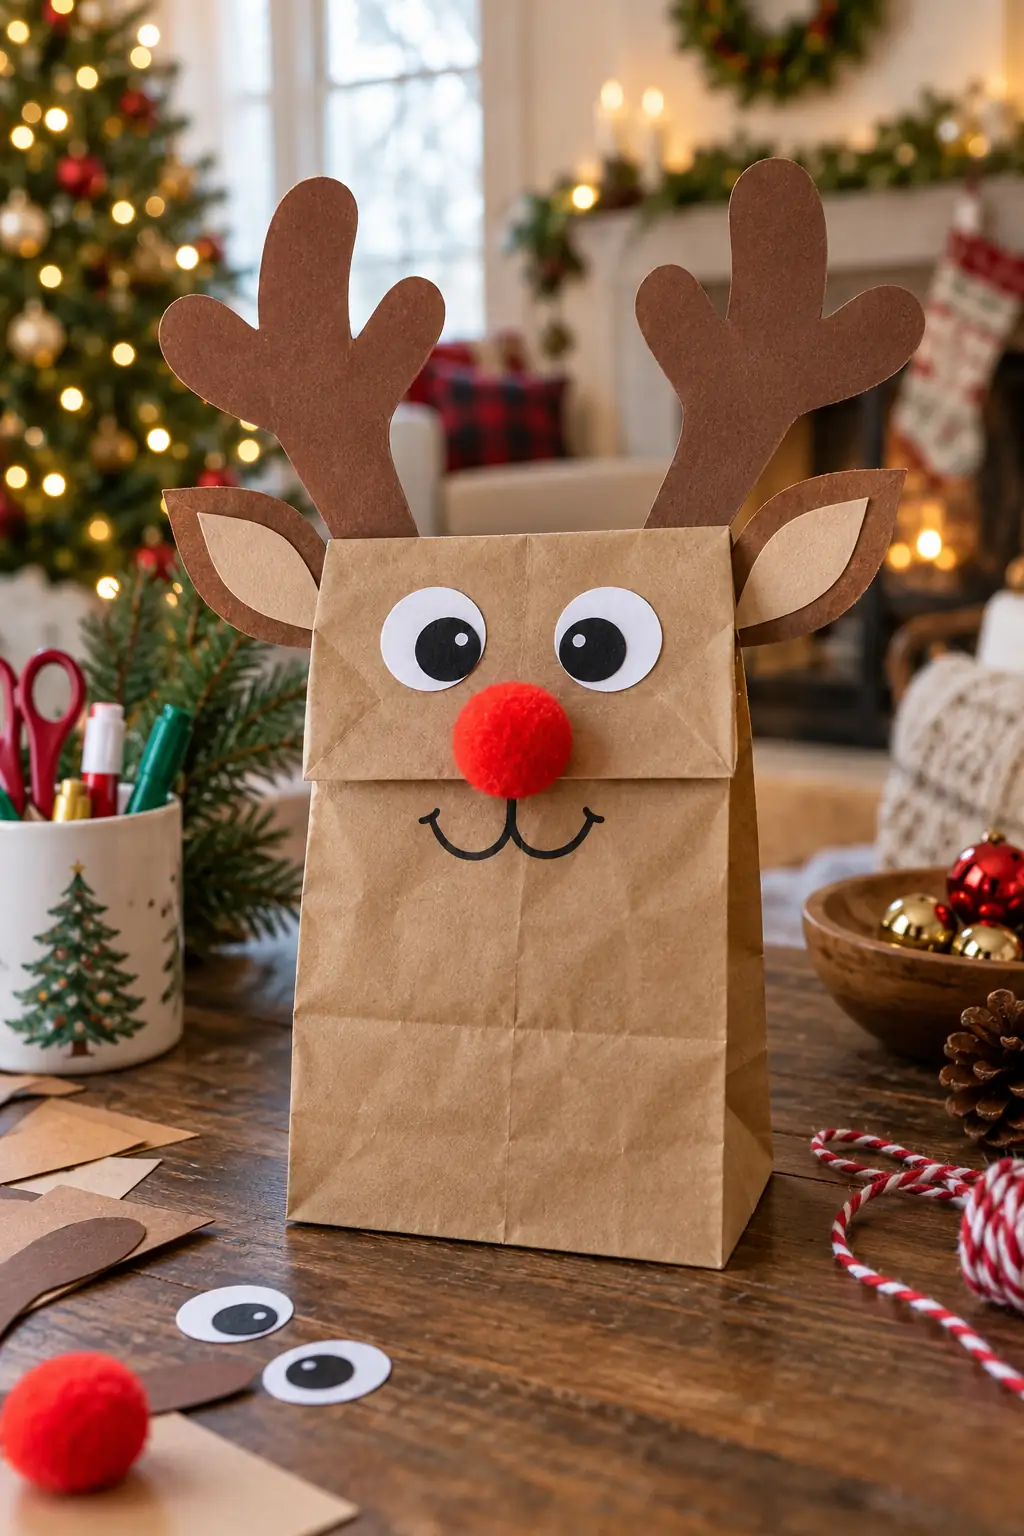
The bag’s folded bottom can become a moving face. Paper antlers and ears turn it into a reindeer that children can use for a short story or puppet show.
Keep the bag flat while drawing or gluing the features. Check where the fold moves before attaching the mouth. Let the glue dry before placing a hand inside, and use drawn details instead of small plastic eyes for younger children.
13. Yarn-wrapped cardboard stars
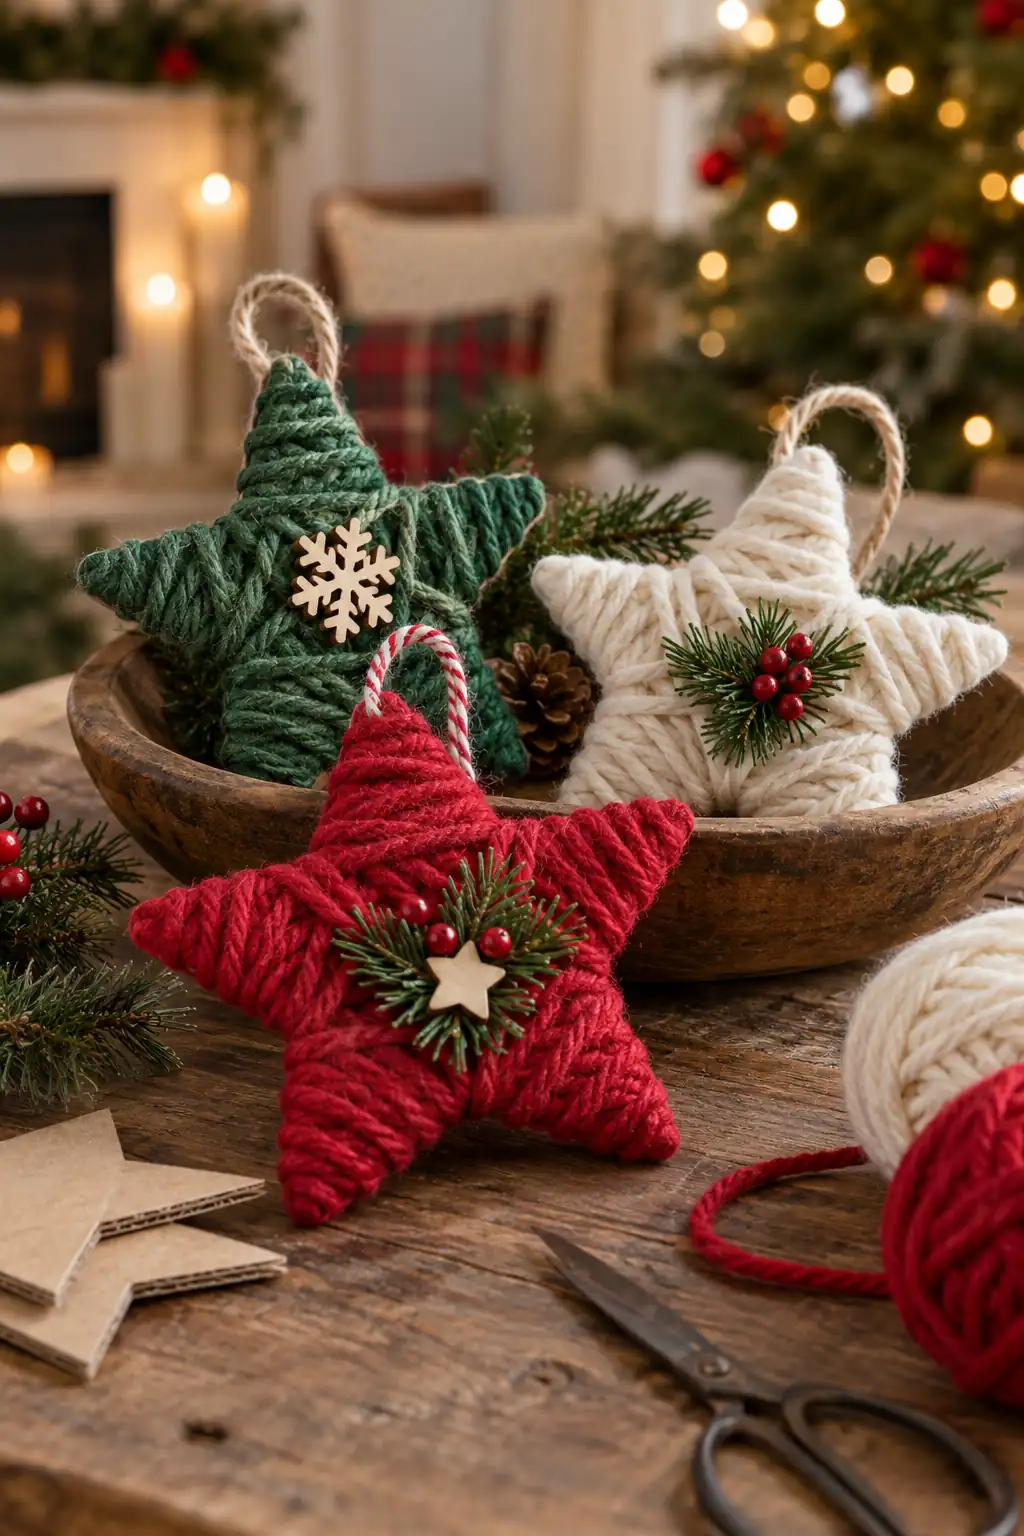
Wrapping yarn creates a textured ornament without sewing. The repeated movement also lets children choose how much cardboard remains visible.
An adult can cut firm star bases and small starter notches. Secure one yarn end at the back, then wrap across the points and center. Keep the yarn manageable in short lengths and tuck the final end beneath the wrapped layers.
14. Cupcake-liner angels
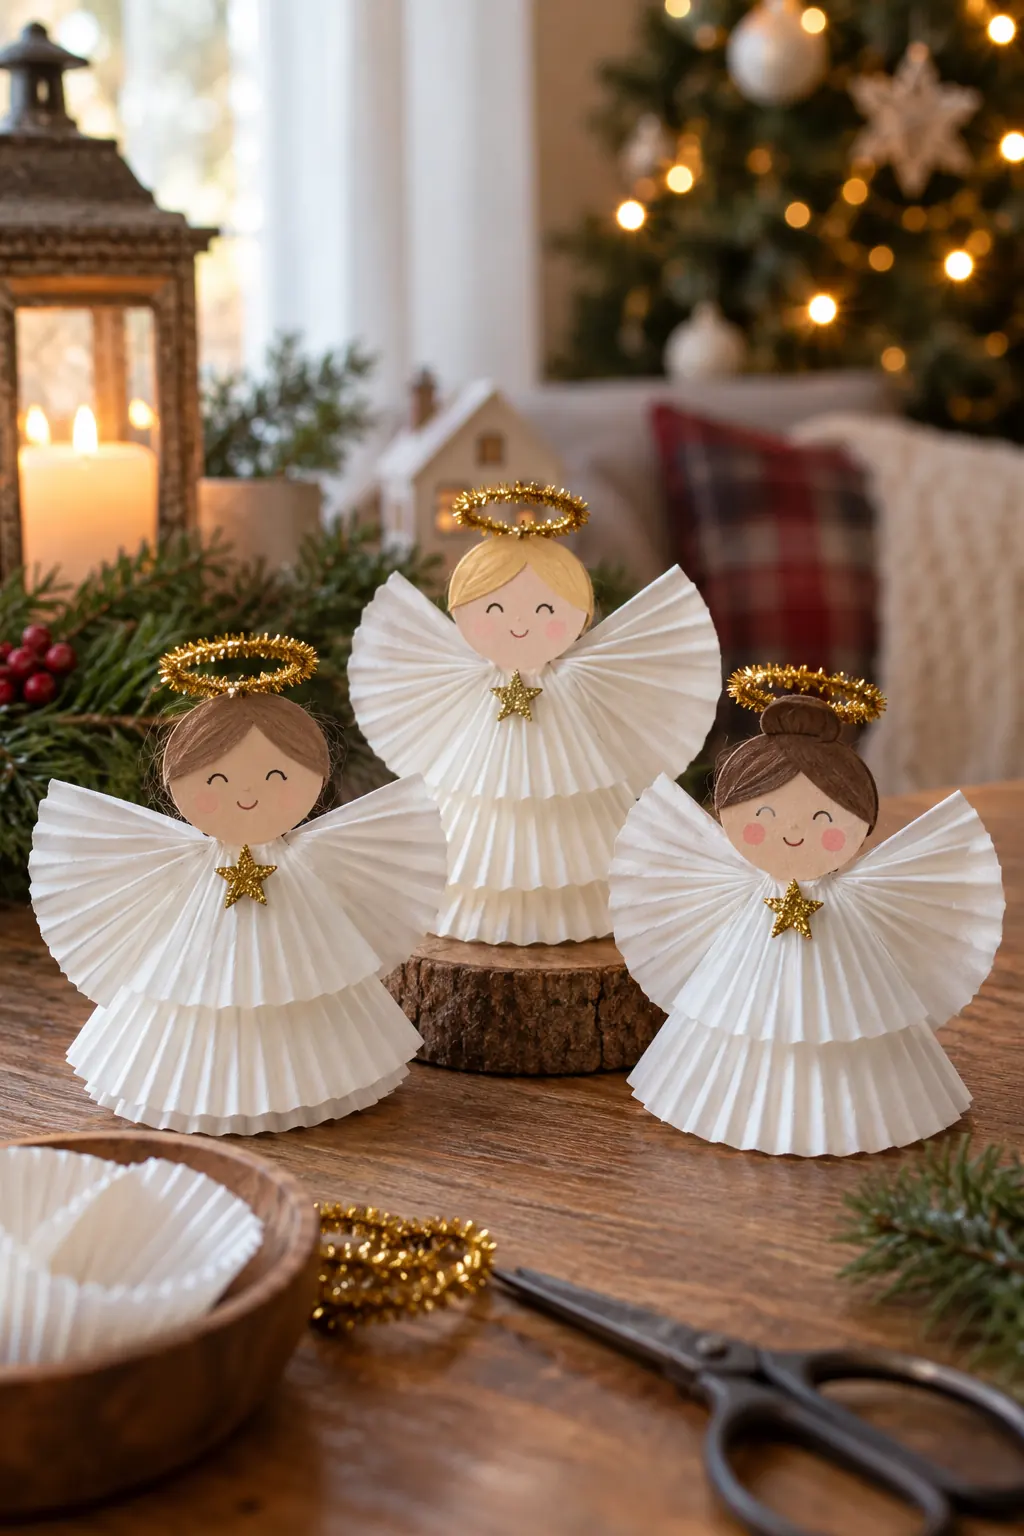
The liner’s pleats create a dress and wings with little cutting. A simple paper face makes each angel distinct.
Flatten and fold clean liners into dress and wing shapes. Glue them onto a firm backing before adding a paper head. Draw the face and halo, or use a large paper halo instead of a small loose metallic piece.
15. Sponge-stamped wrapping paper
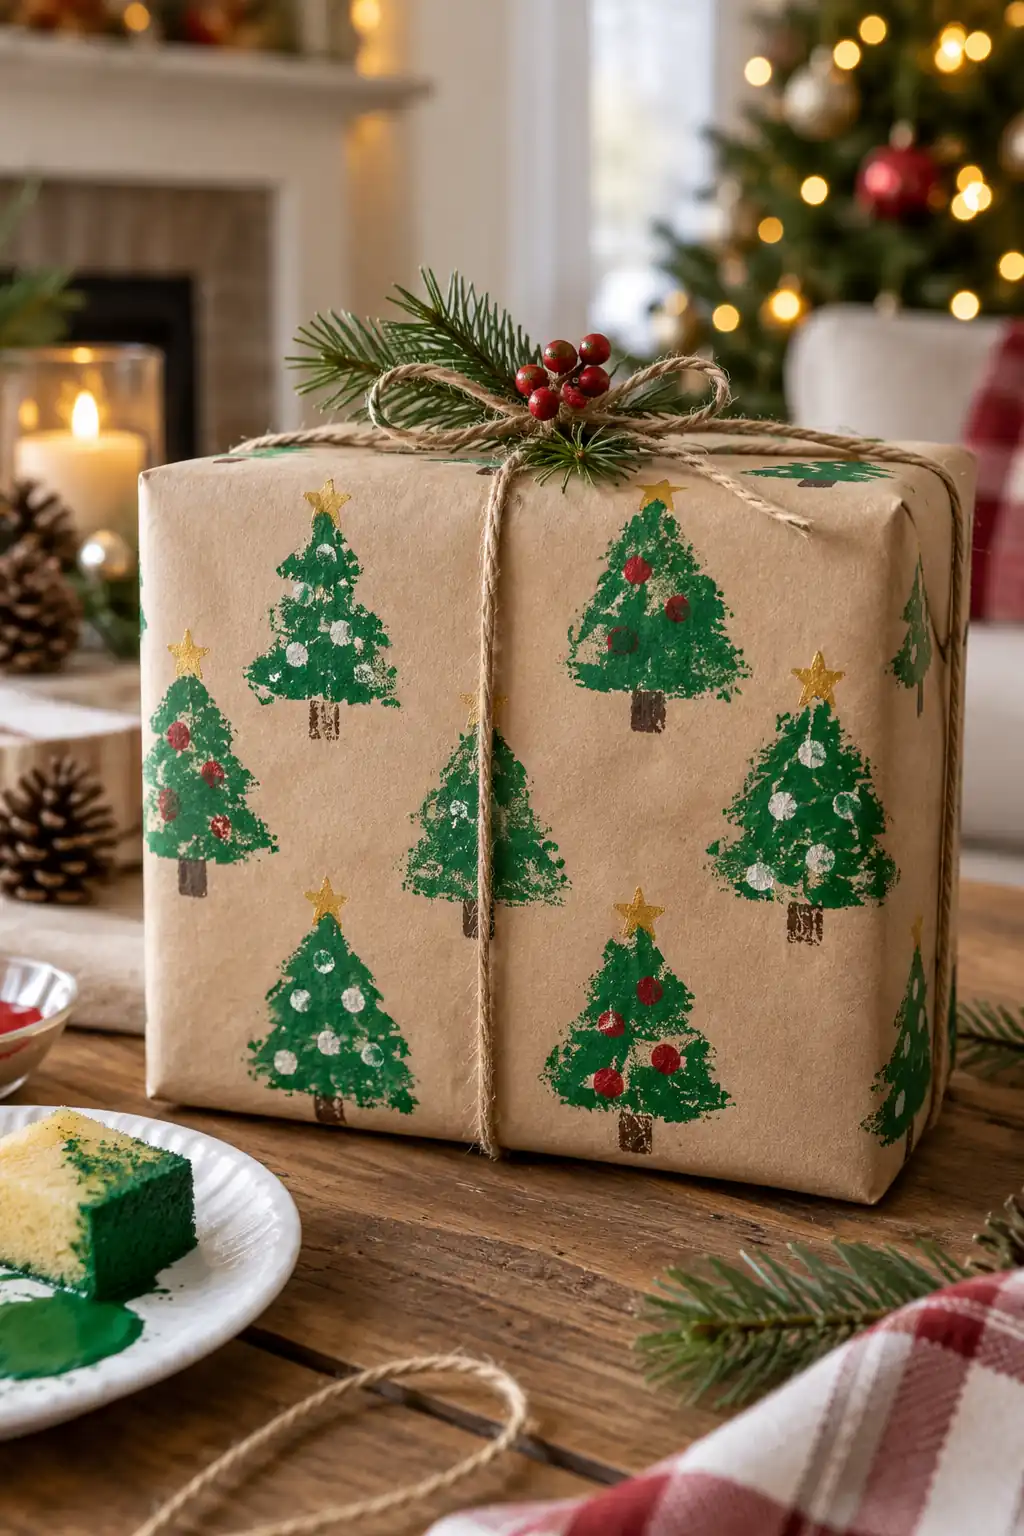
A long sheet gives children room to repeat a stamp pattern. The result can wrap a small gift, making the activity part of the holiday preparations.
An adult prepares the sponge shapes. Tape the paper to a protected table and use only a thin layer of paint on each stamp. Leave gaps between impressions and dry the paper fully before folding it around a present.
16. Paper-strip baubles
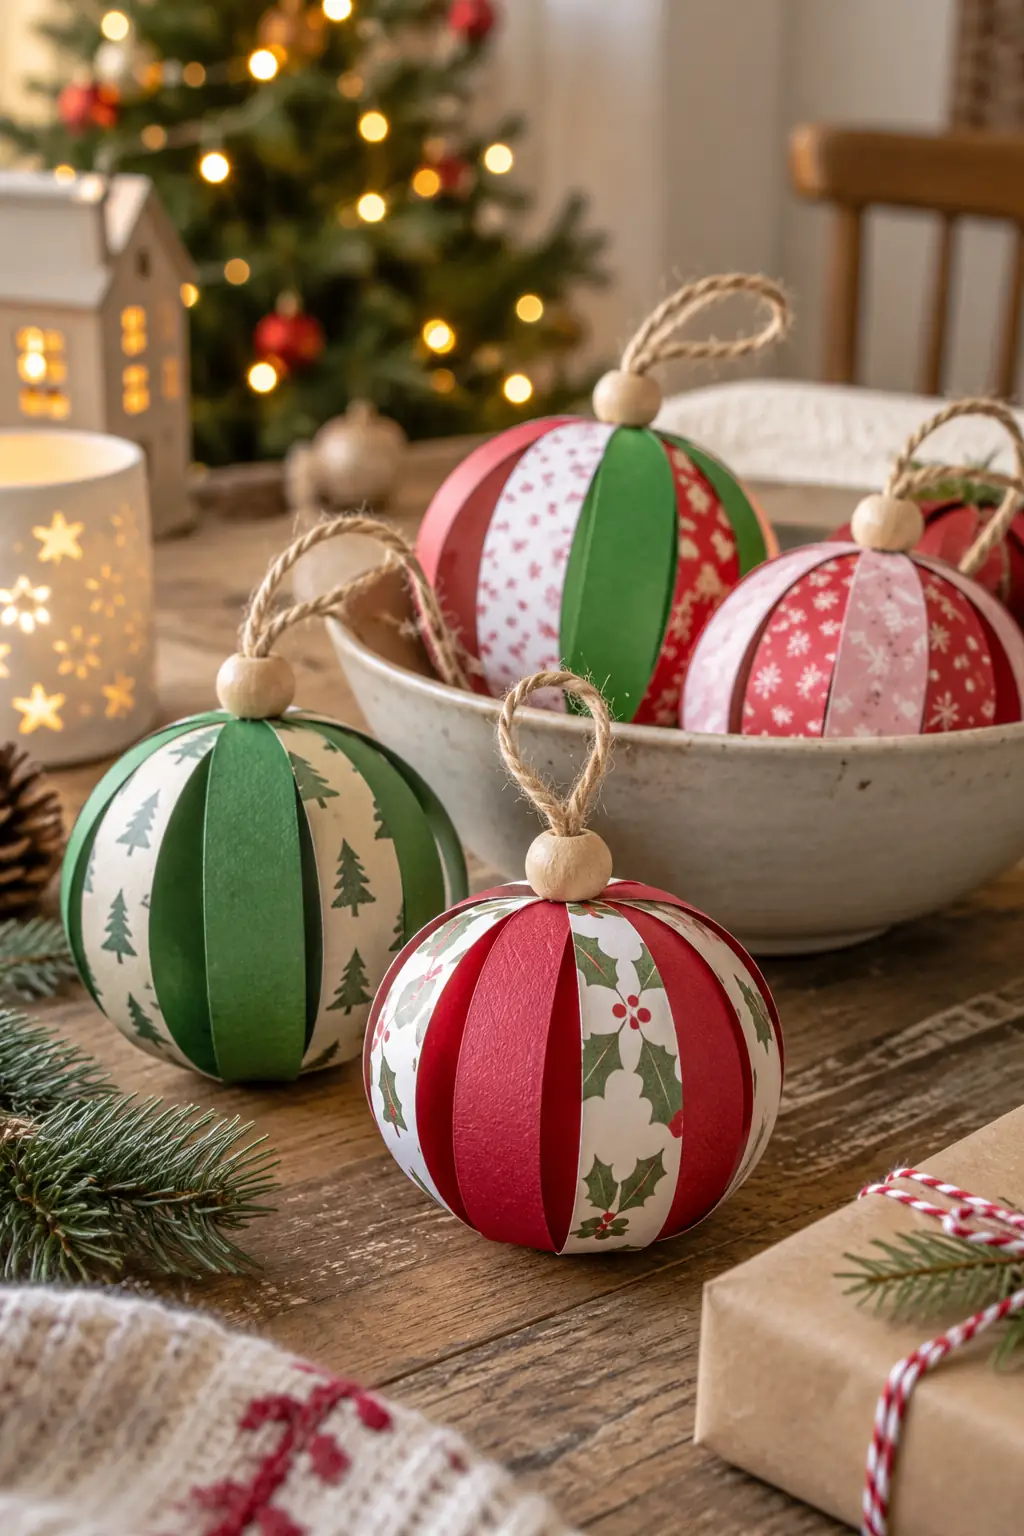
Equal strips can bend into a hollow ball, turning flat paper into a tree ornament. Mixing plain and patterned strips adds color without extra decorations.
Cut strips to the same length and mark the joining points. Use a child-appropriate fastening method, with an adult handling hole punches or small fasteners. Spread the strips evenly and attach a light loop at the top.
17. Egg-carton Christmas bells

Individual carton cups suggest small bells. Their flared shape gives children a base they can paint with stripes, dots or snowflakes.
An adult cuts clean carton sections and smooths the edges. Paint and dry them before making the hanging holes. A small real bell is optional for older children; omit detachable small parts for younger makers.
For handmade items to give away, browse these Christmas craft gift ideas and choose projects suited to the children’s skills.
Setting up a manageable kids’ craft session
Set out one project at a time and make a drying area before the session starts. Younger children can use large paper shapes and drawn faces instead of tiny eyes, beads or buttons. Keep completed decorations away from anyone who might put them in their mouth, and label salt-dough projects as non-edible.
For choosing age-appropriate materials, consult the CPSC Art and Craft Safety Guide alongside the labels on the supplies you use.

Written by Stephanie Fallis
Mom and homemaker who shares budget friendly DIY projects, decorating tips and gardening ideas for busy families.
More about me → Christmas ideas22 Christmas Gift Ideas for Everyone on Your List
 Christmas ideas25 Cool Christmas Gift Ideas People Will Use All Year
 Christmas ideas21 Charming Christmas Gift Ideas for the Home