
Christmas resin ideas suit small decorative objects where clear layers, embedded details and colored pours are part of the appeal. These seventeen examples are inspiration for adult makers, not a single interchangeable resin recipe. Match your resin to the mold depth and follow its mixing, protective-equipment, ventilation and full-cure instructions.
In this post: 17 ideas
- Clear snowflake ornaments
- Evergreen resin coasters
- Christmas-tree trinket tray
- Winter-scene pendants
- Marbled candy-cane decorations
- Gold-star garland
- Botanical winter bookmark
- Amber reindeer figurine
- Clear Christmas village
- Snow-globe-style paperweight
- Festive napkin rings
- Holly trinket dish
- Christmas keychains
- Window ornament suncatcher
- Festive picture frame
- Glittered tabletop trees
- Christmas-colored chess pieces
1. Clear snowflake ornaments
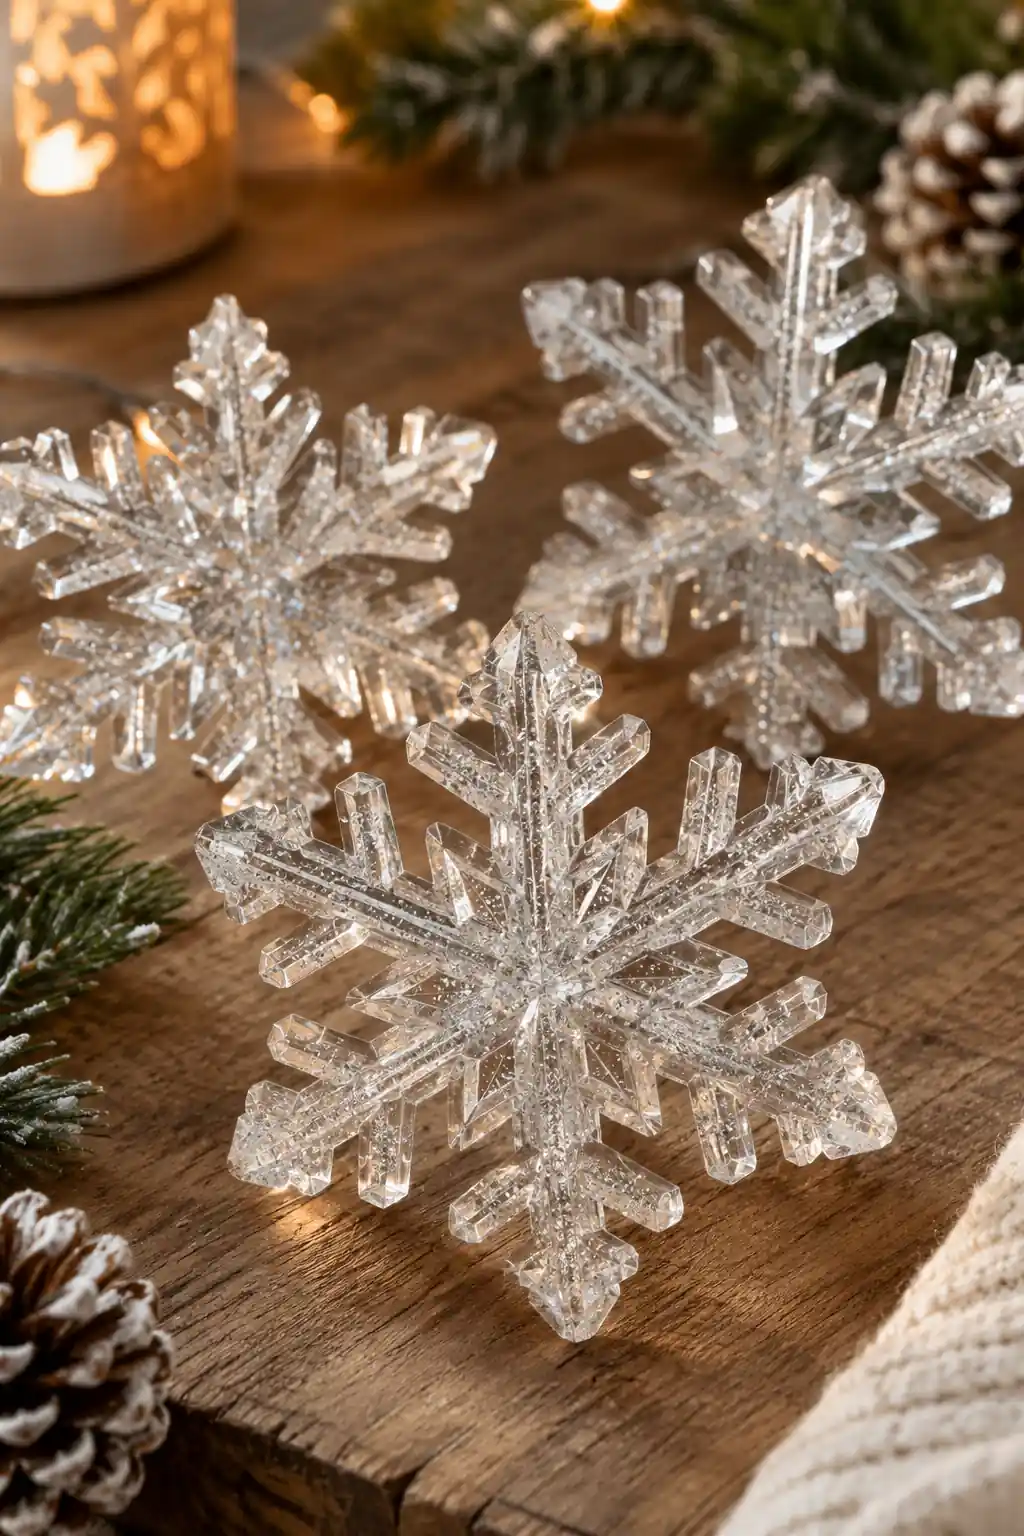
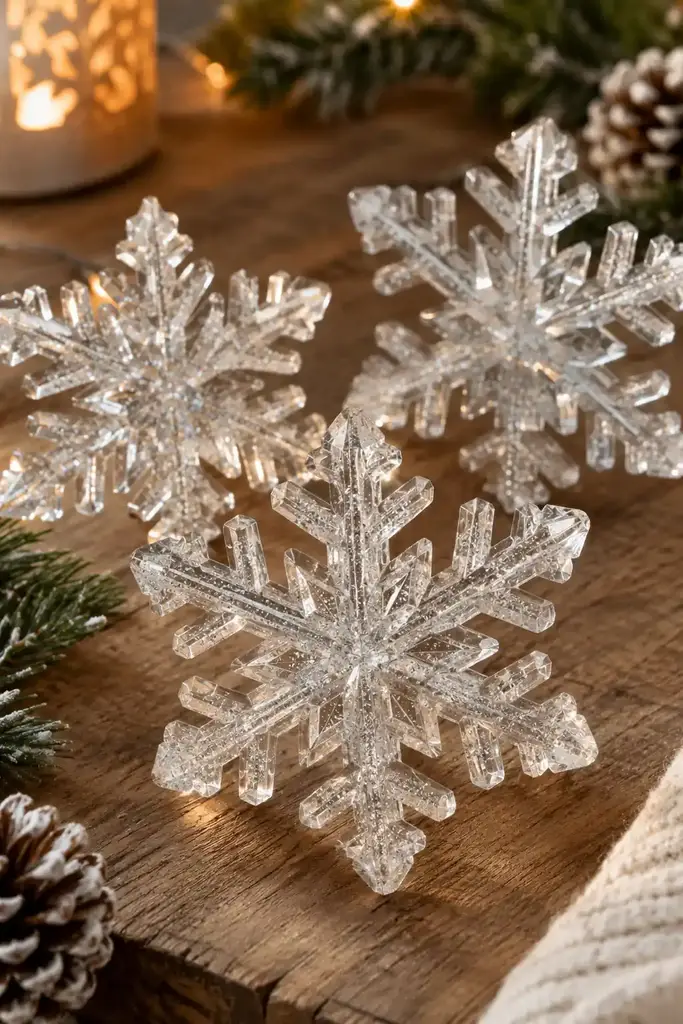
A snowflake mold gives transparent resin plenty of edges to catch the light. Fine reflective inclusions can add interest without hiding the shape.
Use a resin and mold combination suitable for the narrow points. Fill carefully to avoid trapped air in the tips and follow the product’s bubble-removal instructions. Let the ornament cure fully before demolding, then inspect each edge before attaching a loop.
2. Evergreen resin coasters
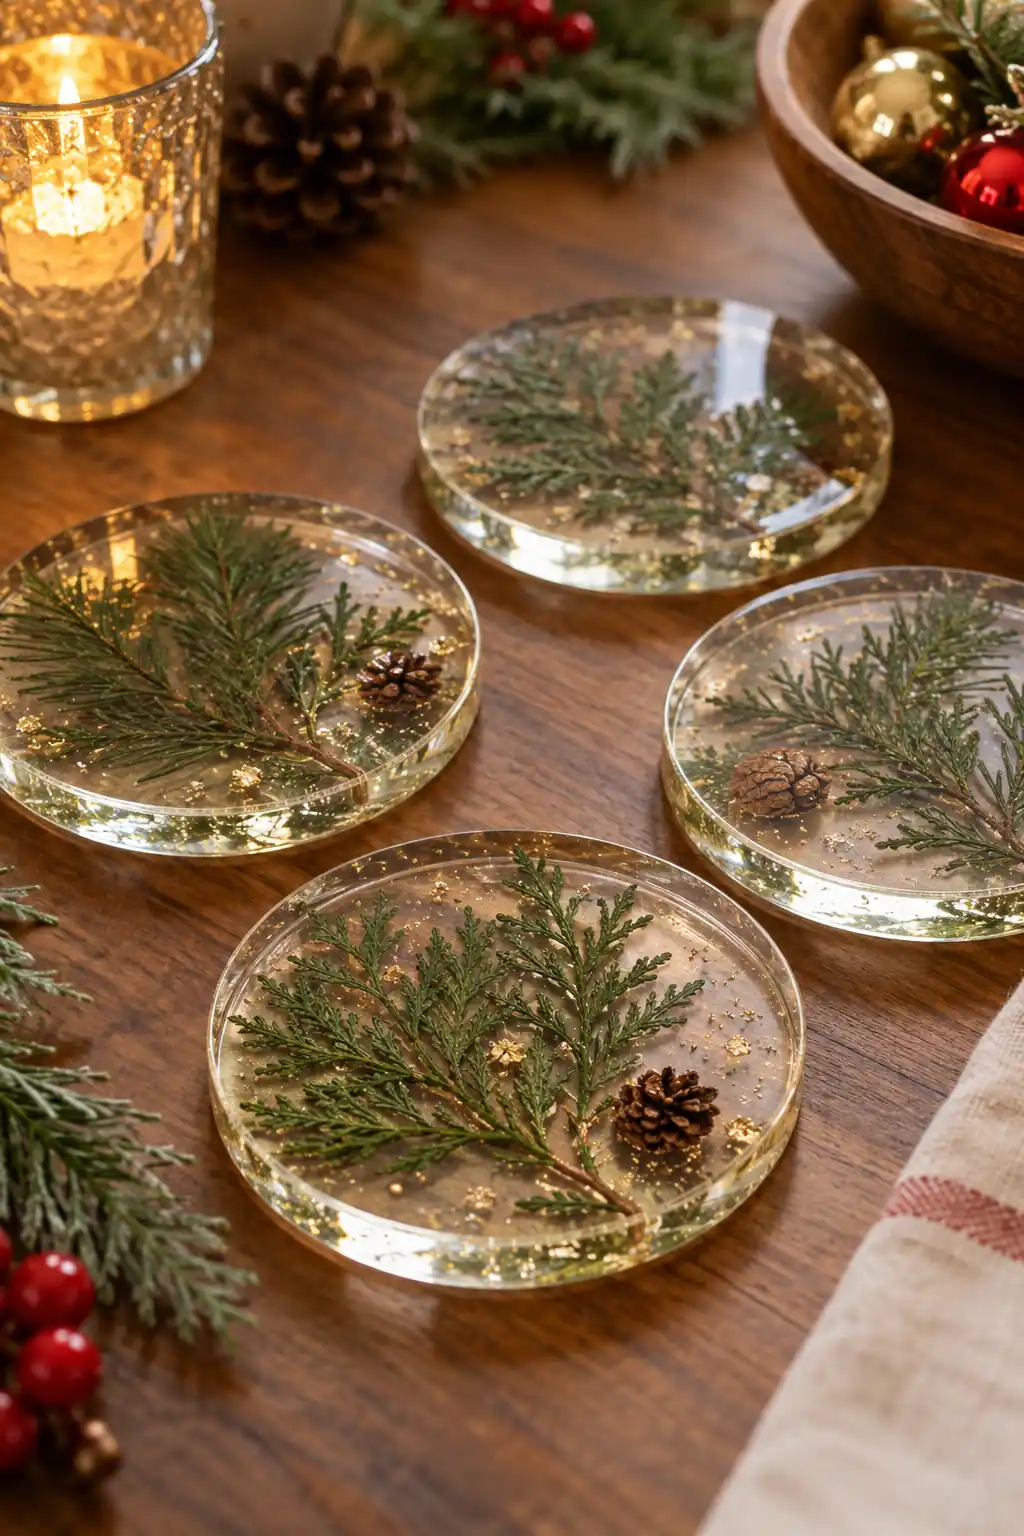
Pressed greenery makes each coaster slightly different. A clear border around the inclusions lets the circular shape remain visible.
Dry plant material fully and test whether it changes color in your chosen resin. Arrange a restrained amount so the coaster stays flat. Follow the resin maker’s heat limits; a decorative coaster is not permission to set a hot pan or candle on it.
3. Christmas-tree trinket tray
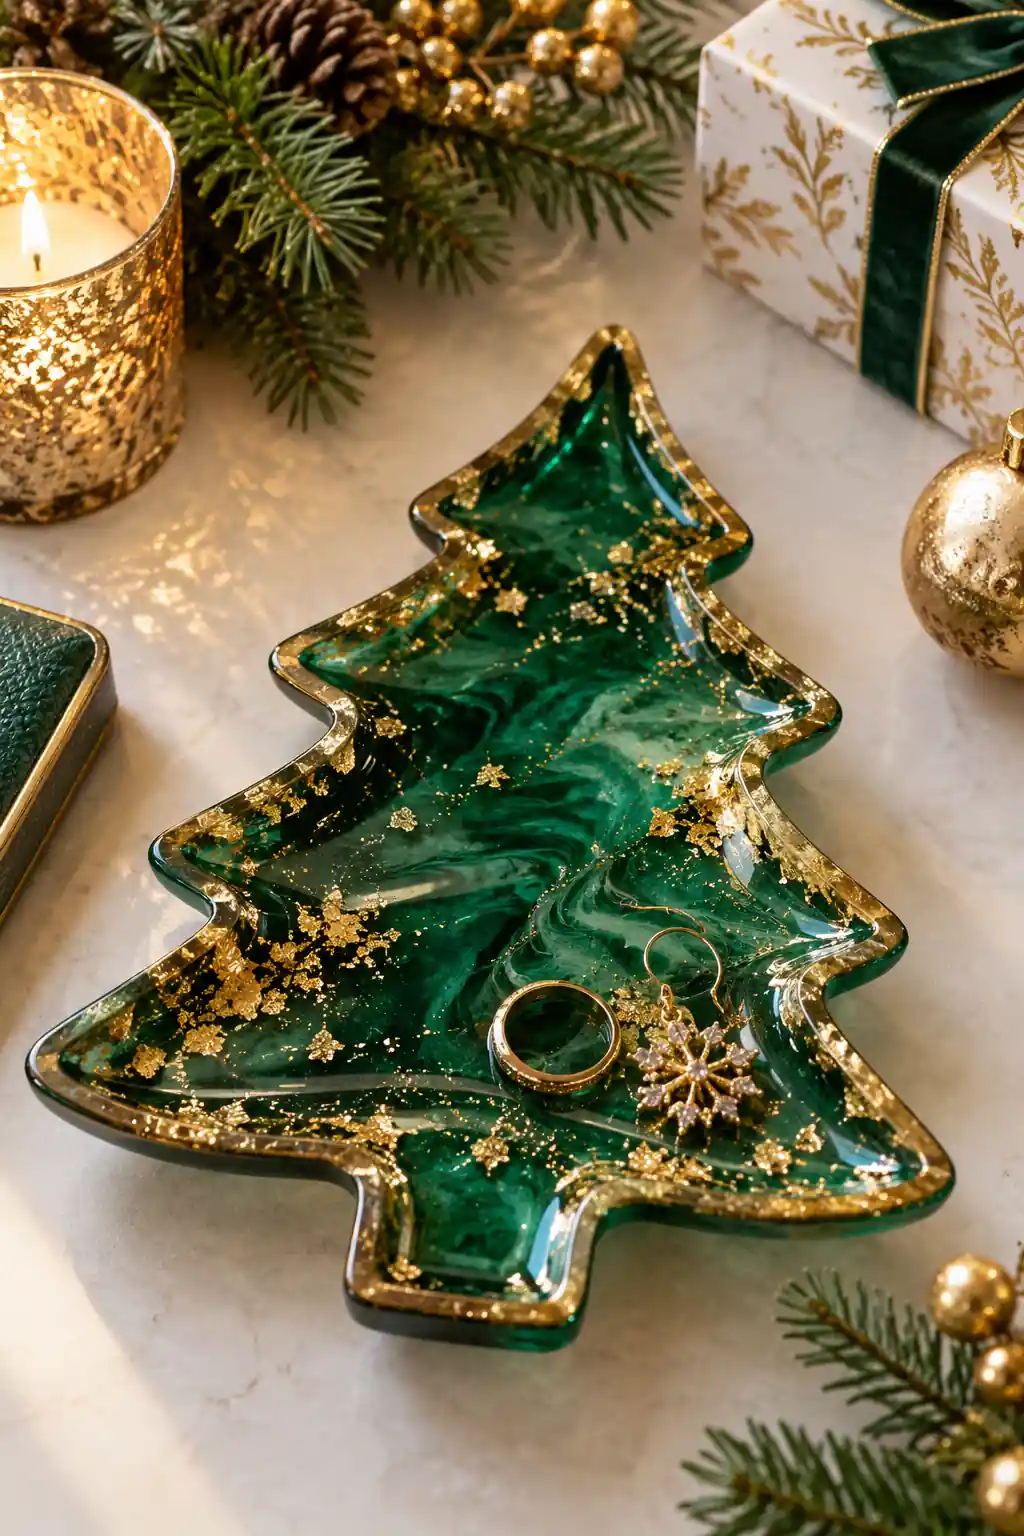
A tree-shaped rim turns a small storage tray into a seasonal piece. Green pigment and metallic accents give it depth while keeping the center usable.
Use a mold with a shallow, level base and mix pigments within the resin maker’s limits. Keep heavy inclusions away from the rim so it fills evenly. Use the finished tray for jewelry or dry objects unless its complete system is suitable for food contact.
4. Winter-scene pendants
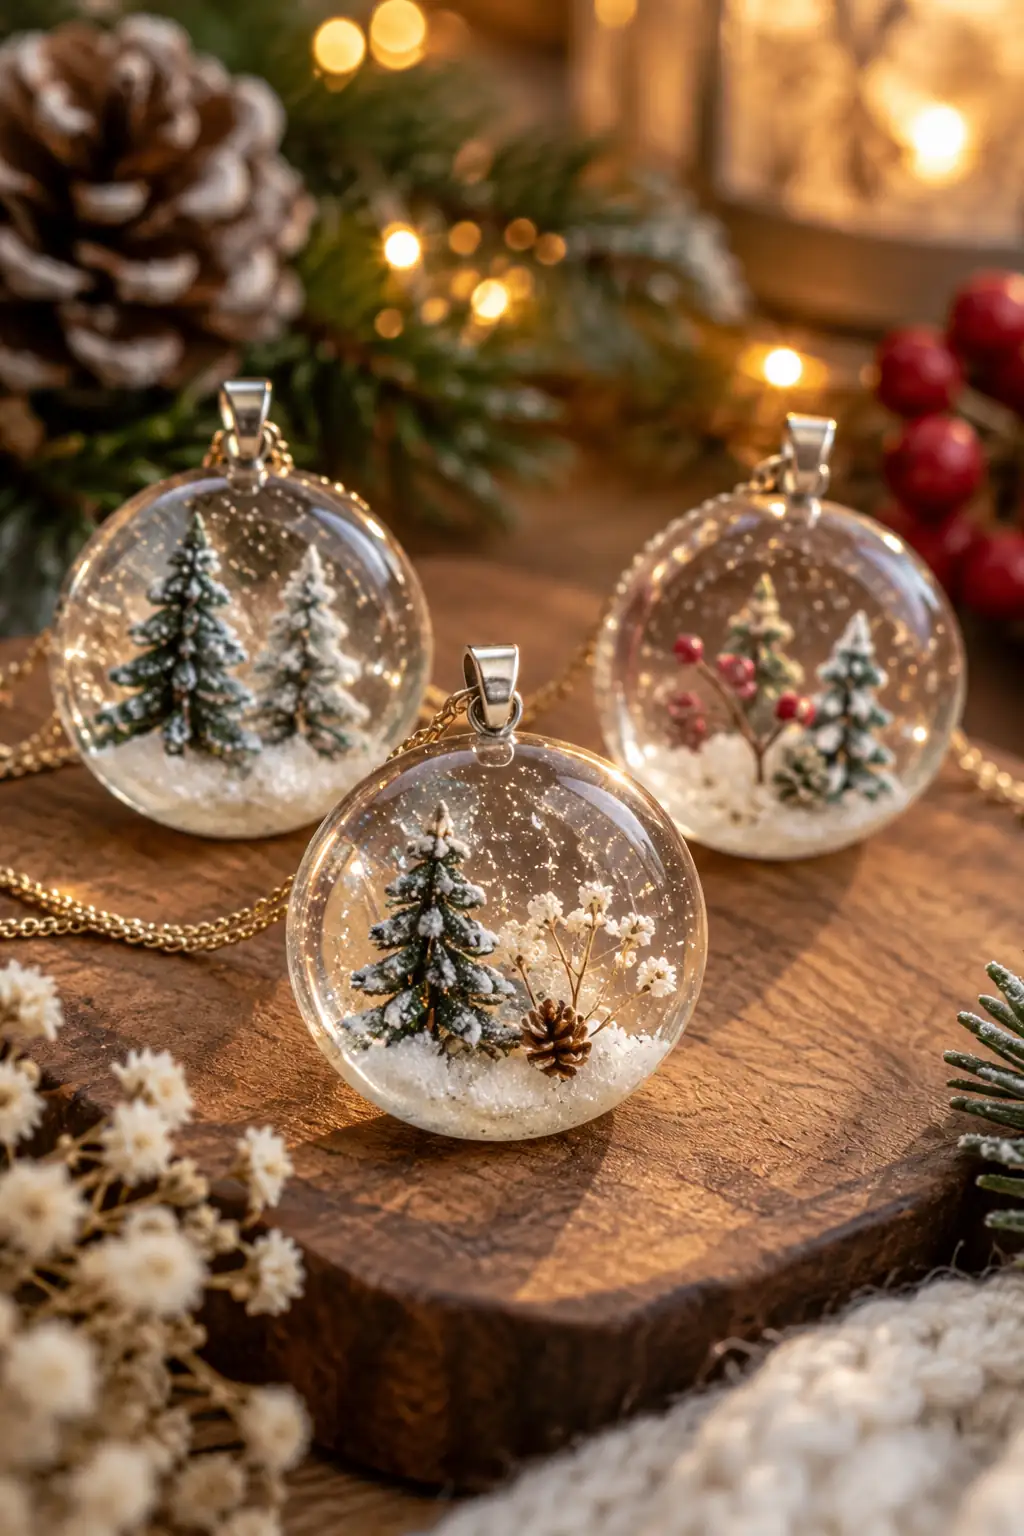
A small winter scene becomes a wearable keepsake when enclosed in a pendant mold. The limited space rewards a simple arrangement rather than many tiny objects.
Check that the inclusions fit below the mold’s surface. Use dry miniature pieces and a resin appropriate for that depth. Attach hardware only after full curing, and check the finished pendant for rough edges where it will touch clothing or skin.
5. Marbled candy-cane decorations

Swirled red and white create a candy effect without requiring painted stripes. Clear sections make the curved shape look lighter.
Use a suitable candy-cane mold and add controlled amounts of color to avoid muddying the pattern. Allow the pour to cure fully before bending the mold away. Treat the finished pieces strictly as decorations and keep them separate from edible sweets.
For a different seasonal palette using similar decorative forms, browse these Halloween resin ideas.
6. Gold-star garland
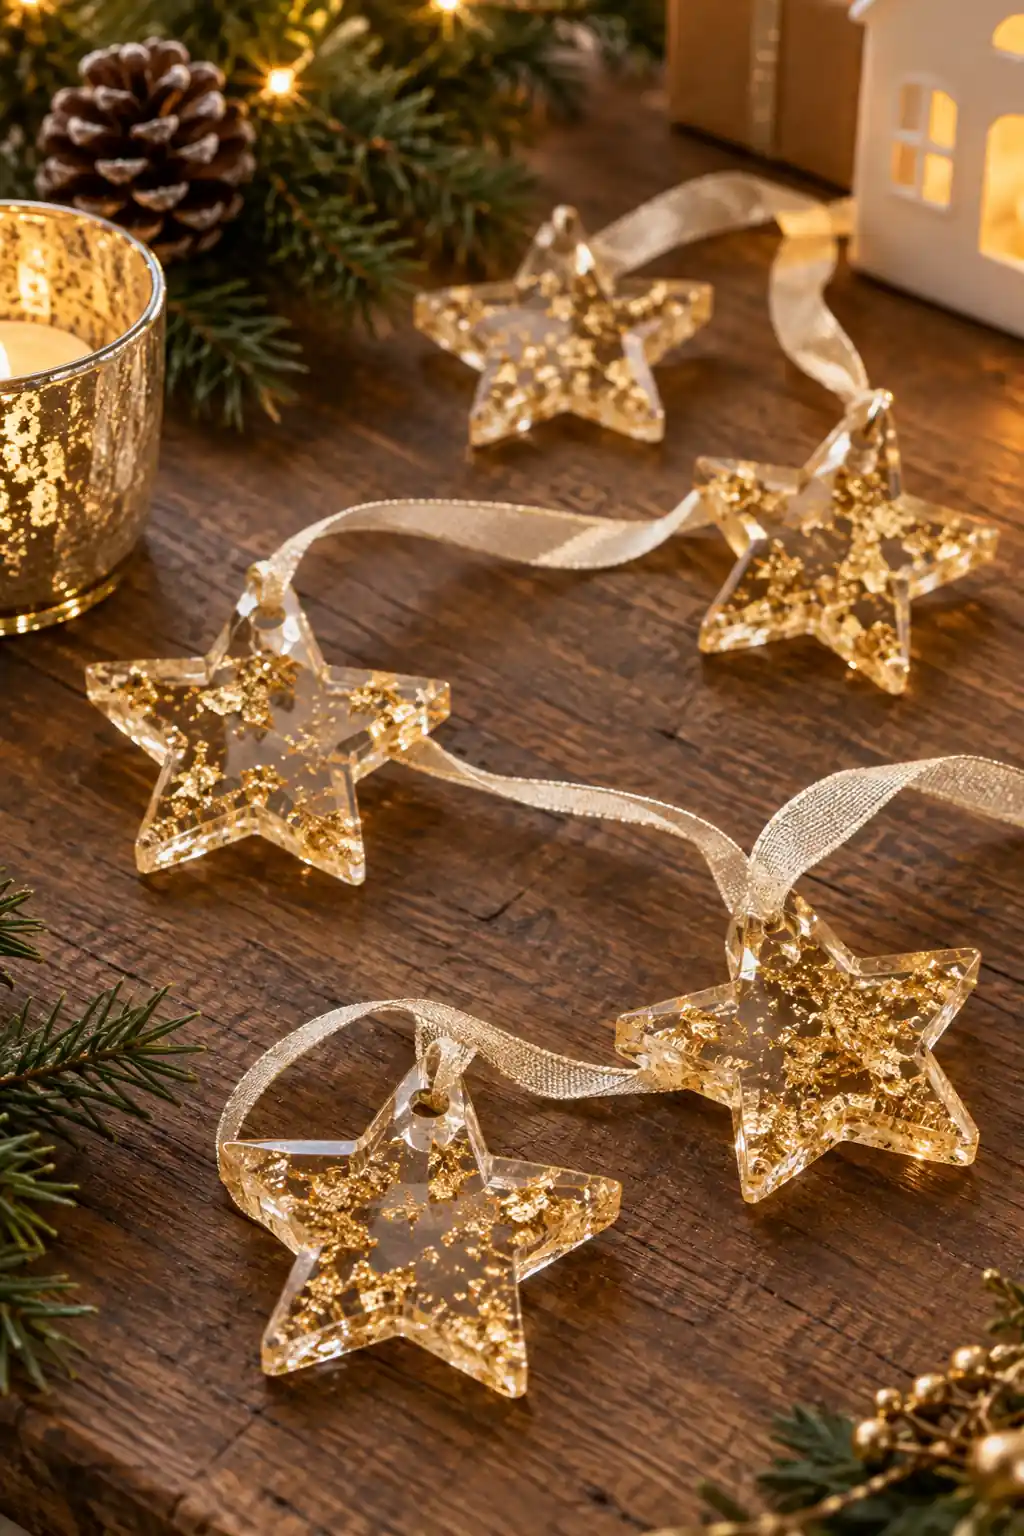
Repeated stars make a delicate garland for a shelf or wall. A light ribbon lets the resin shapes remain the focal point.
Cast small stars with hanging holes or use a mold designed for jewelry findings. Check every hole after curing and thread the pieces without forcing them. Keep the garland short enough that the hanging support can comfortably carry its weight.
7. Botanical winter bookmark

A narrow mold creates a useful flat shape with a small amount of decoration. Keeping inclusions sparse prevents the bookmark from looking crowded.
Use thin, fully dried foliage and avoid thick pieces that protrude through the surface. Cure the bookmark flat and check the edges before using it in a book. Add the tassel through the prepared hole after the resin has fully hardened.
8. Amber reindeer figurine
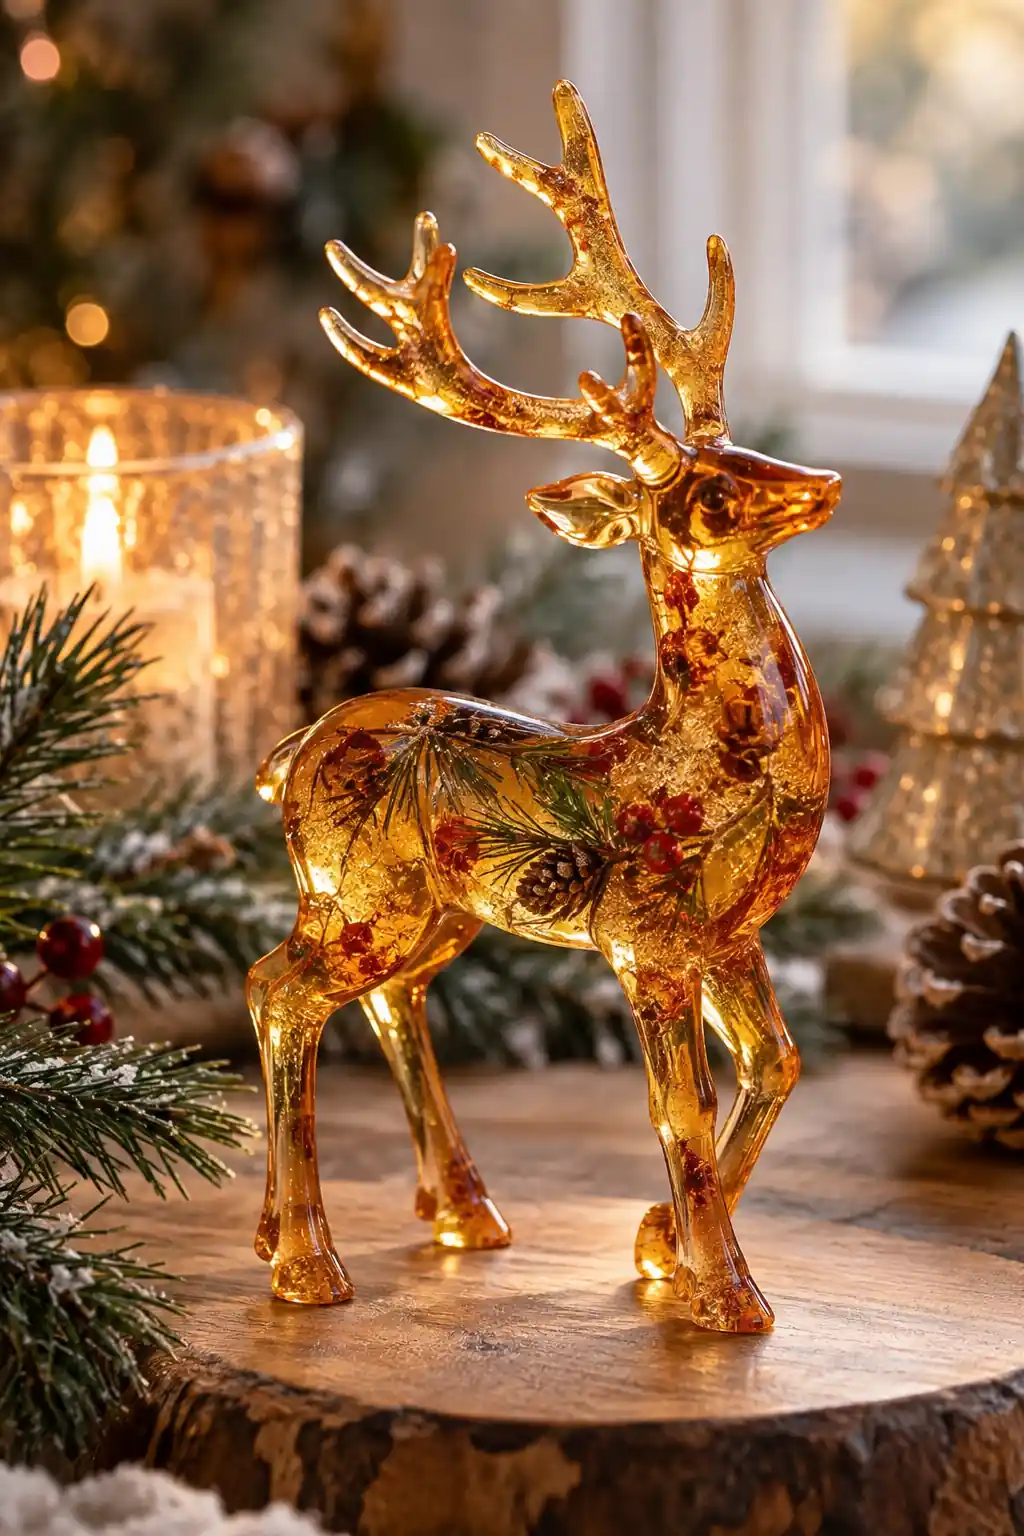
Warm translucent color gives the reindeer depth even without a complicated inclusion. The fine antlers make this a more demanding mold than a flat ornament.
Check the mold’s fill points and the resin’s allowed casting depth before mixing. Work carefully around narrow antler cavities and follow the manufacturer’s curing schedule. Demold gently, supporting the thin parts rather than pulling from them.
 You may also like17 Christmas Crafts for Kids to Cut, Build and Decorate
9. Clear Christmas village
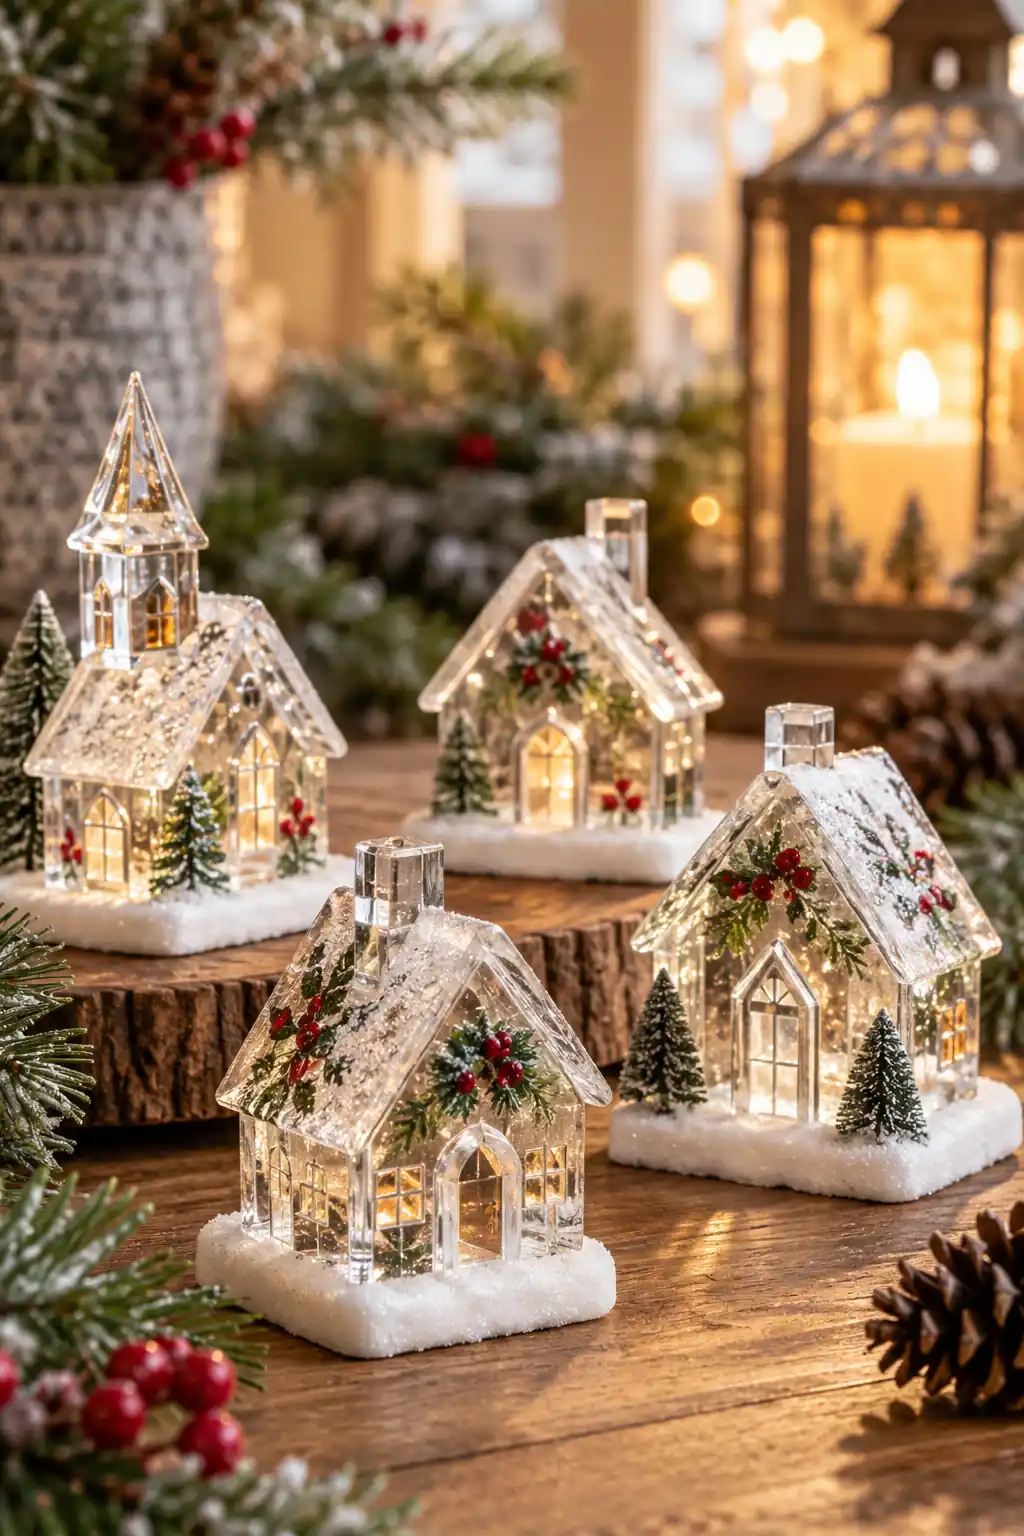
Transparent houses create a different effect from opaque clay or paper villages. Light catches their walls and rooflines, so a small group can be enough for a shelf.
Choose house molds designed for the resin system you use. Do not exceed pour-depth limits to fill a tall mold in one step. Use nearby battery lighting for display and keep the cured houses away from flames and strong heat.
10. Snow-globe-style paperweight
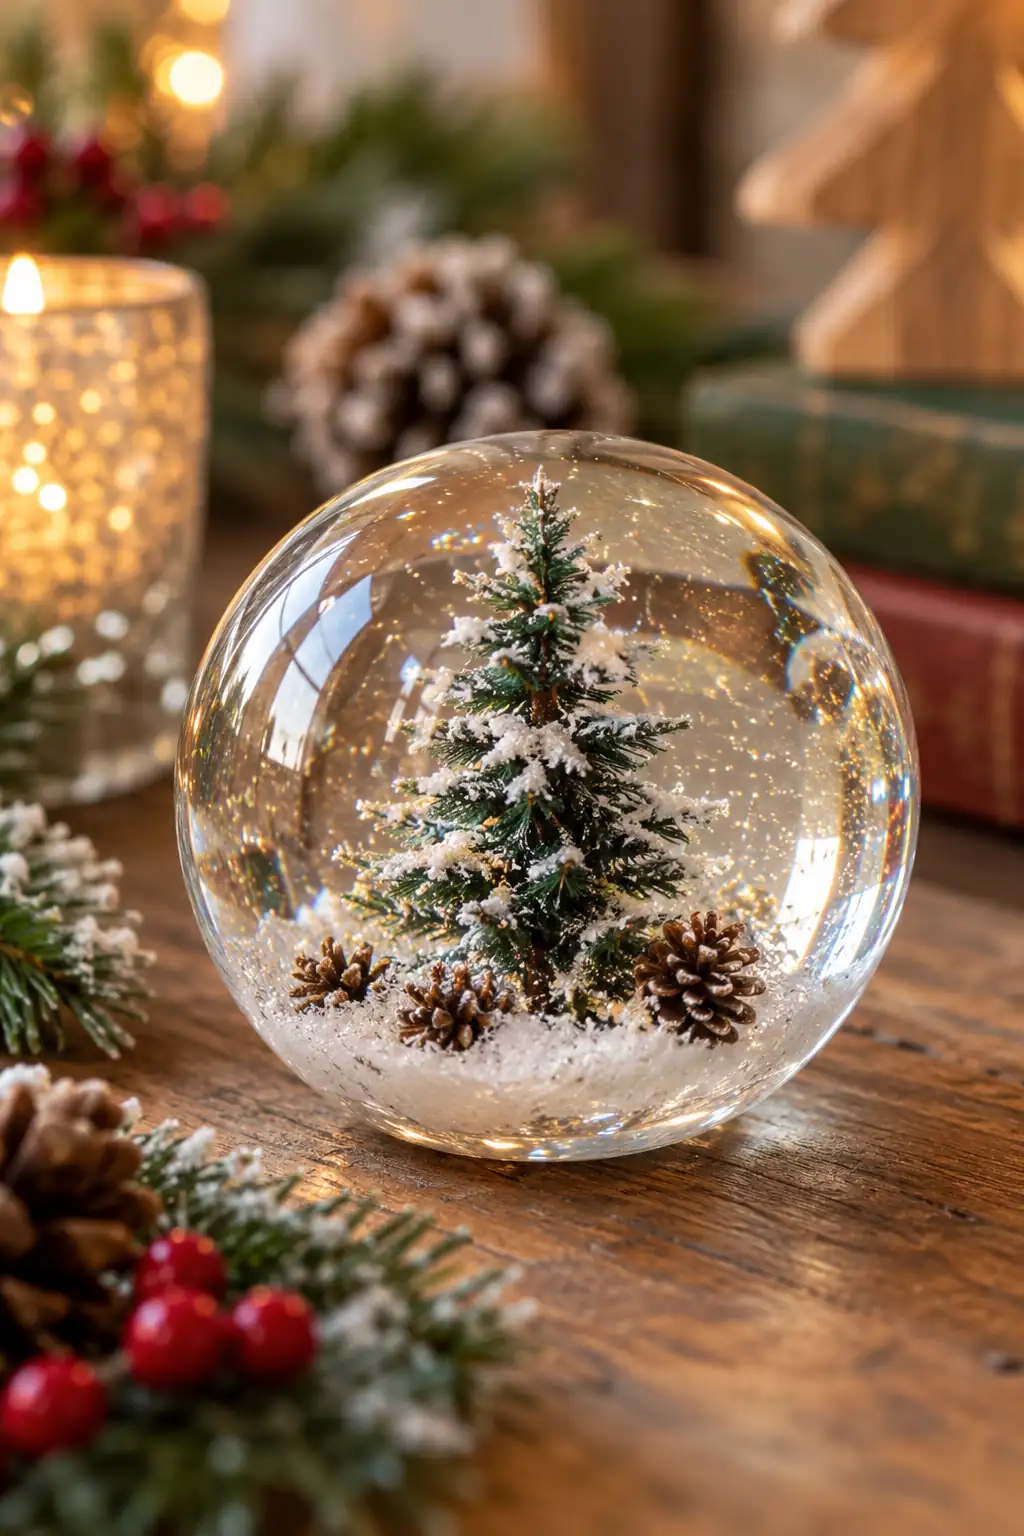
A solid clear casting can suggest a snow globe without liquid inside. The small tree provides a focal point within the rounded form.
Use a deep-pour resin only if its instructions suit the mold depth, or work in compatible layers as directed. Test the miniature for compatibility and keep it dry. Plan the viewing angle before casting because the arrangement cannot be moved afterward.
11. Festive napkin rings
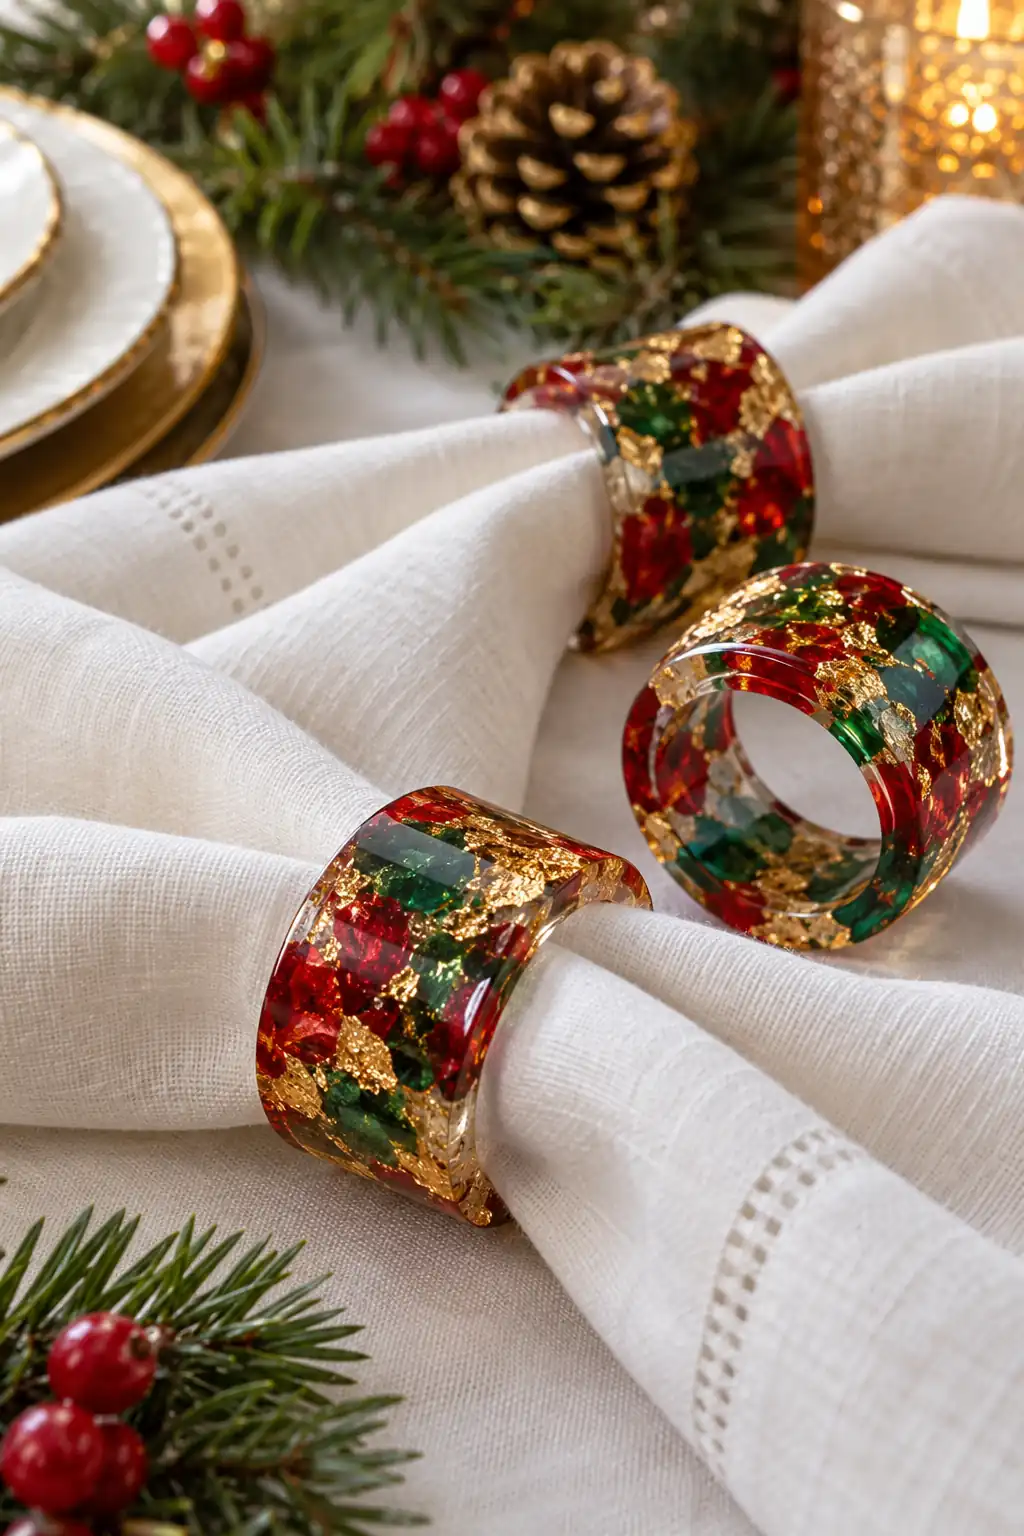
Small colored inclusions create a seasonal pattern around a transparent ring. The clear areas keep the result from looking too heavy at a place setting.
Use a ring mold with a comfortable inner diameter. Keep inclusions away from the inner surface and check for smooth edges after full curing. These are napkin accessories; avoid assuming decorative resin is suitable for direct food contact.
Finished keepsakes can become part of these homemade Christmas gifts, with a care note for the exact resin used.
12. Holly trinket dish
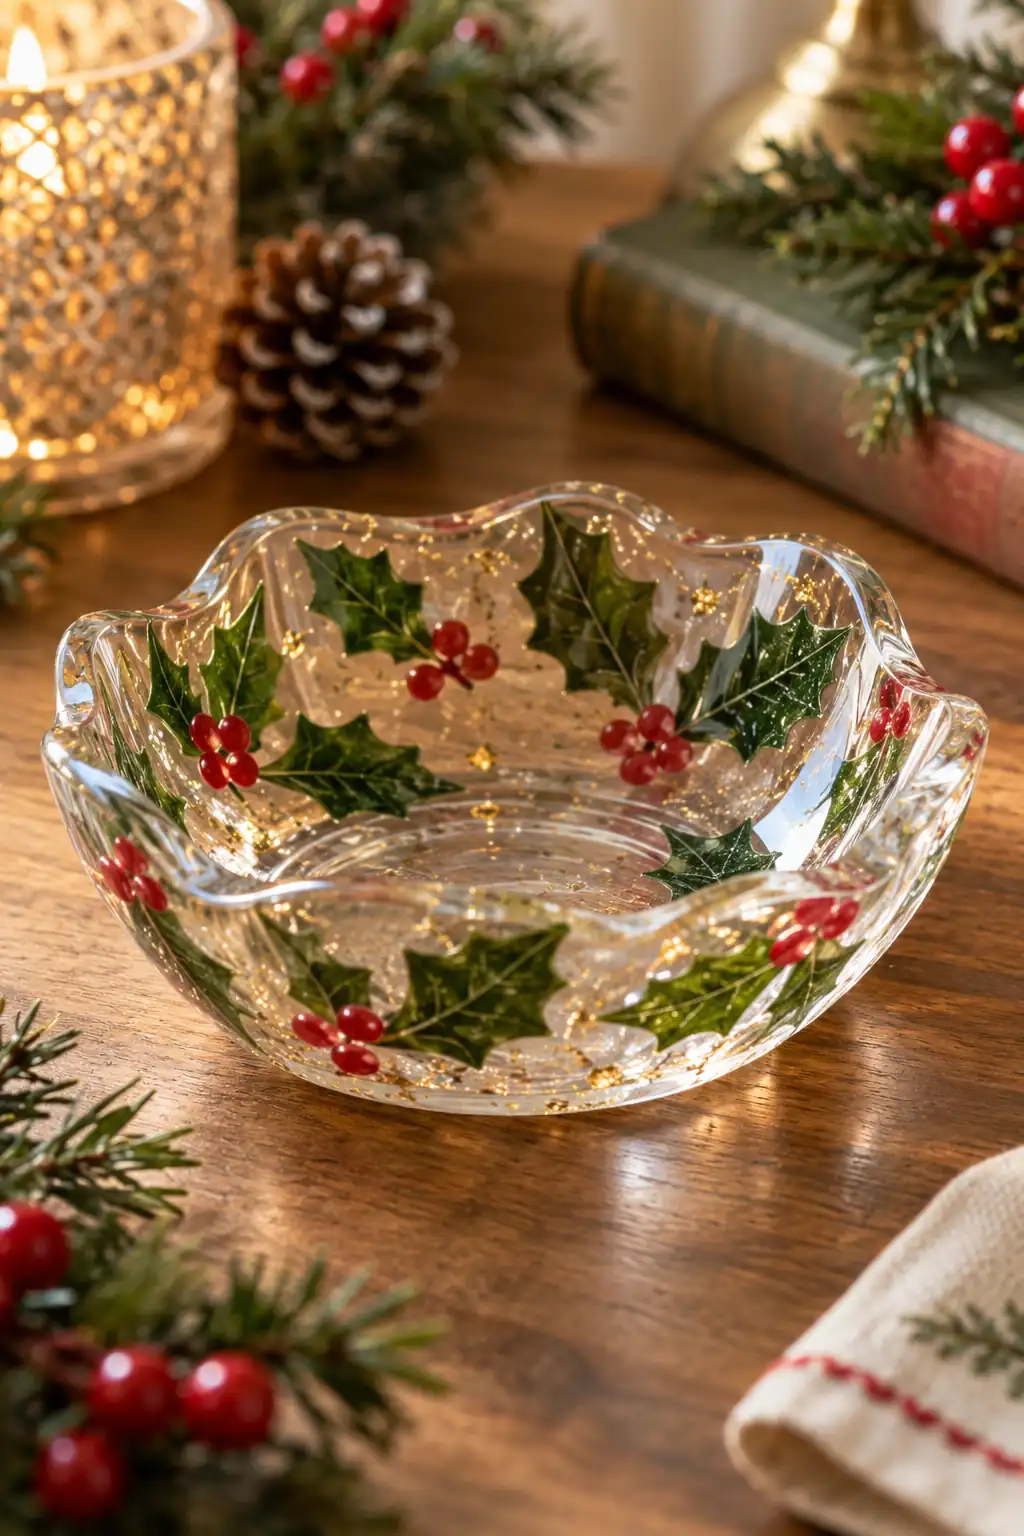
A shallow bowl shape holds rings or small keepsakes while displaying the embedded leaves. Sparse inclusions let the base remain clear.
Use a purpose-made shallow dish mold rather than improvising a deep cast. Keep the inclusions fully submerged and follow cure instructions before handling. Display dry objects in the dish, and clean it using only methods the resin maker permits.
13. Christmas keychains
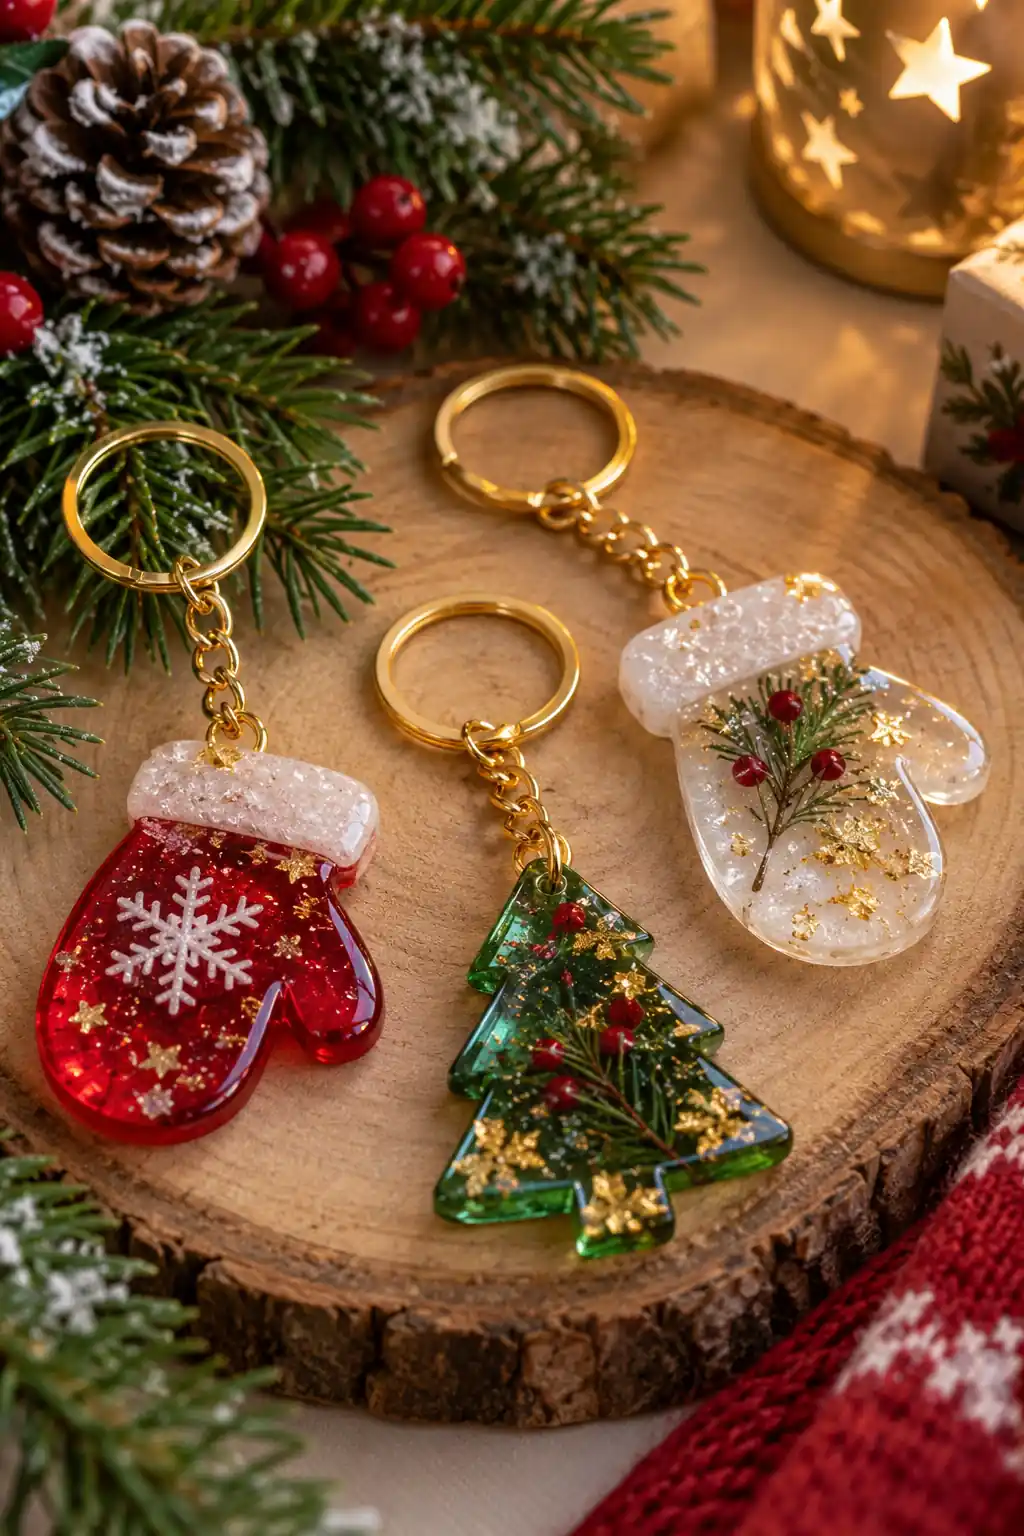
Different silhouettes make it easy to create a coordinated gift set without repeating the same mold. A little glitter or color gives each recipient a distinct piece.
Use molds with strong attachment points and avoid placing a hole too close to an edge. After curing, connect the findings and test them gently. These are adult accessories, not toys for children who may mouth small parts.
14. Window ornament suncatcher
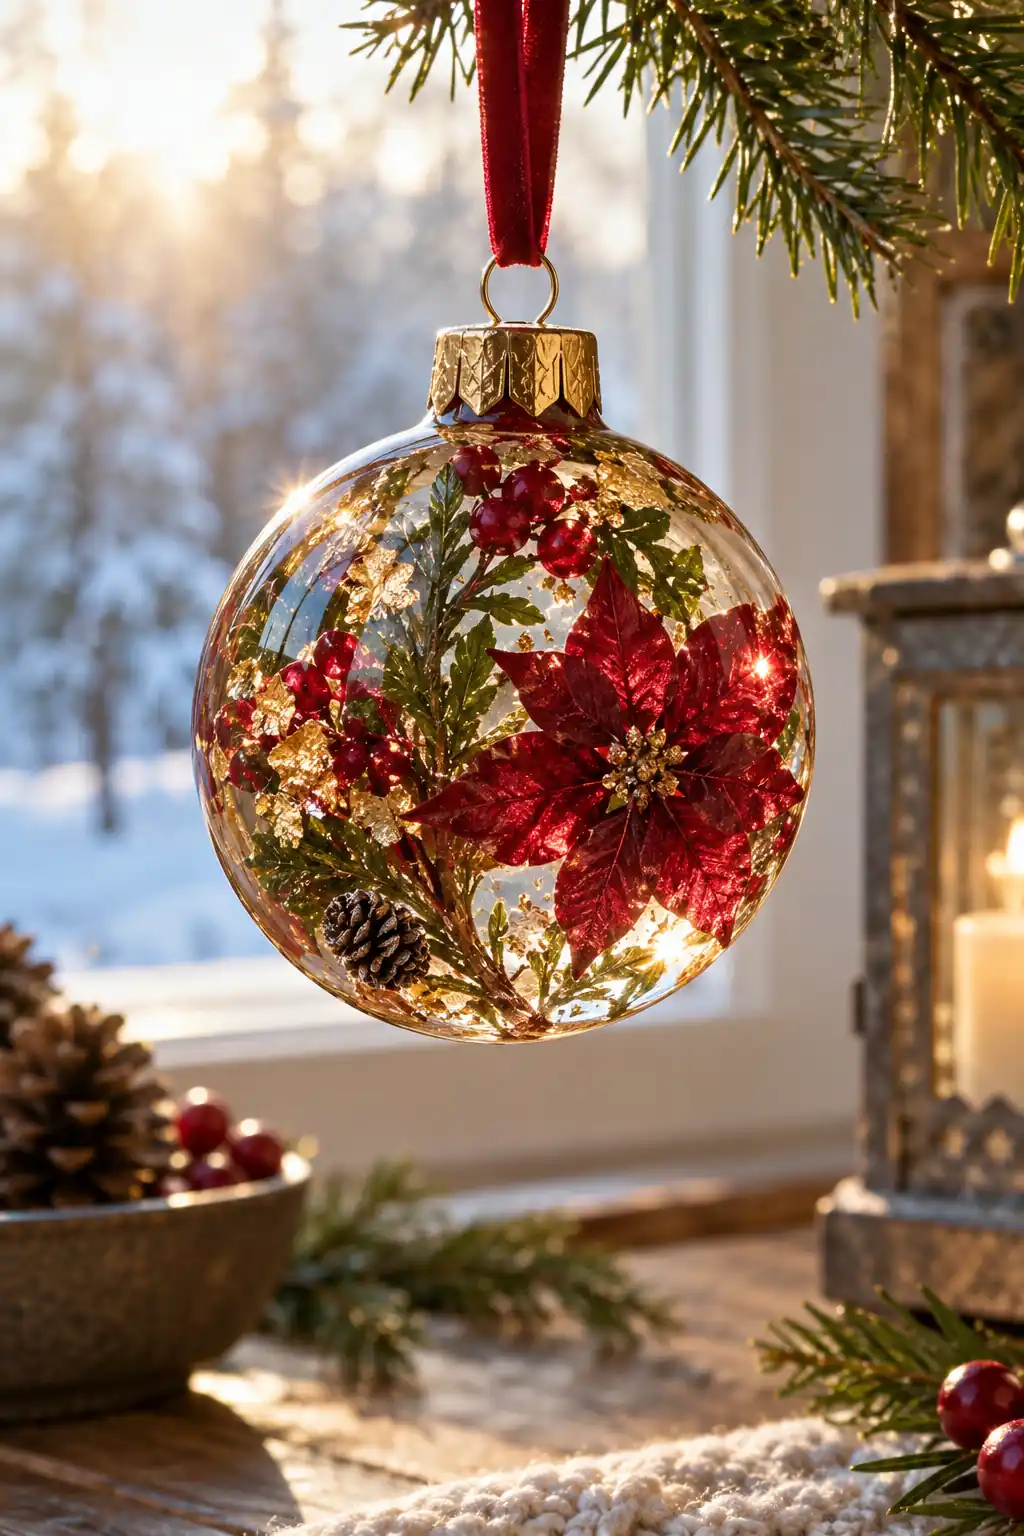
Translucent color becomes more noticeable against daylight. The design works best when enough clear space remains around the inclusions.
Use a lightweight casting and secure hanging hardware. Check the product’s UV guidance because sunlight can affect resin color over time. Keep the ornament out of harsh heat and use a support suited to the window frame.
15. Festive picture frame
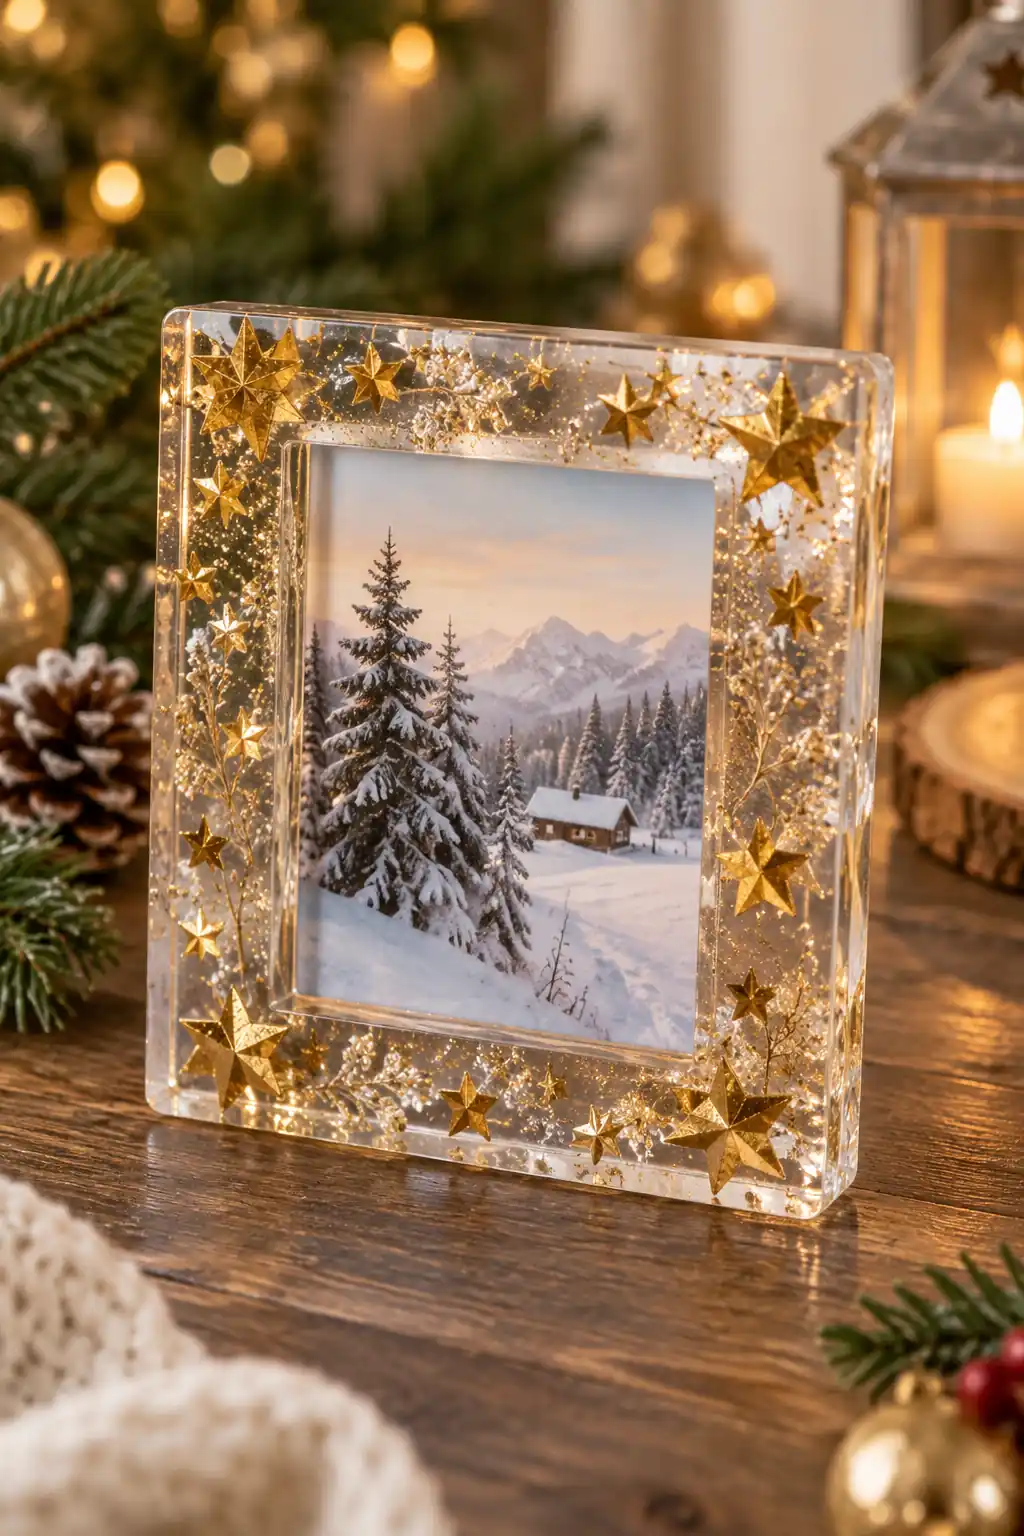
Decorating the frame instead of the photograph keeps the image replaceable. Gold accents along the border add a seasonal finish without covering faces or scenery.
Use a frame mold designed to accept a photo insert and backing. Test the intended photo size before pouring. Add the picture only after full curing, then check the stand or hanging hardware so the frame remains stable.
16. Glittered tabletop trees
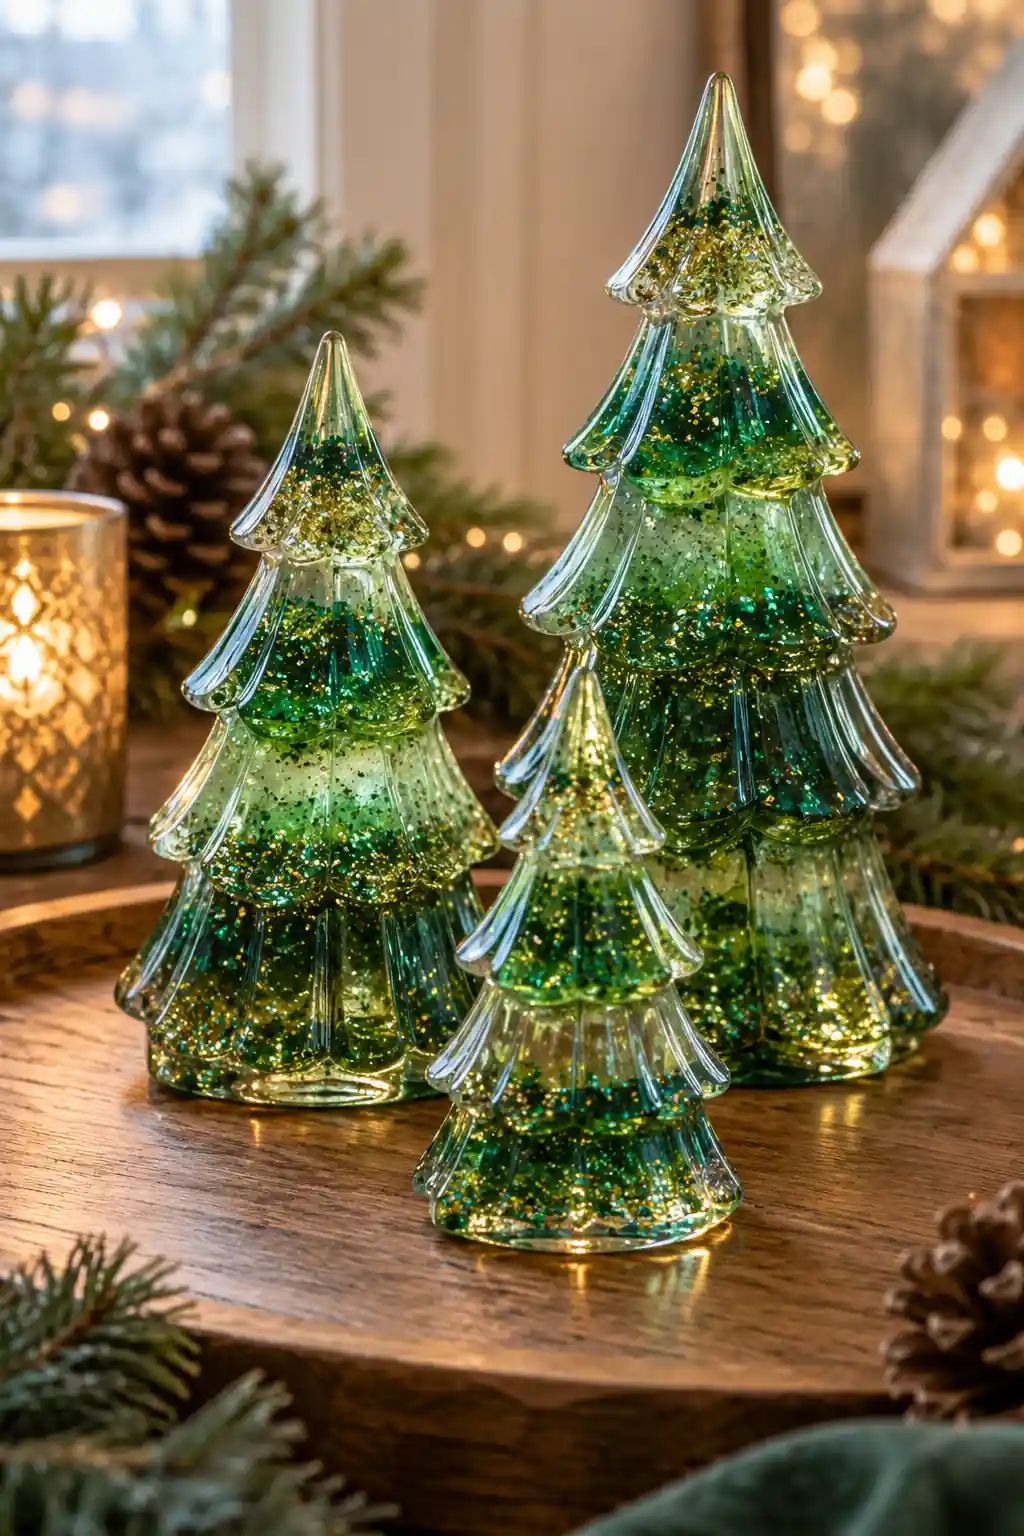
A group of small trees uses repeated shapes to create a tabletop display. Different heights bring variety even when the color palette stays the same.
Check each mold’s depth against the resin instructions and avoid treating a tall tree as a shallow pour. Keep the bases level while curing. Arrange the finished trees away from heat sources and leave space between thin branches.
17. Christmas-colored chess pieces
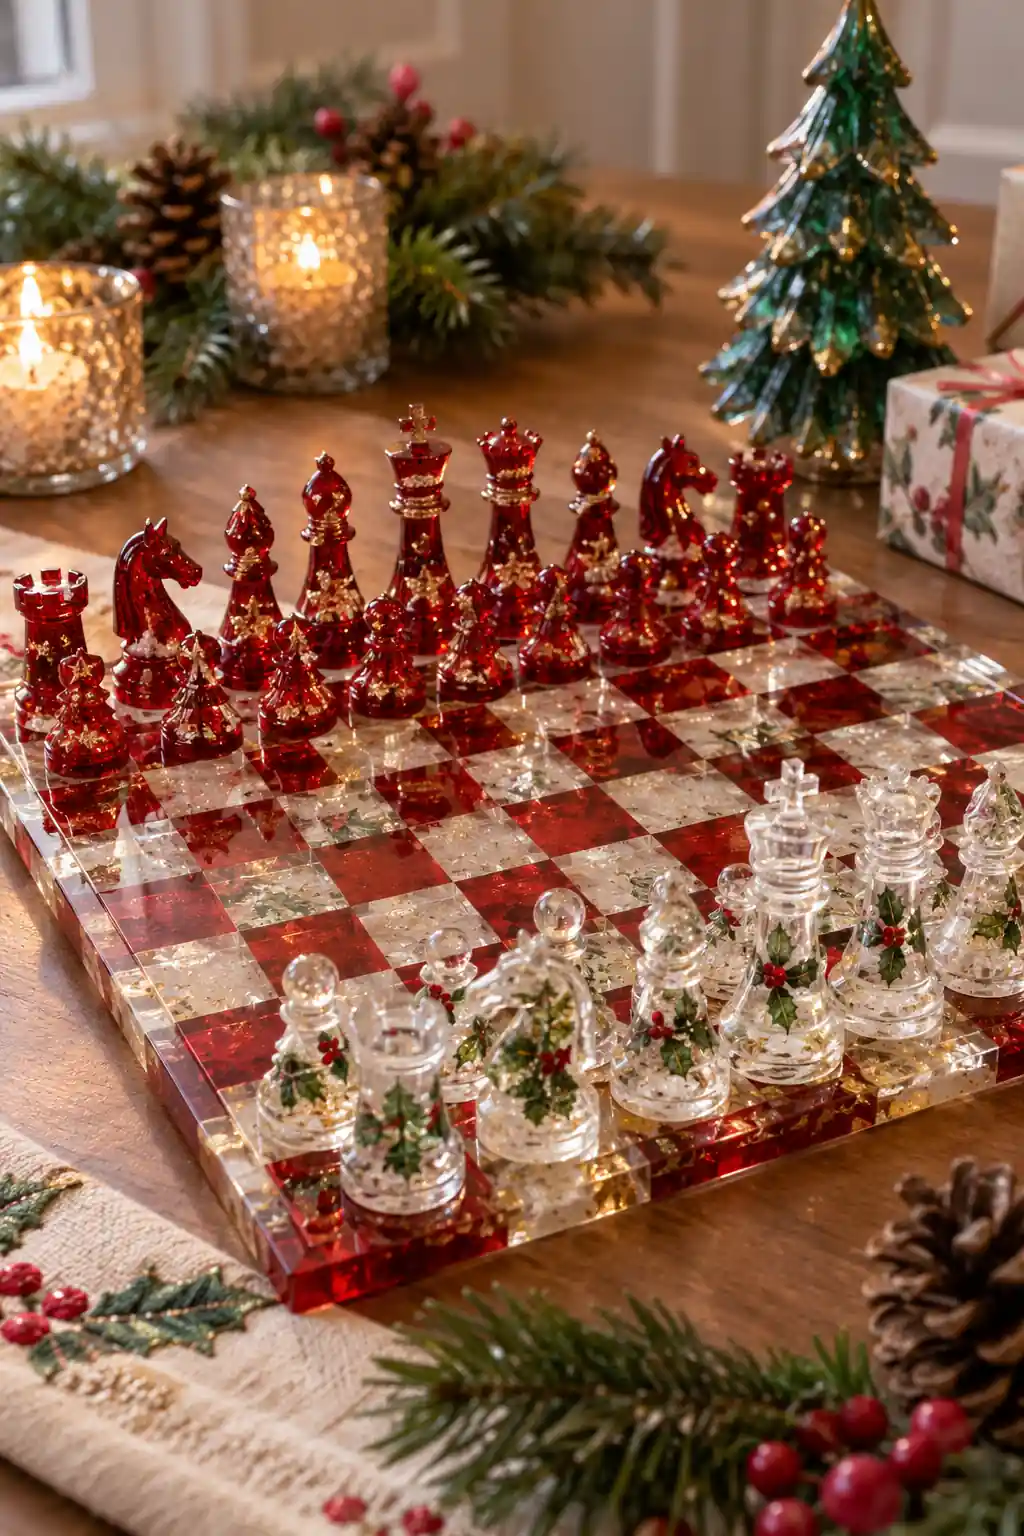
A coordinated chess set is a longer project with many repeated casts. Contrasting colors help players distinguish the two sides more clearly than heavy mixed inclusions would.
Start with a few test pieces to check mold release and color consistency. Plan enough material for complete sets and keep a record of pigment amounts. Cure every piece fully and check bases for stability before using them on a board.
For projects that do not involve mixing resin, see these Christmas crafts in paper, felt and clay.
Before mixing and finishing resin
Prepare the mold and inclusions before mixing so you are not rushing during the working time. Use fully dry inclusions, stay within the product’s maximum pour depth and protect the curing area from dust. A resin item is not automatically heat-resistant or food-safe; check the exact product and intended use rather than judging by its appearance.
For a manufacturer example, ArtResin’s FAQ explains its own product’s handling and use limits. Always follow the instructions and safety data sheet for the exact resin in your project.

Written by Stephanie Fallis
Mom and homemaker who shares budget friendly DIY projects, decorating tips and gardening ideas for busy families.
More about me → Christmas ideas12 DIY ceiling Christmas decoration ideas with paper and greenery
 Christmas ideas16 DIY Christmas Gift Ideas You Can Make at Home
 Christmas ideas19 Christmas Origami Ideas for Easy Paper Folding