
Christmas clay ideas range from flat ornaments to more involved miniature houses. Choose air-dry, polymer or ceramic clay according to the project and follow that material’s instructions; they are not interchangeable. The seventeen examples below focus on decorative pieces, with notes on shaping, hanging and display.
In this post: 17 ideas
- Botanical-impressed ornaments
- Gingerbread-style clay houses
- Pinecone-textured bowl
- White Christmas village
- Mitten garland
- Holly napkin rings
- Snowman figurines
- Hanging clay stars
- Poinsettia trinket dish
- Decorative Christmas bells
- Reindeer ornaments
- Clay mushrooms for a winter scene
- Twisted candy-cane ornaments
- Textured sweater ornaments
- Mini tree place-card holders
- Winter village under a dome
- Stocking-shaped decorative vase
1. Botanical-impressed ornaments
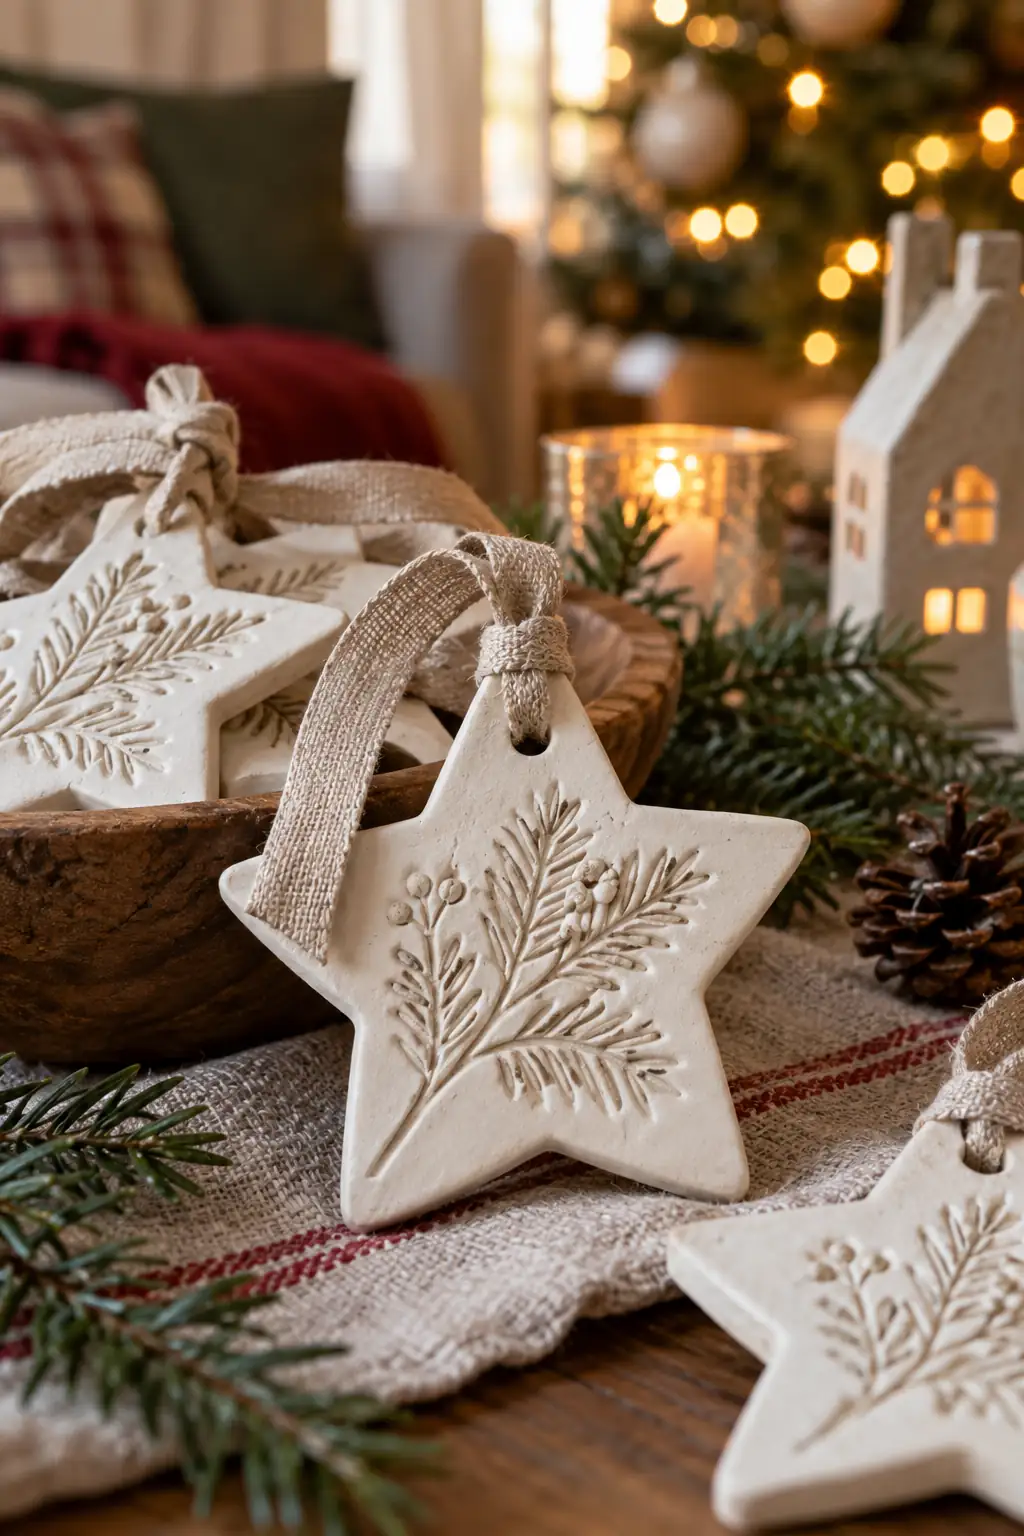
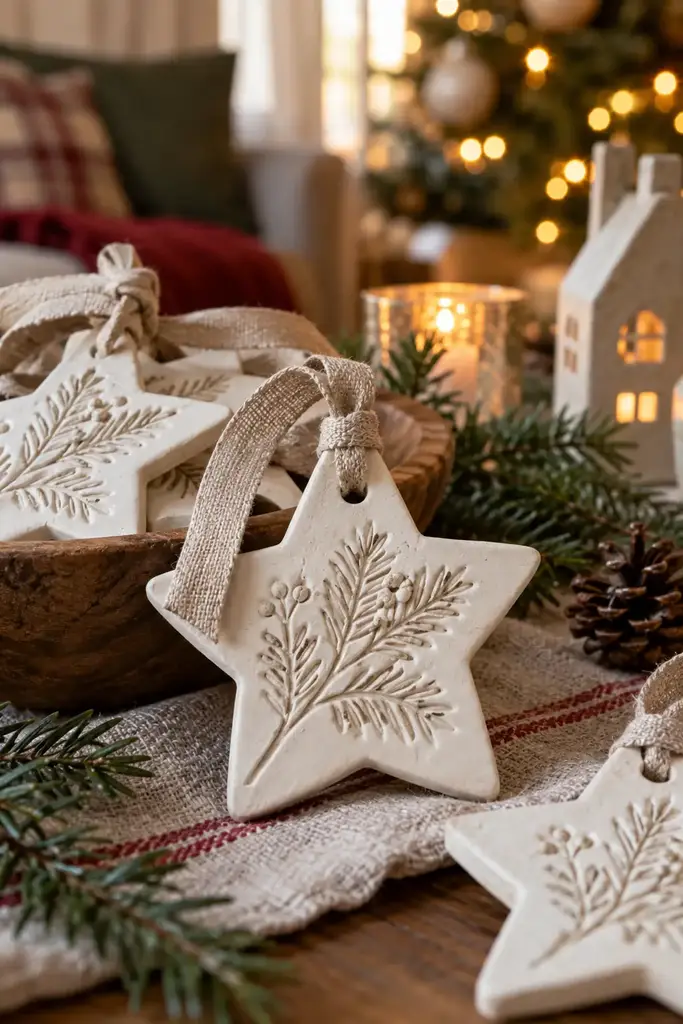
Pressed leaves create a detailed surface without needing hand-drawn patterns. The pale clay keeps the texture visible, making these ornaments useful as gift tags as well as tree decorations.
Roll the clay to an even thickness and press a clean sprig lightly into the surface. Remove it before cutting the outer shape. Make a hanging hole with enough clay around it to resist breaking, then dry or cure as directed.
2. Gingerbread-style clay houses
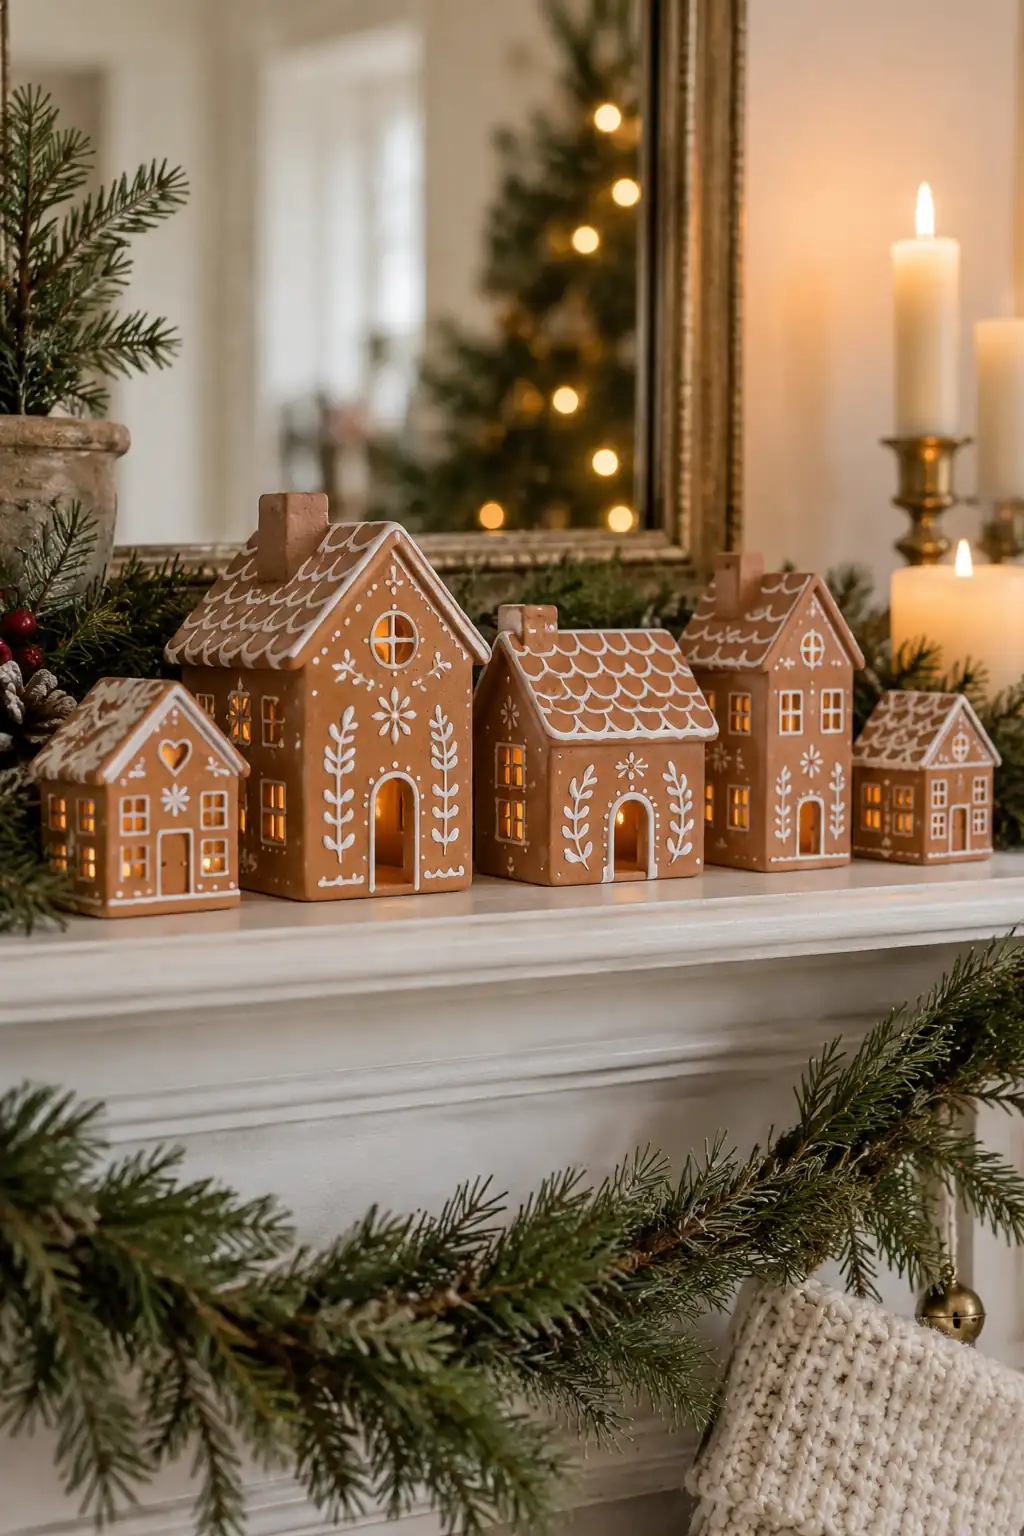
Brown walls and white lines give these houses the look of gingerbread while keeping them as lasting decorations. A varied roofline makes a small group more interesting.
Cut wall and roof templates before rolling the clay. Join pieces using the method suited to your clay, supporting the walls as they set. Add painted white details only after curing, and keep the finished houses clearly separate from edible treats.
3. Pinecone-textured bowl
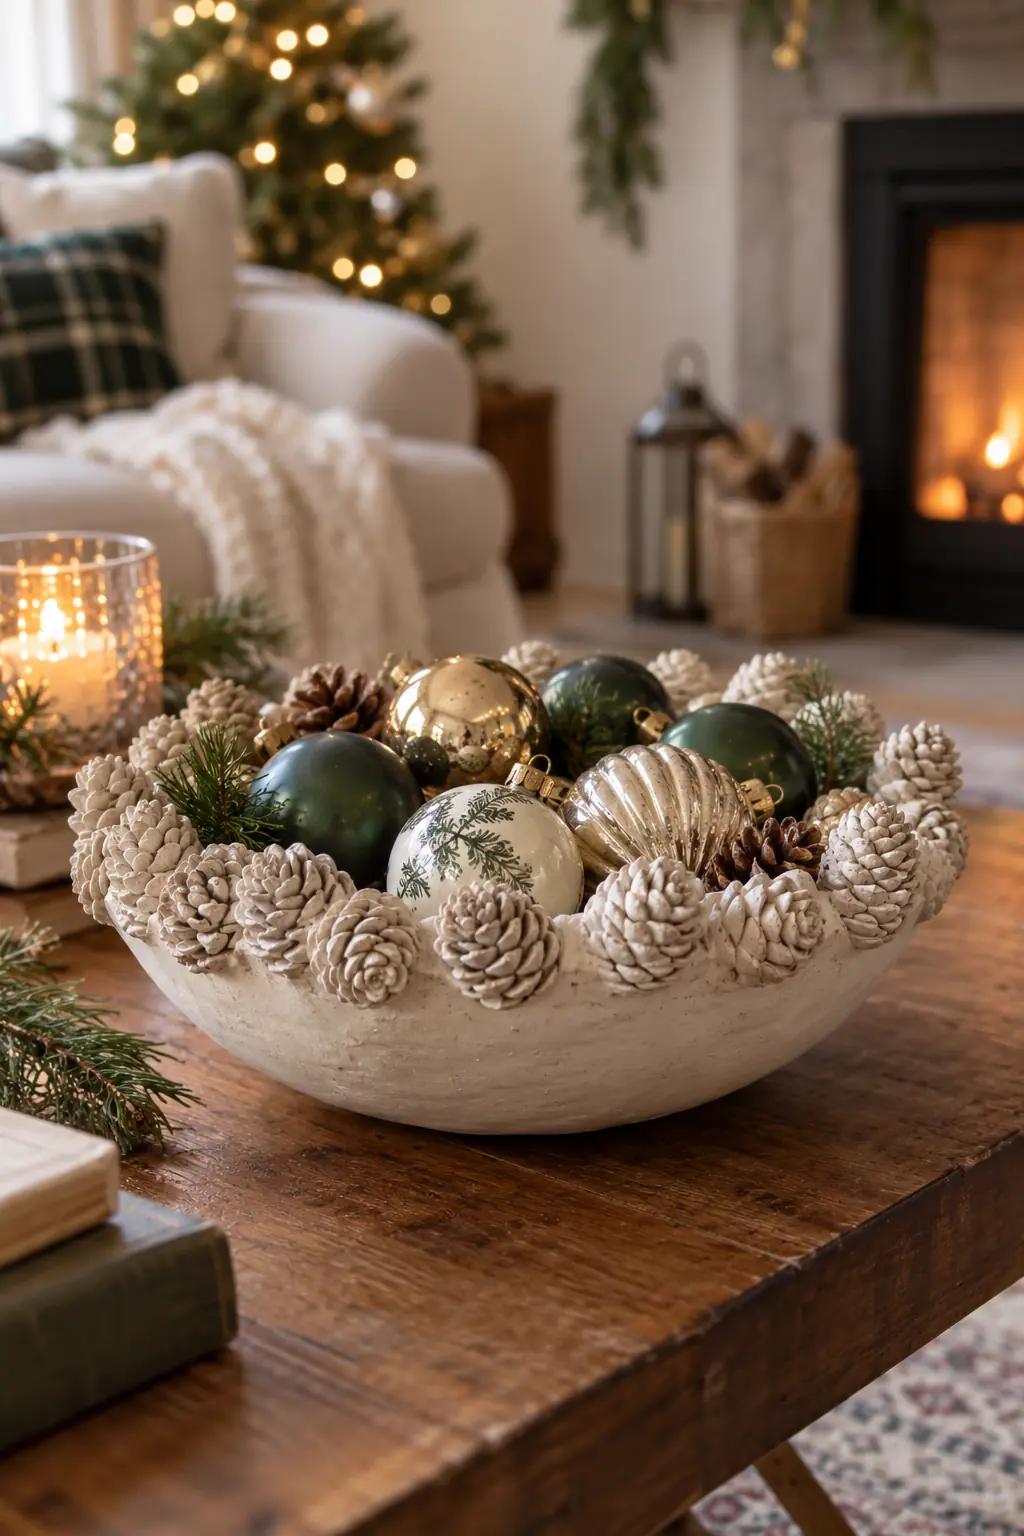
A textured rim gives this display bowl an organic shape. Filled with lightweight ornaments, it becomes a centerpiece without needing a smooth, perfect finish.
Shape the bowl over a suitable support according to the clay instructions. Add texture while the clay is workable, avoiding a rim that is too thin. Use it for dry decorations; do not assume a homemade coating makes it waterproof or food-safe.
4. White Christmas village
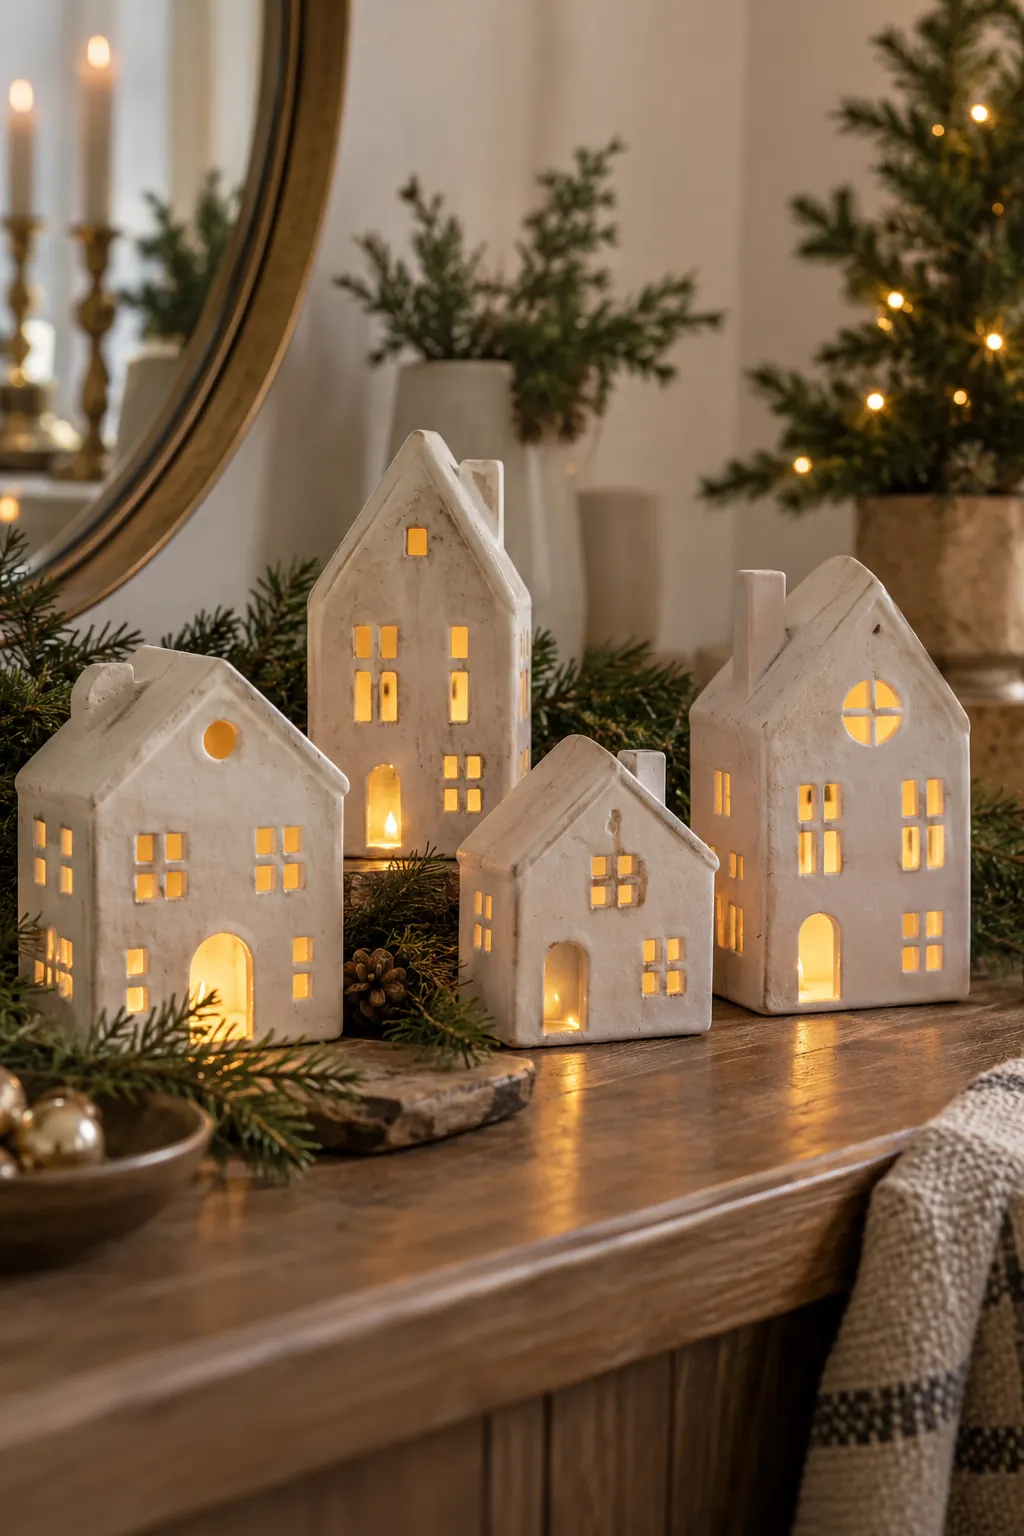
A group of pale houses creates a quiet display with a warm glow. Different heights and roof angles give the village depth even when every piece shares one color.
Plan openings before assembly and size each house around a removable battery light. Keep access at the back or base. Support the walls until firm, and avoid using a real flame inside a decorative clay structure.
5. Mitten garland
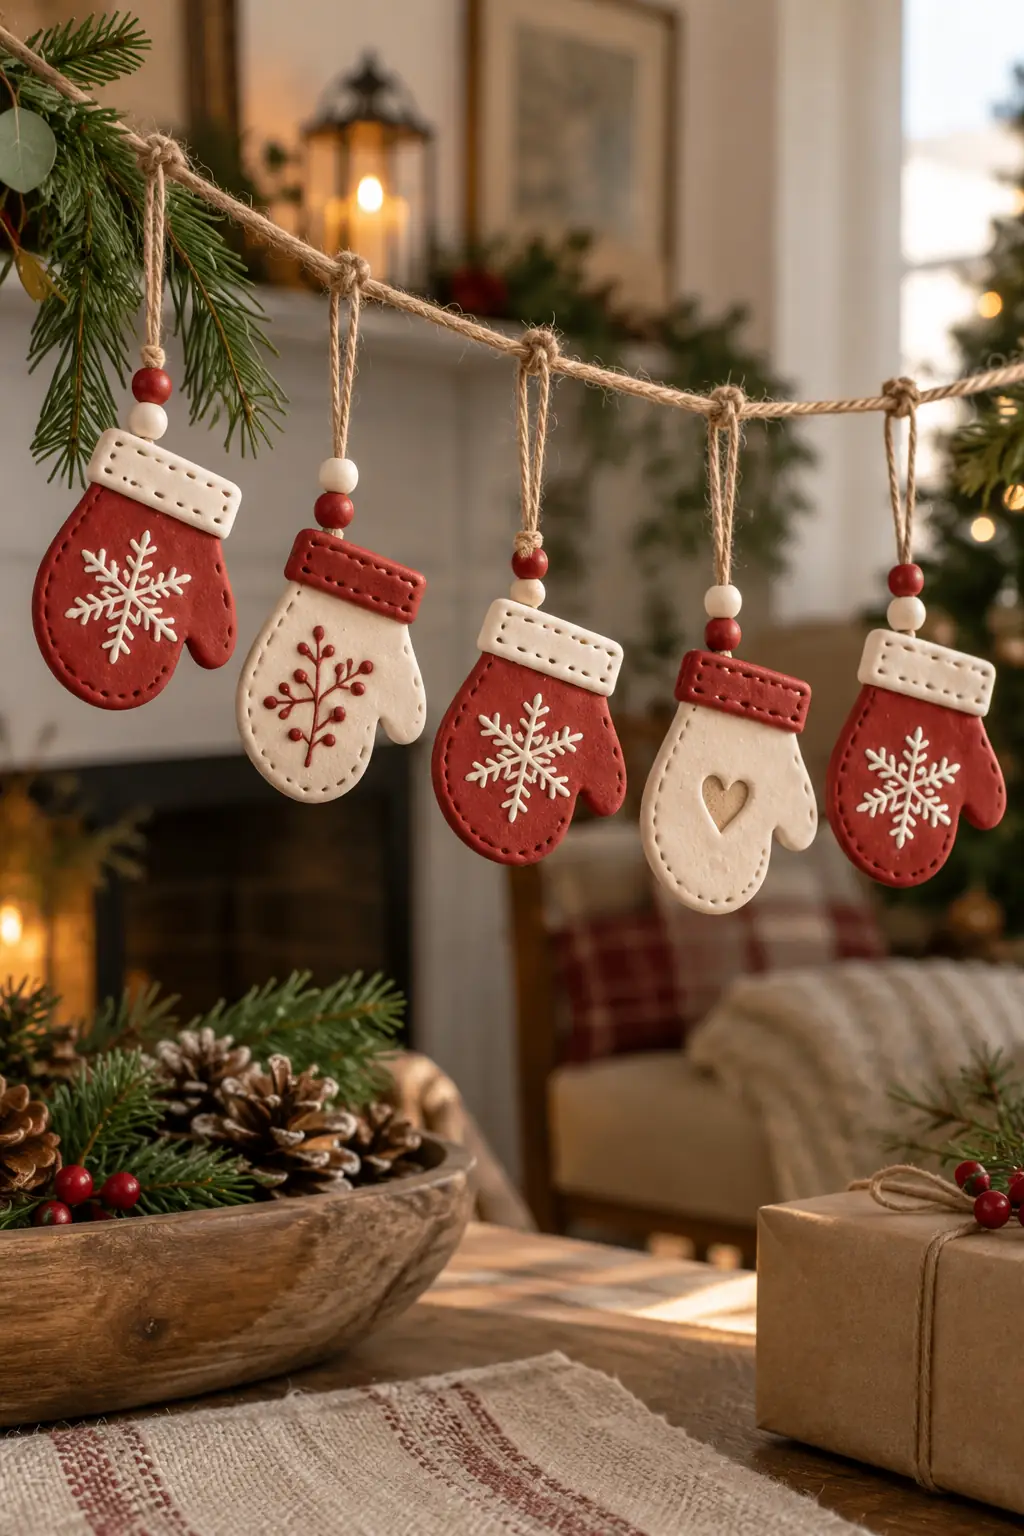
Small mitten shapes make a garland that can be painted in alternating colors. Raised cuffs and simple snowflakes provide enough detail without making each piece complicated.
Cut the mittens from one template and make two hanging holes near each cuff. Keep the pieces lightweight so the cord hangs comfortably. Paint after curing and leave a little space between mittens to reduce knocks and chips.
For a mixed-material afternoon, pair a clay project with these paper and felt Christmas crafts.
6. Holly napkin rings
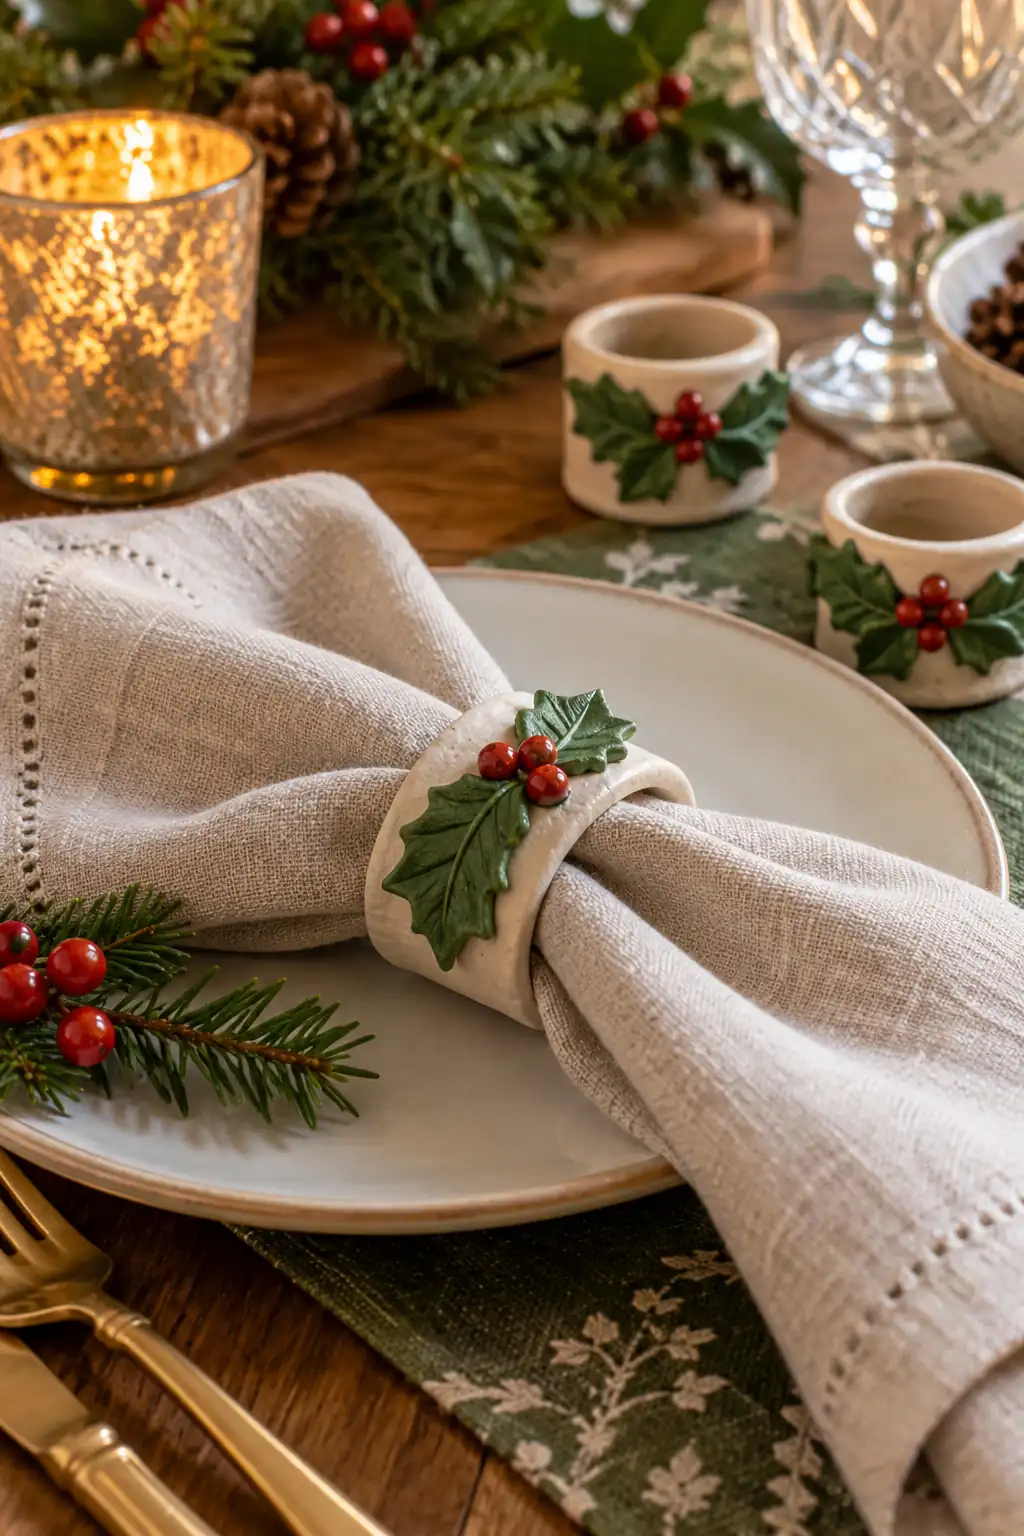
Holly shapes turn a plain ring into a seasonal table accent. The raised details are most effective when kept small enough that the napkin can still slide through.
Shape rings around a removable support suited to your material. Test the opening with a folded napkin before the clay hardens. Smooth the inside edge and attach the leaves firmly; keep this decorative clay away from direct food contact.
7. Snowman figurines
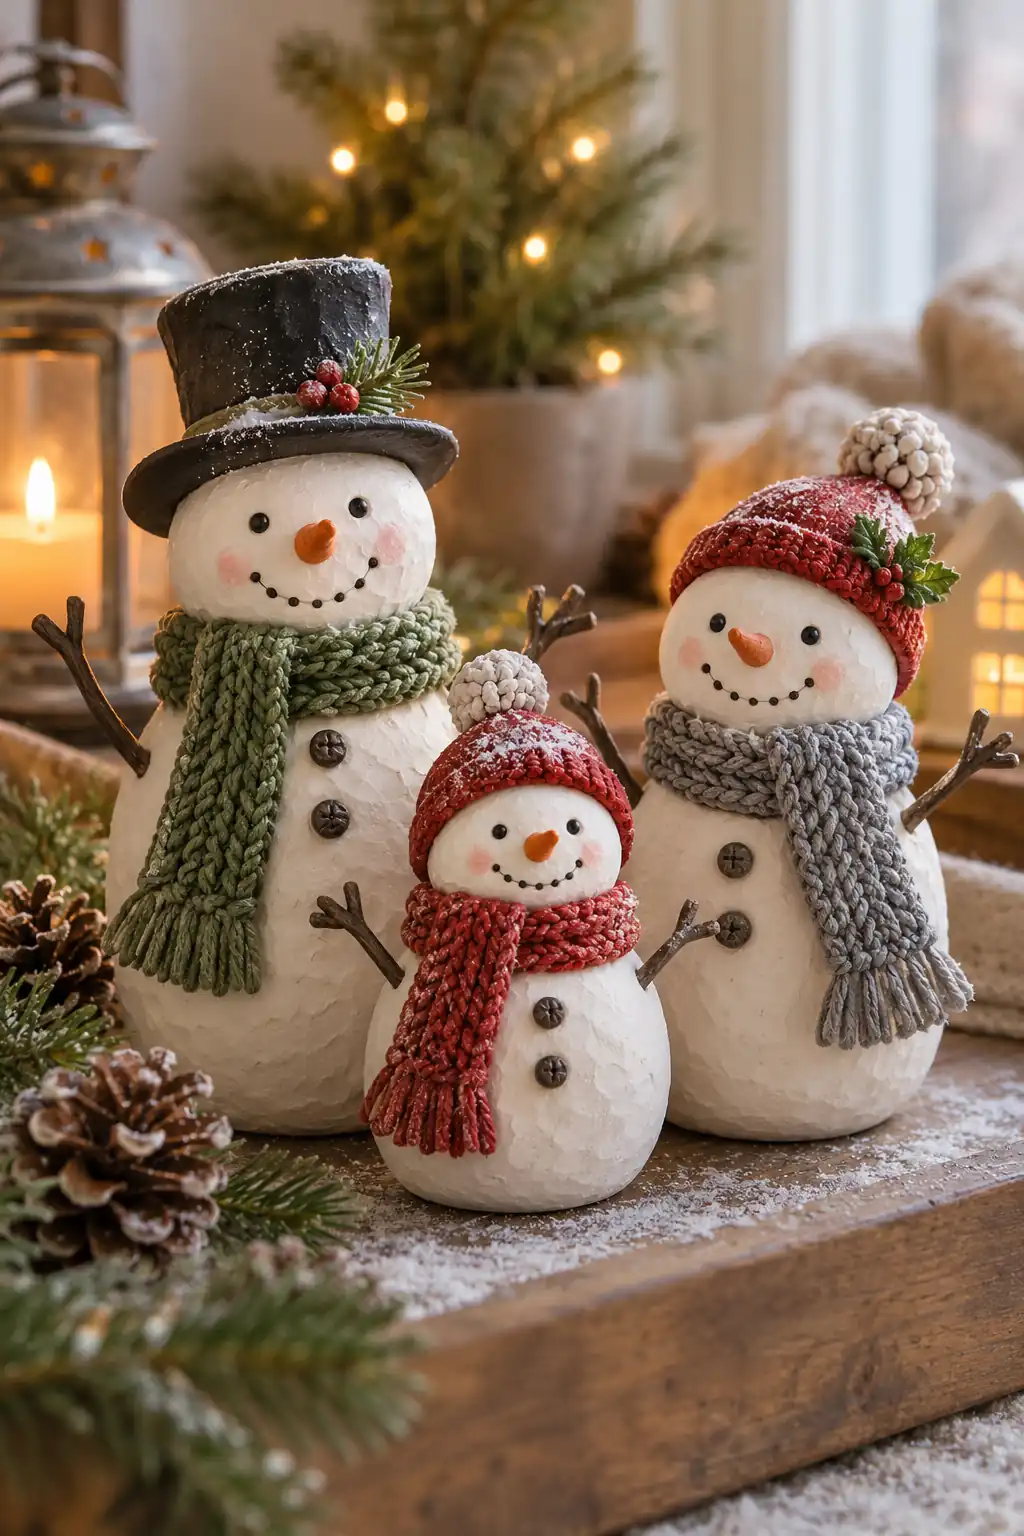
Different sizes make this group feel like a family. Textured bodies and bright scarves separate the figures without needing complex faces.
Start with stable, slightly flattened bases and join the body sections carefully. Add hats and scarves while the clay can still accept the attachment. Keep arms and other thin projections short, since they are easier to break during storage.
8. Hanging clay stars
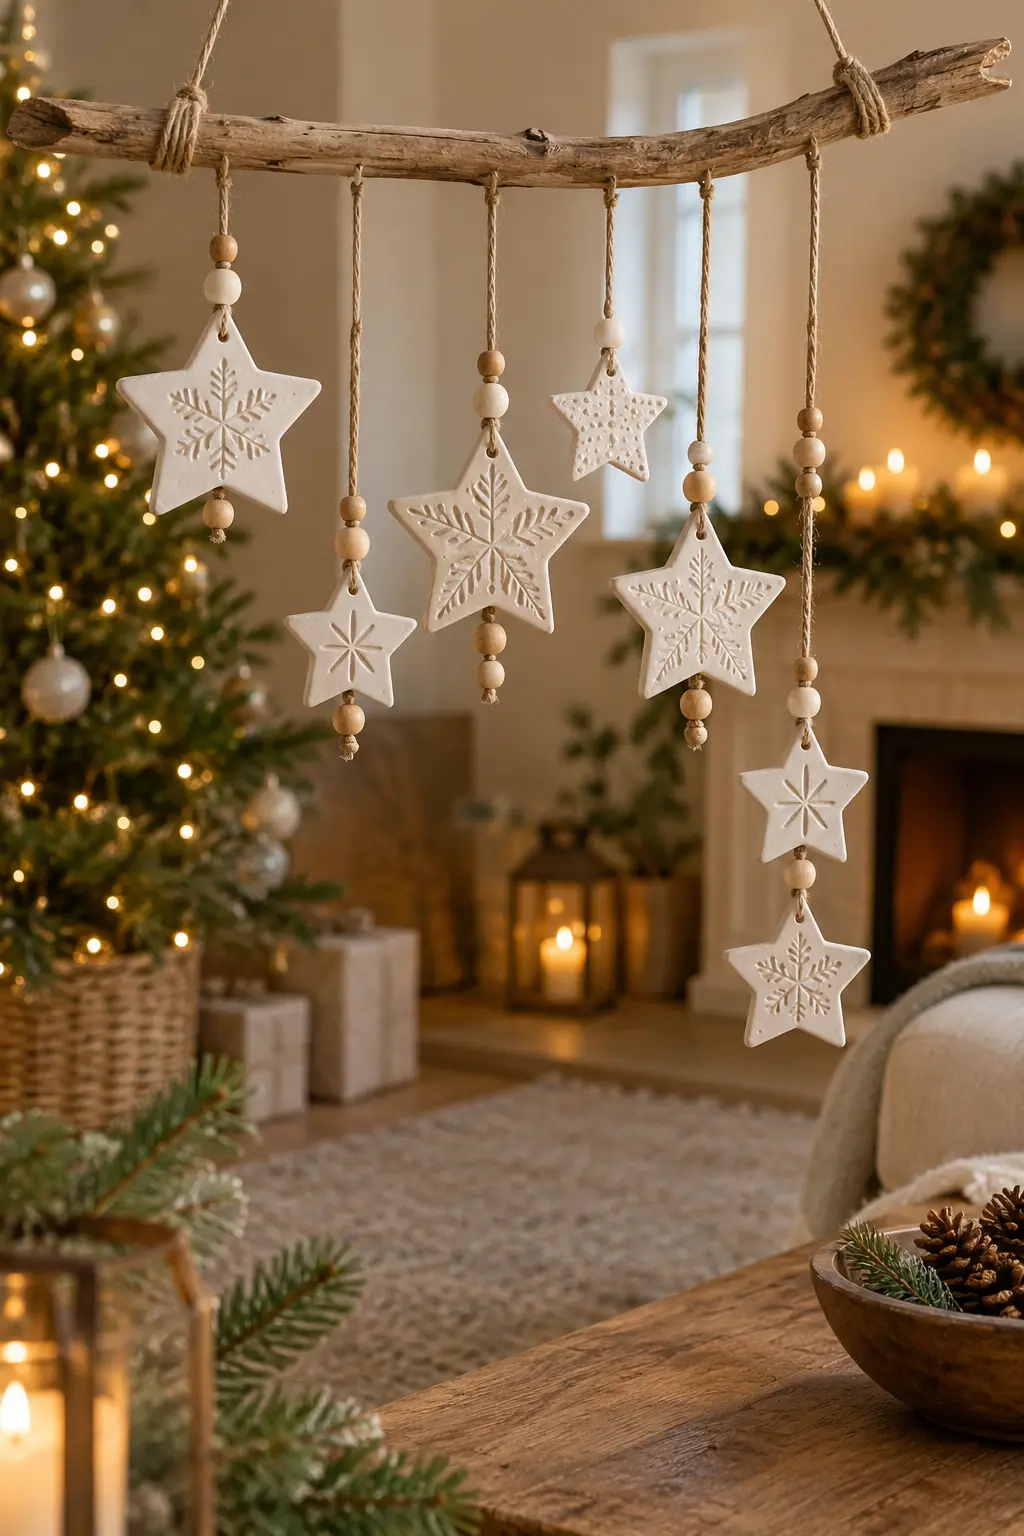
Stars in several sizes create a light wall display. A simple branch supports the shapes while the white surfaces keep the arrangement calm.
Cut even shapes and add hanging holes before curing. Test the branch support and tie each cord securely. Hang the finished piece as a wall decoration rather than over a cot or anywhere loose cords could be reached by children.
 You may also like20 DIY Christmas tree ideas made with everyday materials
9. Poinsettia trinket dish
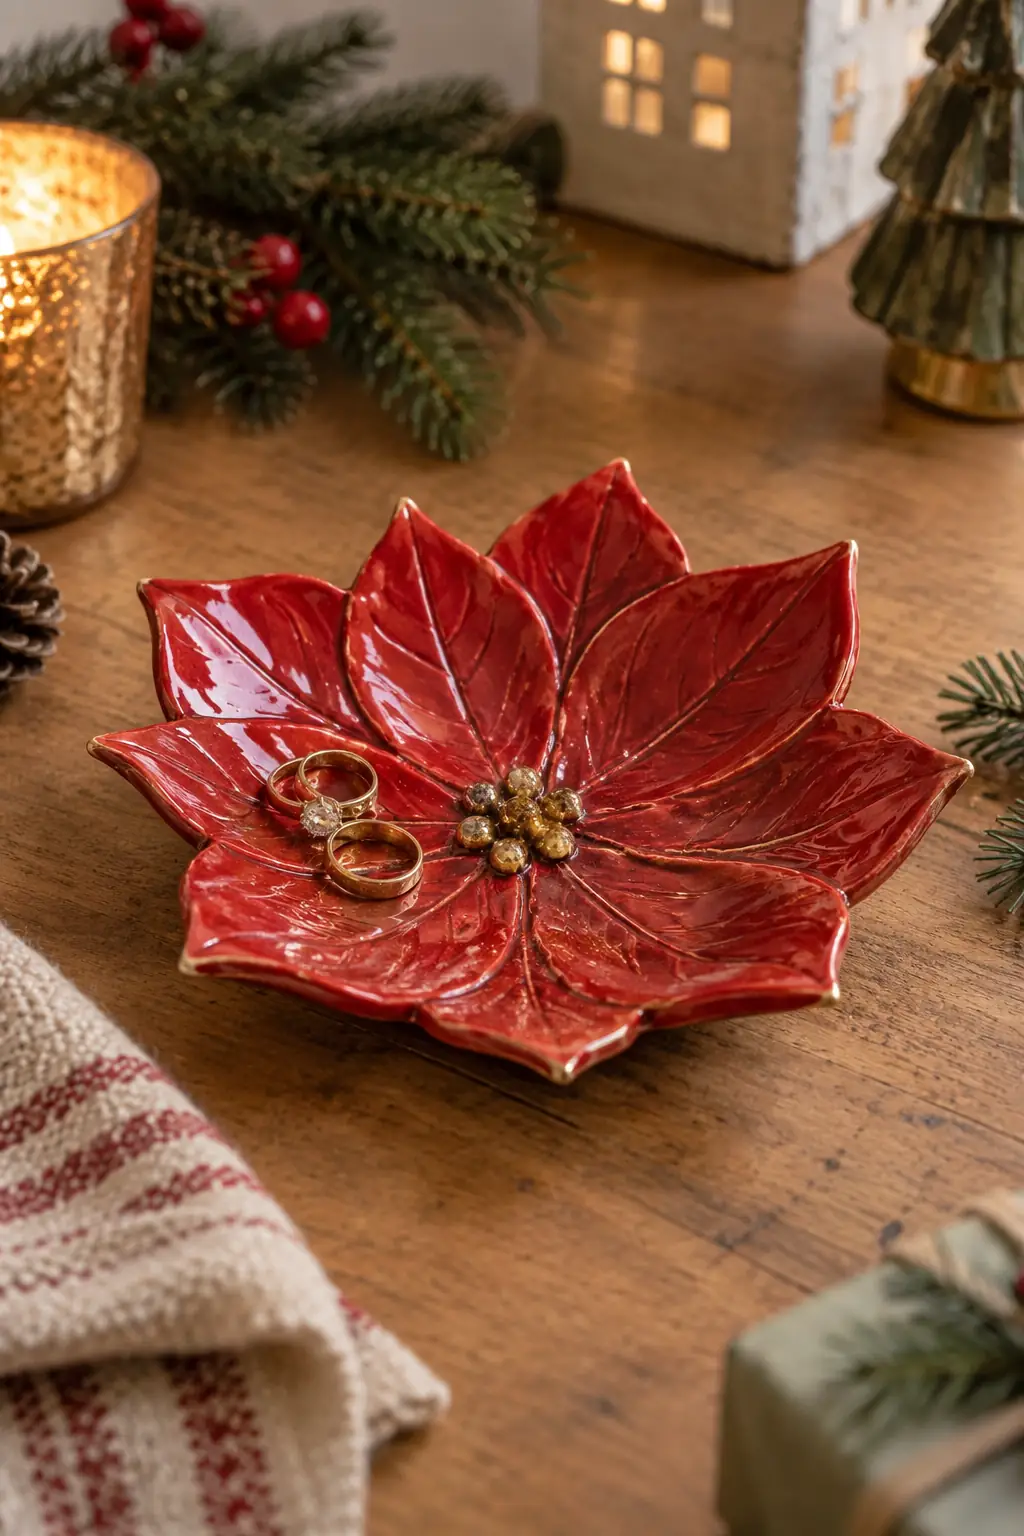
Layered petals make this shallow dish resemble a poinsettia. A few metallic accents at the center are enough to give the red surface contrast.
Form the petals over a shallow support and join their bases securely. Keep the outer points thick enough to handle. After curing and painting, use the dish for jewelry or small decorations rather than serving food.
10. Decorative Christmas bells
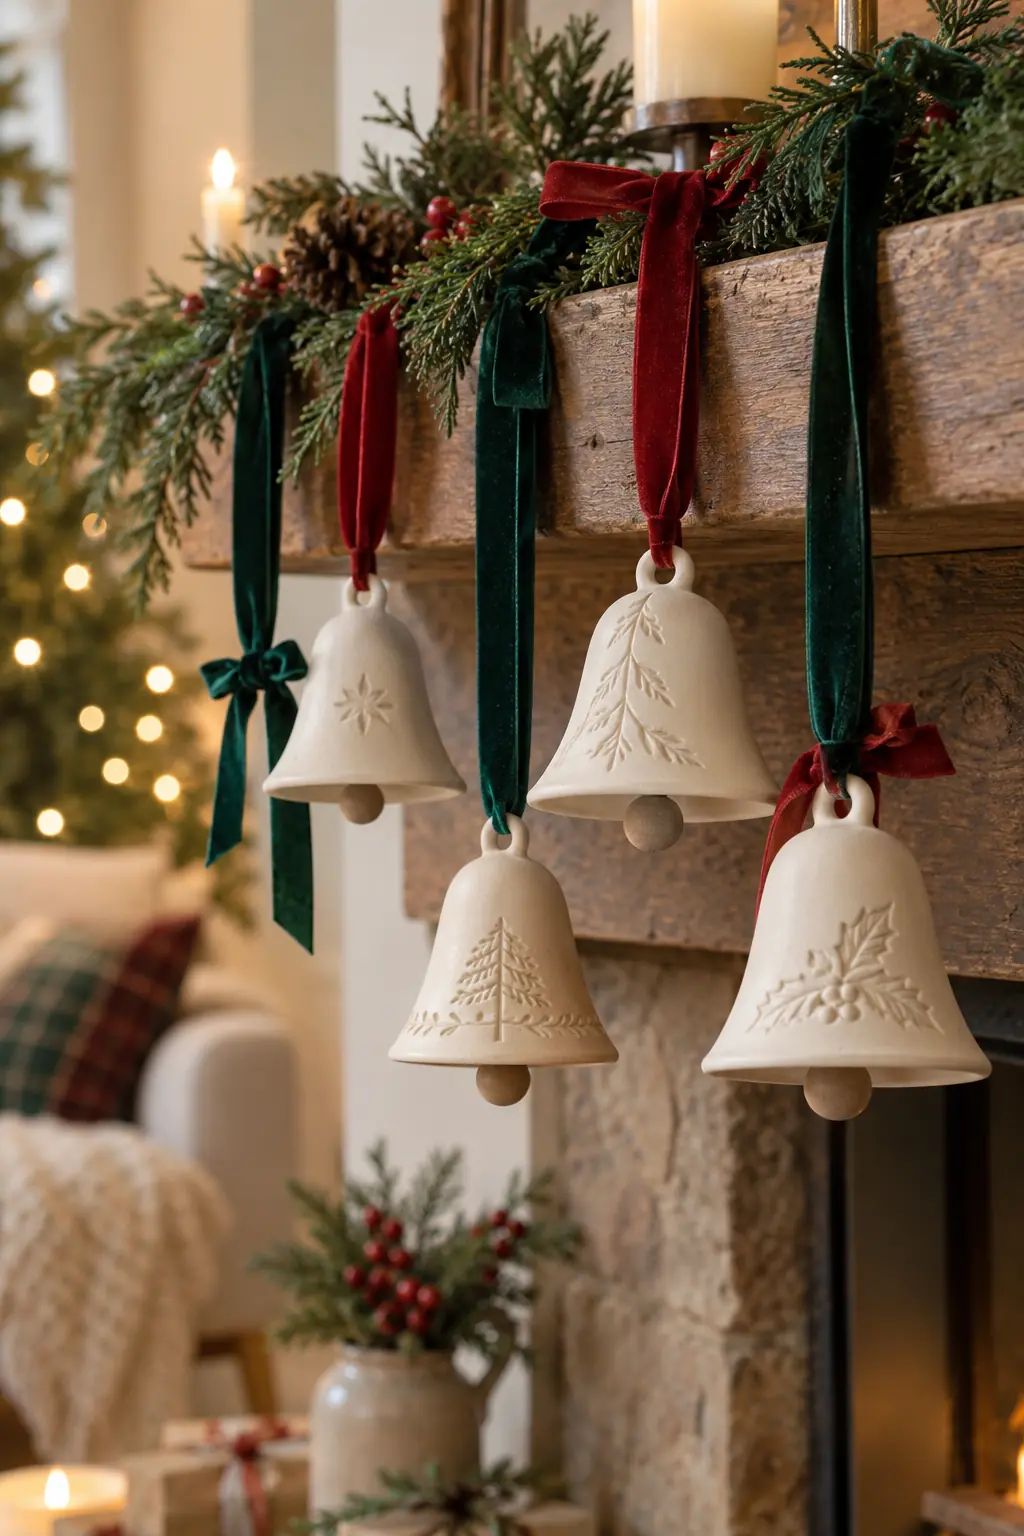
These bells work as visual decorations even if they do not ring. Their simple pale forms pair with textured ribbon and evergreen branches.
Shape each bell around a suitable removable support and leave a hanging hole at the top. Let it firm up before handling the rim. Hang with a secure ribbon and avoid relying on a fragile clay loop to support a heavy piece.
11. Reindeer ornaments
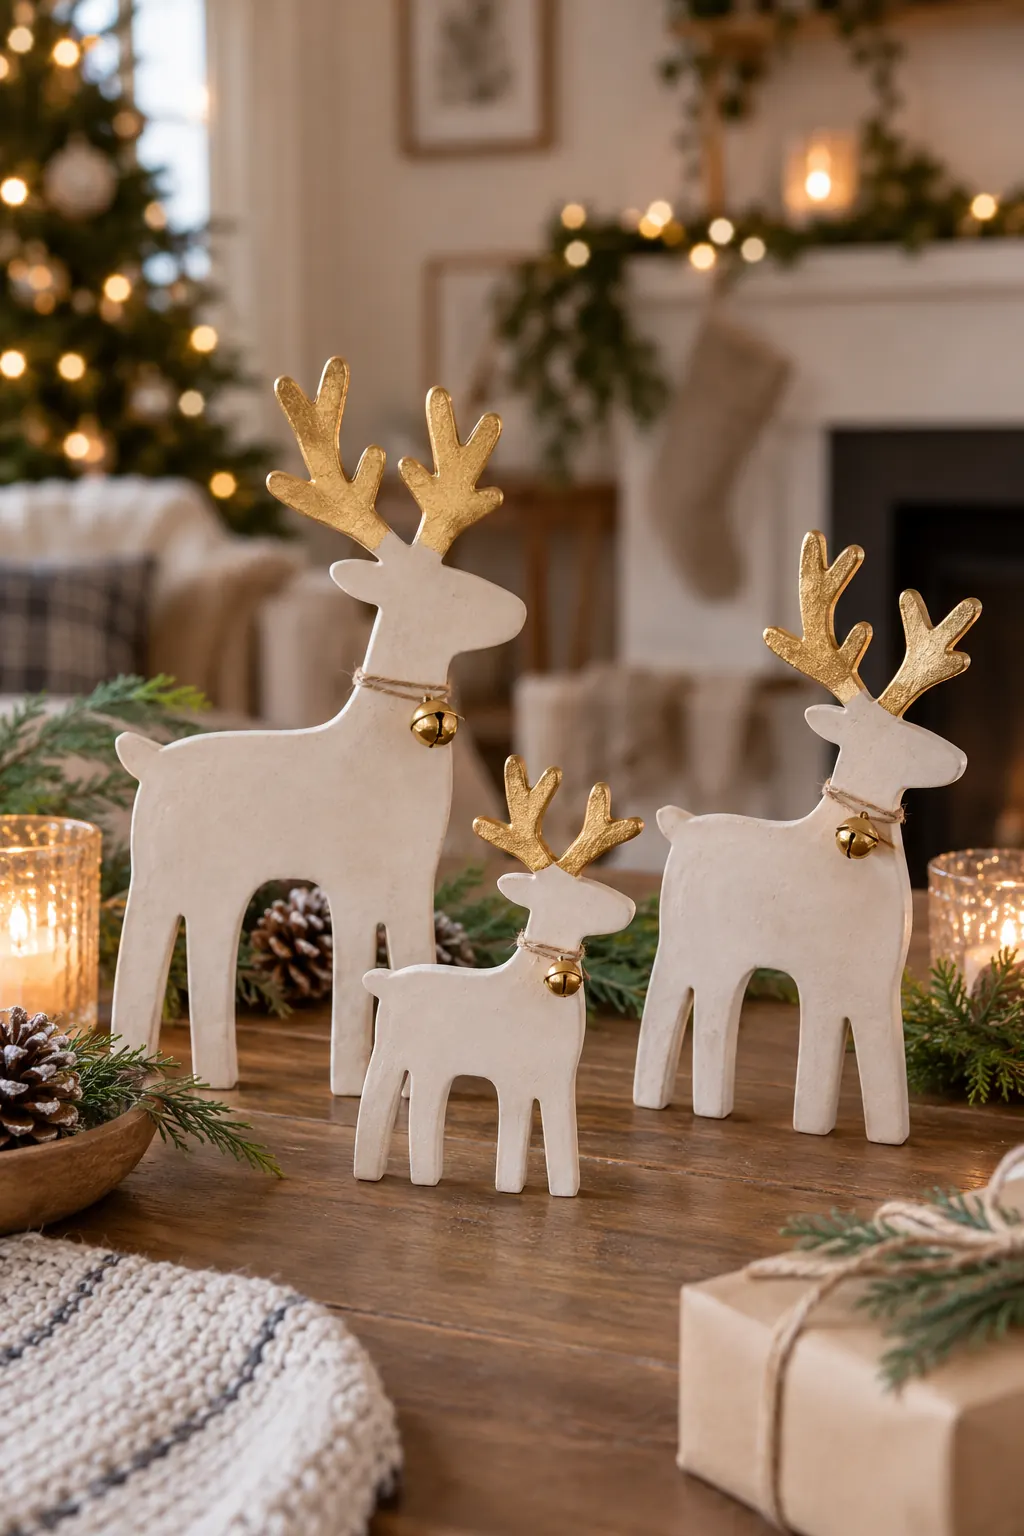
A clean silhouette makes these reindeer readable without much paint. The slender antlers are the most delicate part, so the design benefits from a simplified outline.
Use a template with broad legs and antlers rather than very fine projections. Cut and smooth the edges before curing. If hanging the deer, place the hole near its center of balance so it does not tilt sharply.
Small cured ornaments can join these DIY Christmas gift ideas; pack them so thin edges are supported.
12. Clay mushrooms for a winter scene
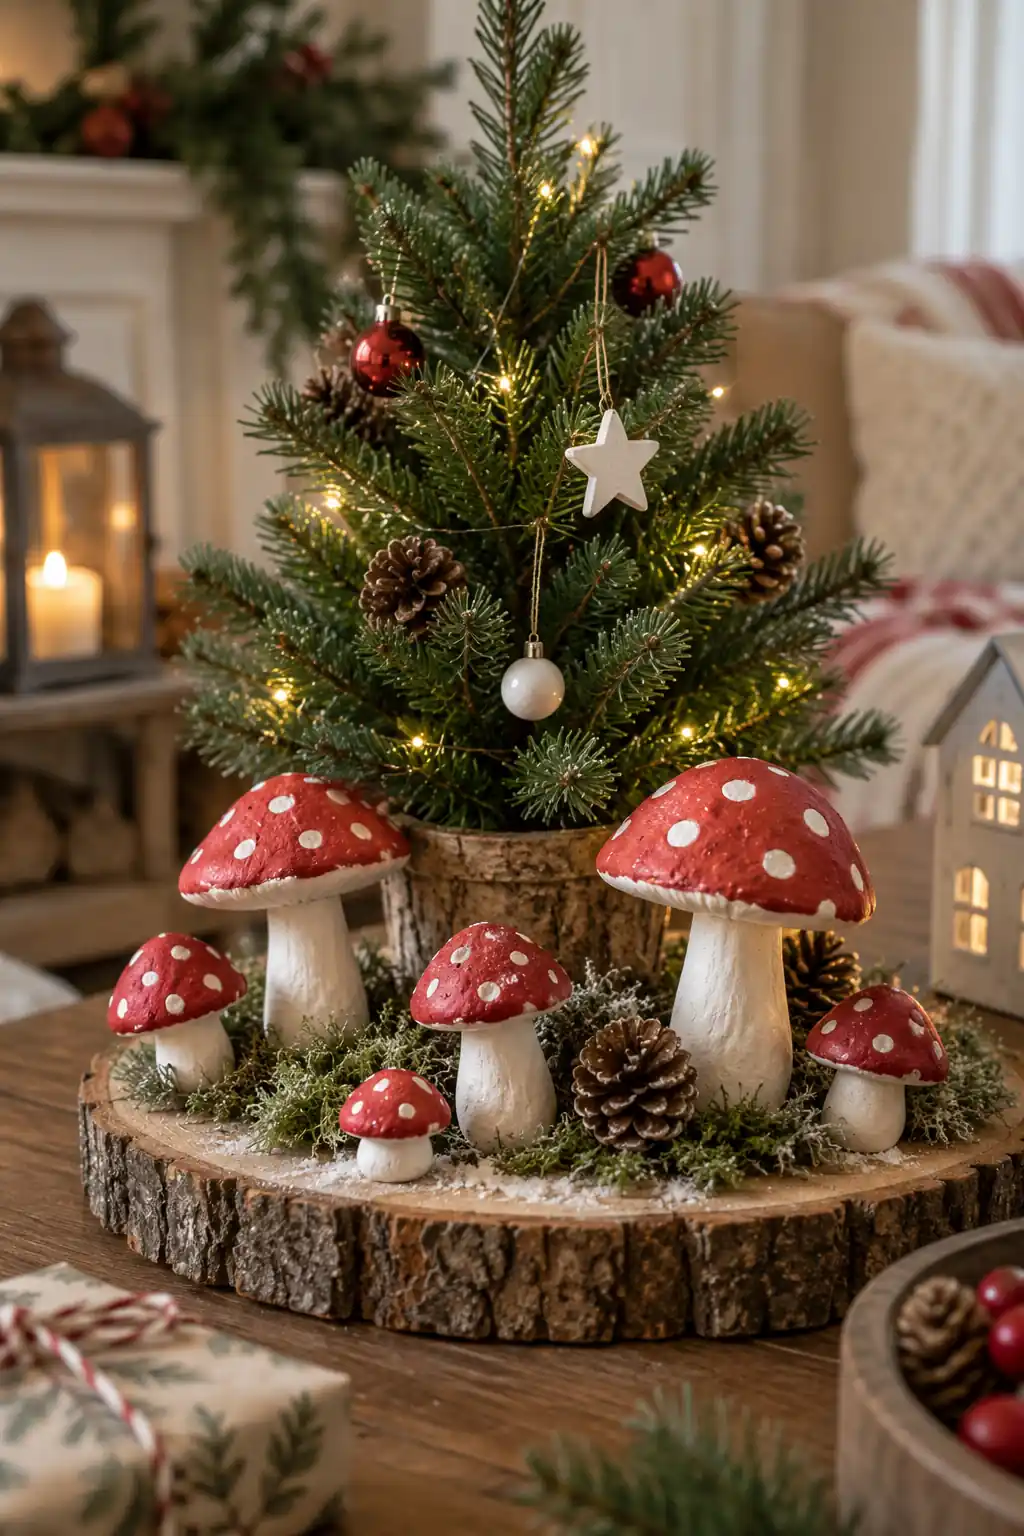
Small mushrooms add color beneath a tabletop tree or within a woodland display. Varying their height gives the group more depth.
Shape sturdy stems and attach the caps with the joining method for your clay. Make flat bases so the mushrooms stand securely. Paint the red caps after curing and treat the finished pieces as ornaments, keeping them away from edible food displays.
13. Twisted candy-cane ornaments
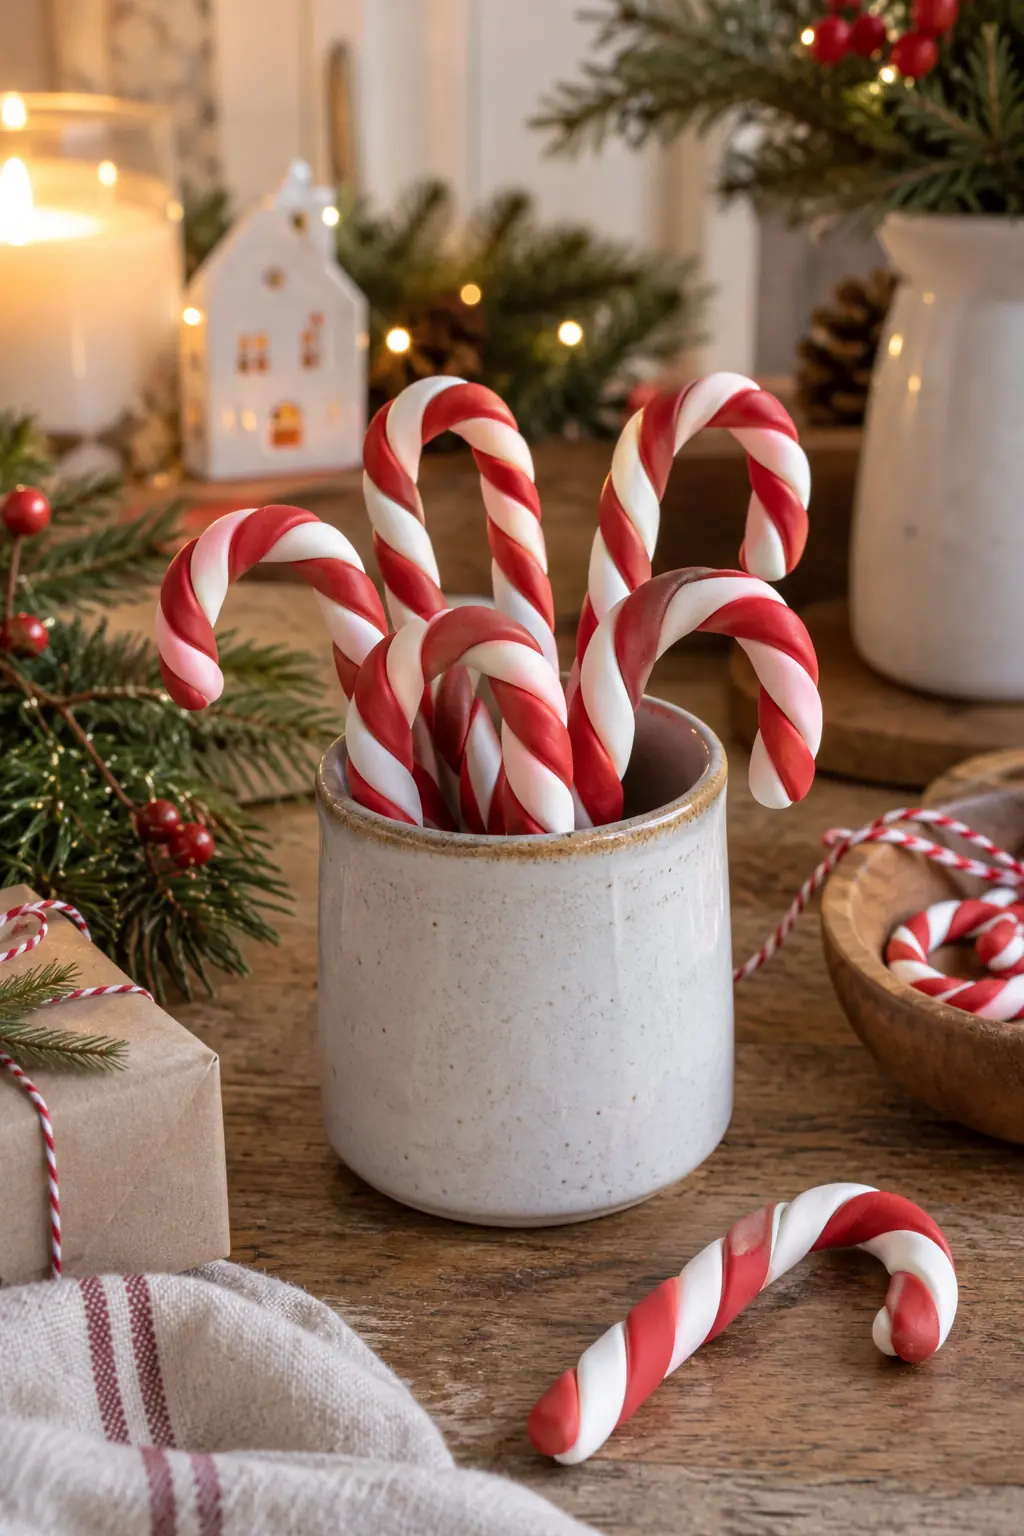
Alternating colors create a recognizable Christmas shape with a simple curve. The repeated canes can decorate a tree or sit together in a small container.
For colored clay, twist two even ropes gently before bending the top. For plain clay, paint the stripes after curing. Make a hanging hole if needed and avoid very thin bends that may snap. These are decorative, not edible.
14. Textured sweater ornaments
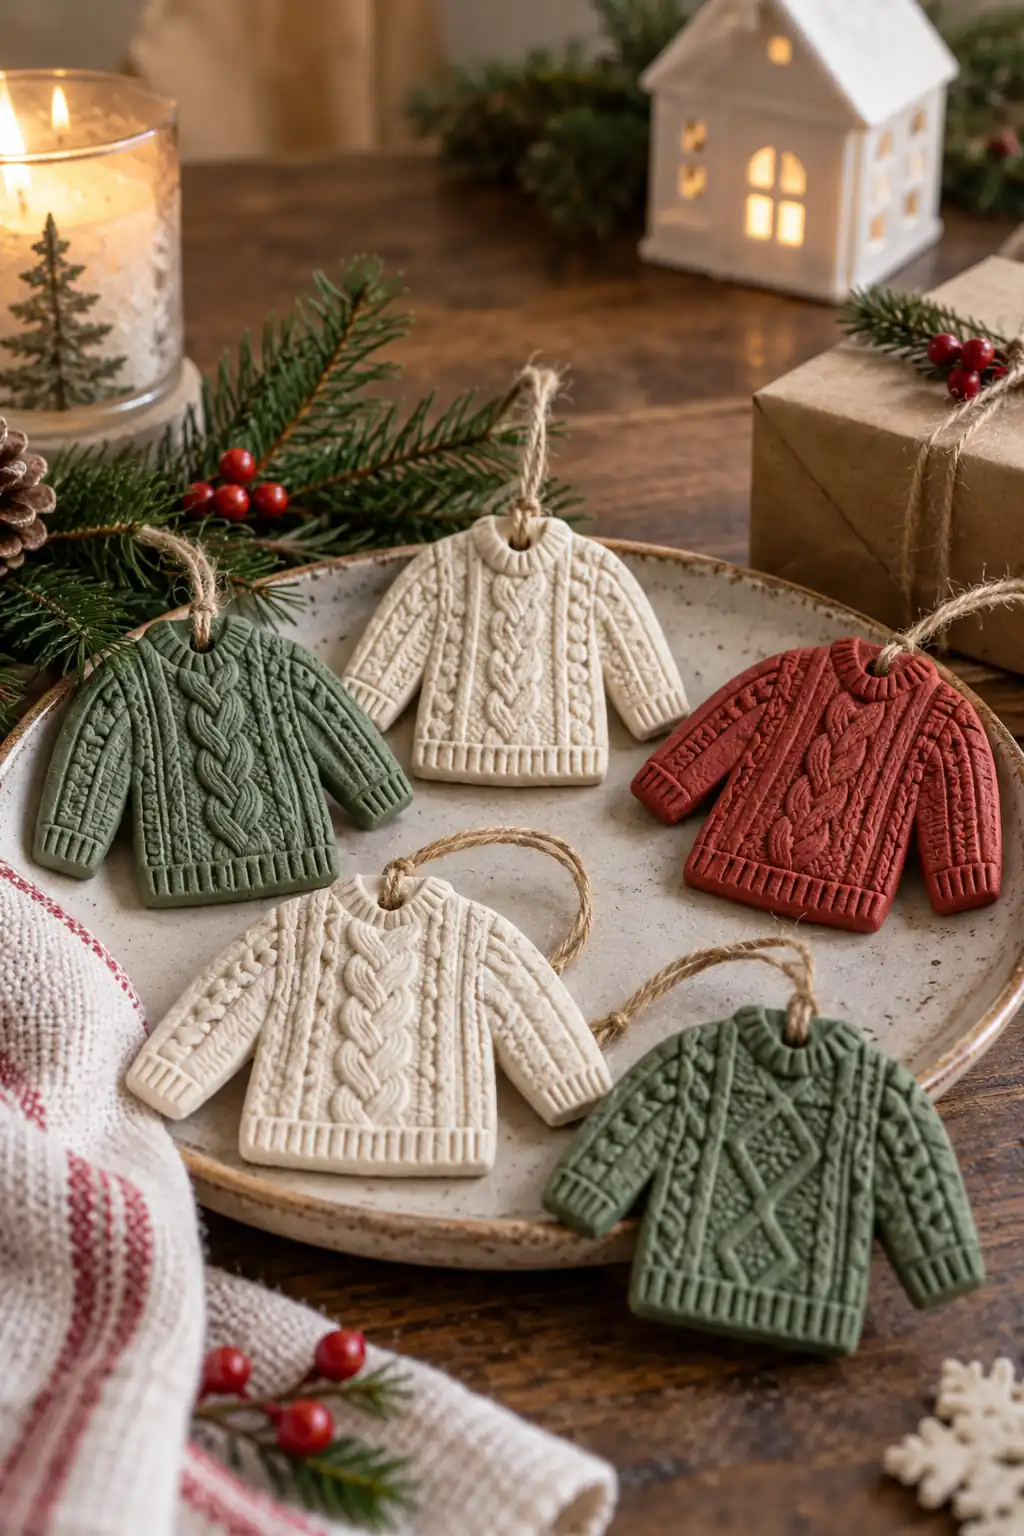
Pressed or carved lines make the clay resemble knitted fabric. The little sweater silhouette offers room for simple patterns without needing a full three-dimensional figure.
Cut the body and sleeves as one piece to reduce weak joins. Add texture with a suitable tool, pressing lightly rather than cutting through. Place the hanging hole near the neckline and smooth the edges before curing.
15. Mini tree place-card holders
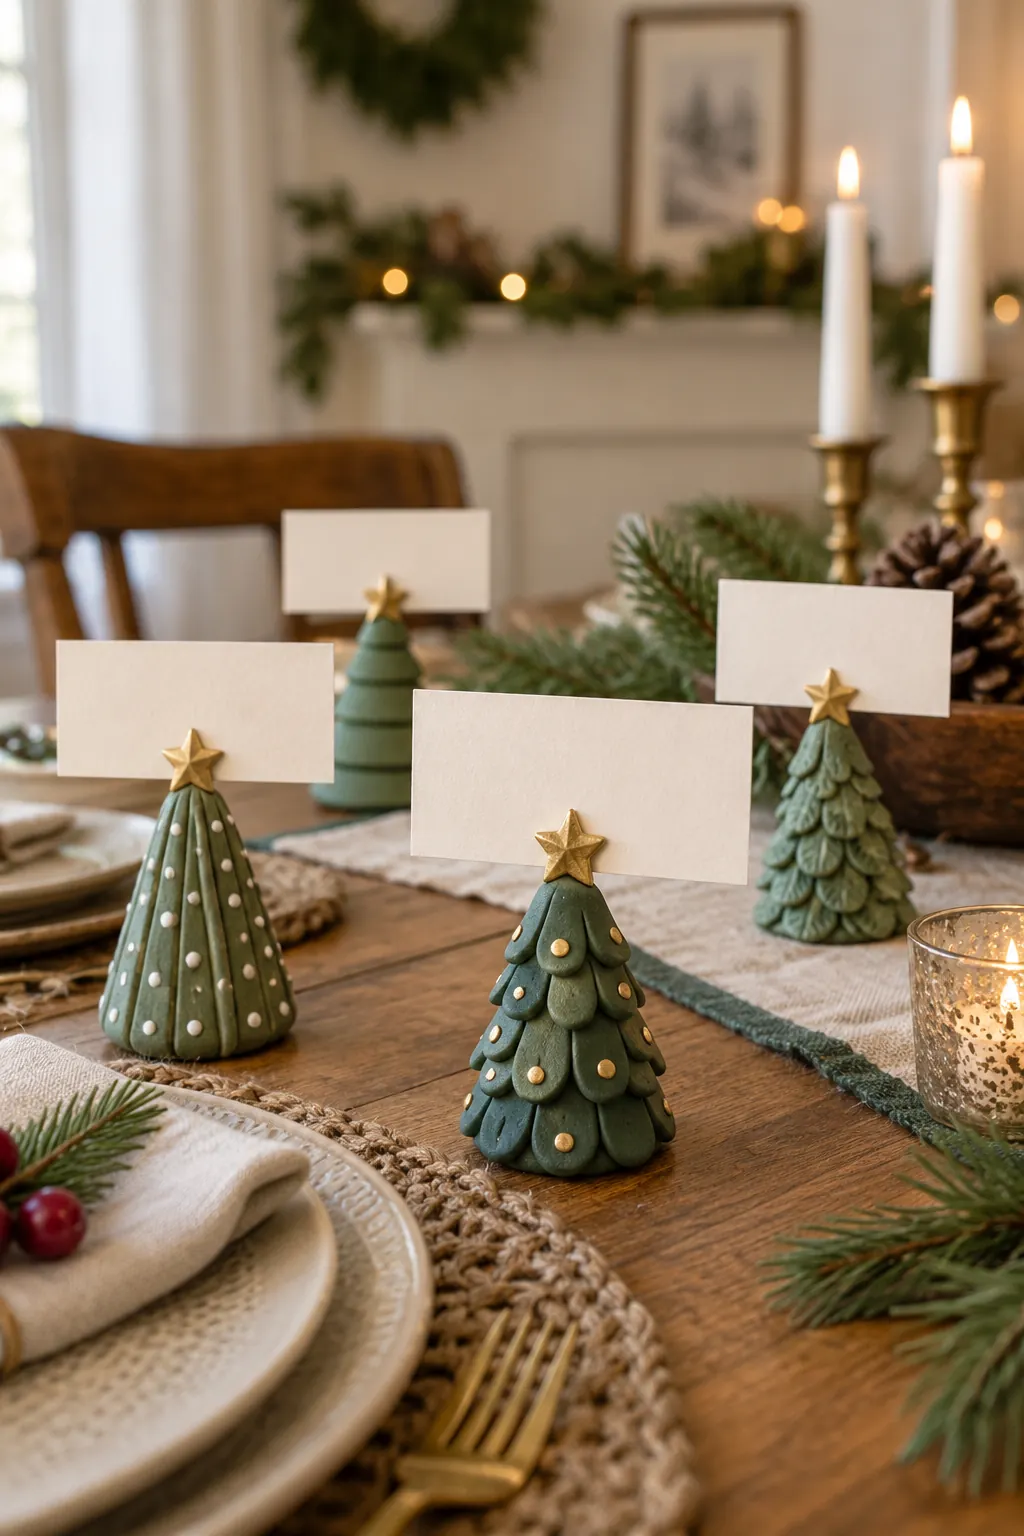
A small tree can mark each guest’s seat while doubling as a keepsake. The card sits above the decoration, so the name remains easy to read.
Build a broad base and cut the card slot before the clay hardens. Test the slot with the same cardstock you will use at the table. Keep the tree short enough that it stays stable when a card is inserted.
16. Winter village under a dome
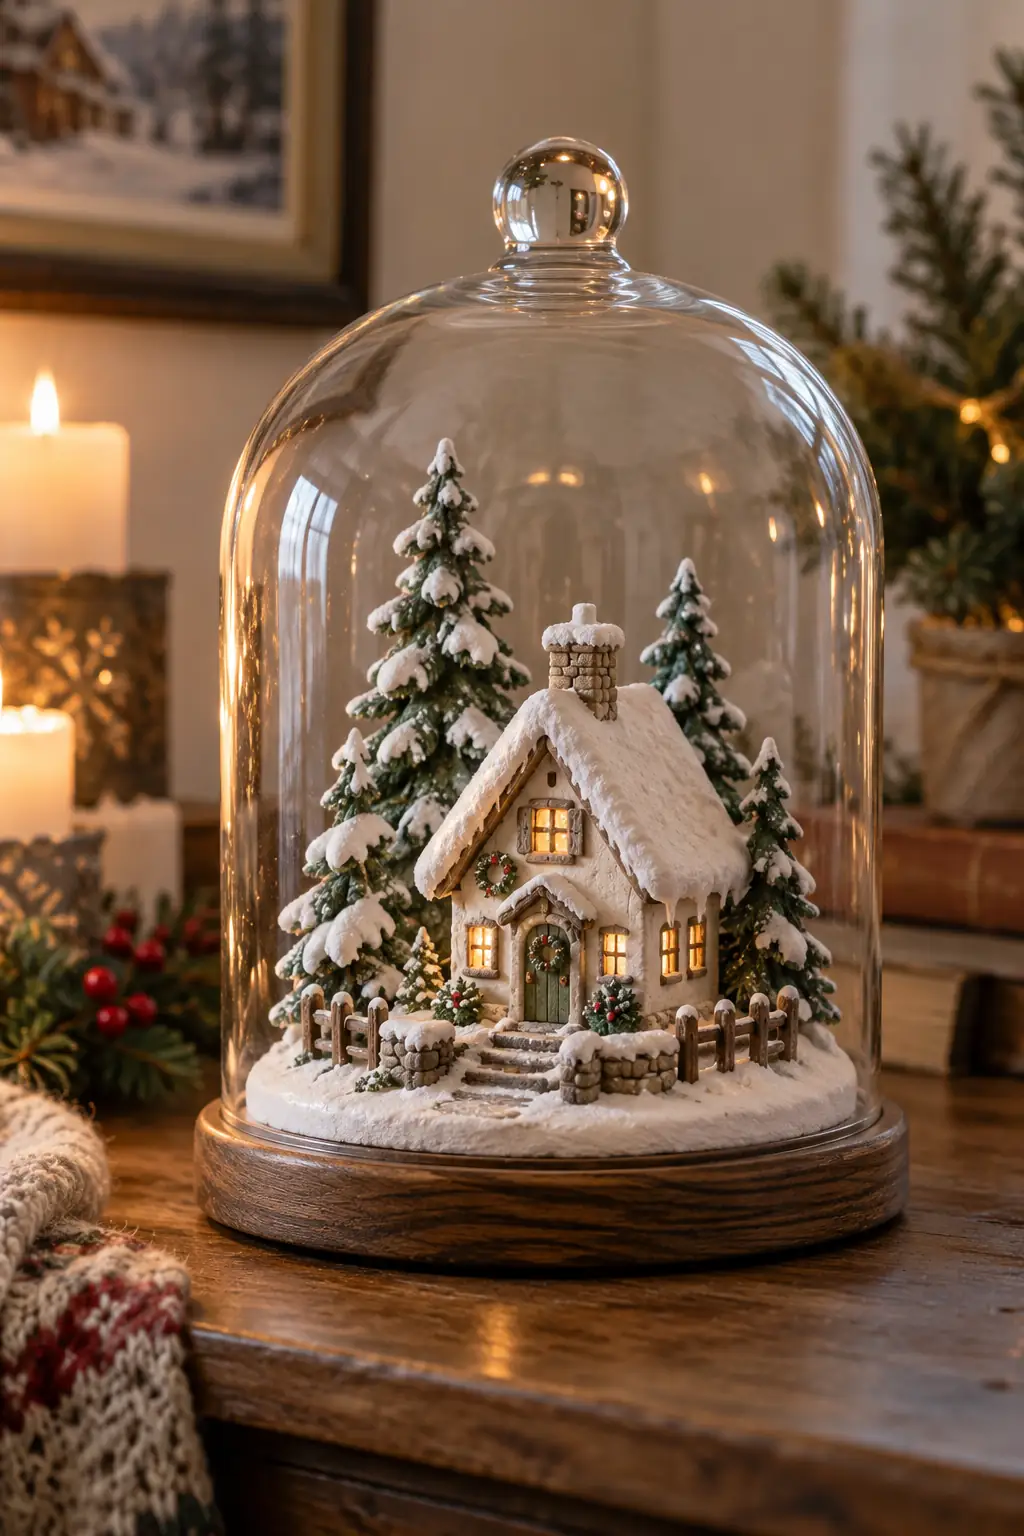
The cover gathers several small pieces into one contained scene. A house, a few trees and a pale base are enough to suggest a winter landscape.
Measure the inside of the dome before making any pieces. Dry and finish the clay completely before enclosing it. Arrange the scene on a removable base, leaving enough clearance that the roof does not touch the glass.
17. Stocking-shaped decorative vase
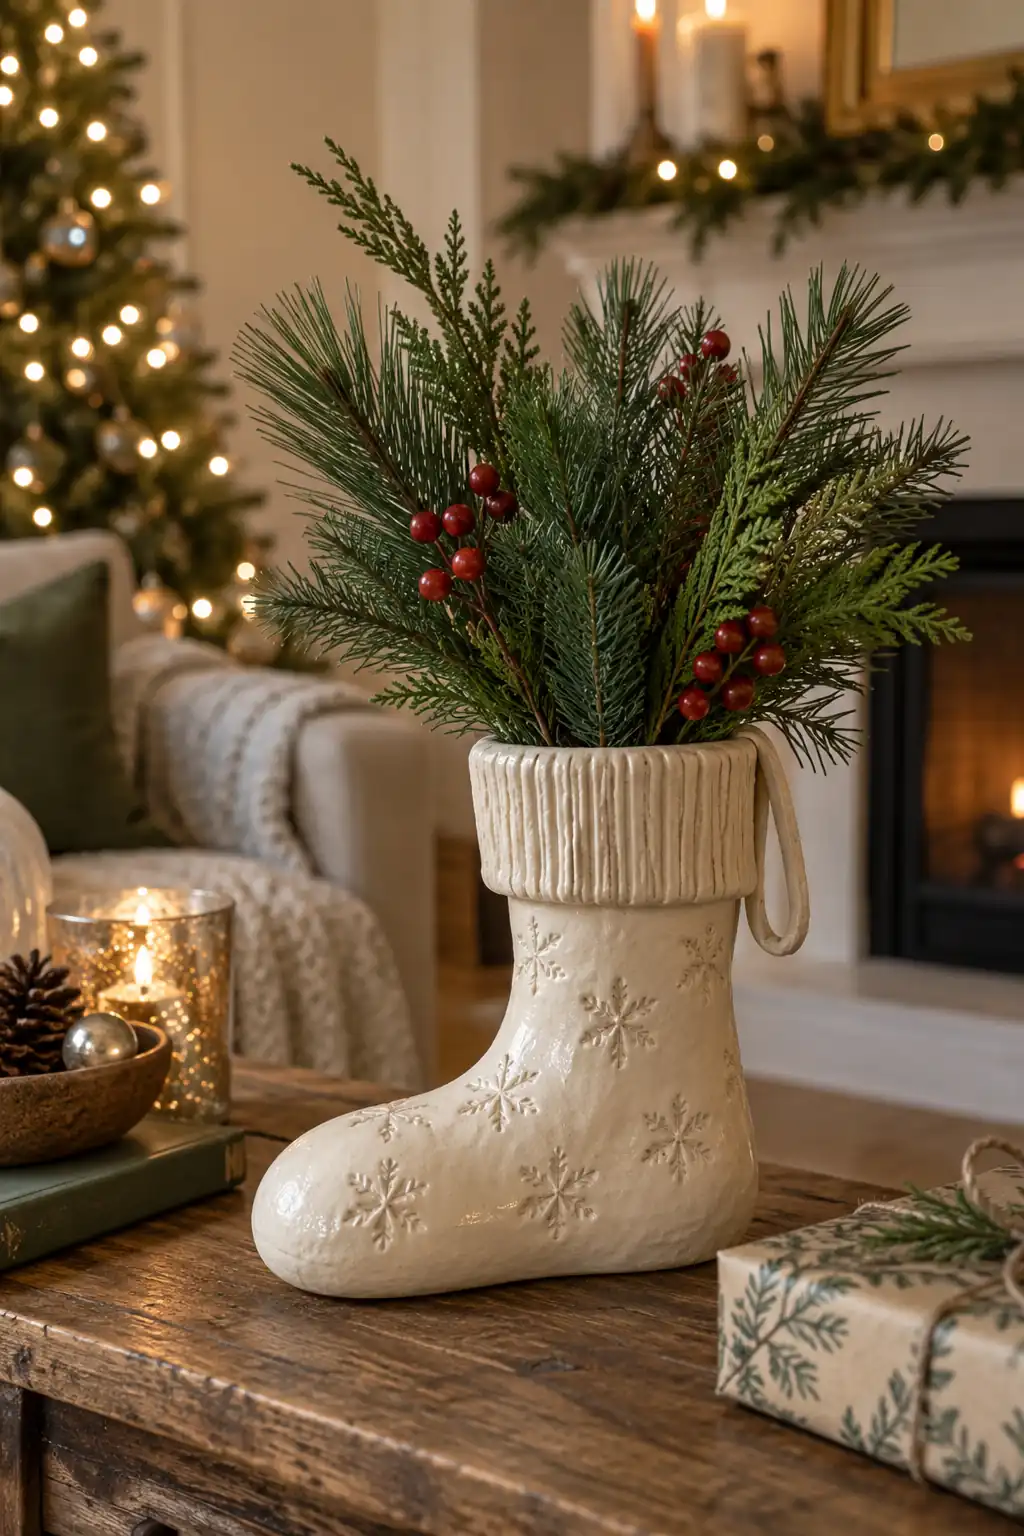
The stocking shape makes the container festive before any greenery is added. A textured cuff gives it the look of knitted fabric.
Build a wide, stable base and support the sides as they set. Use dry or faux stems unless the finished material is genuinely watertight. For fresh greenery, place a separate watertight insert inside rather than letting water touch air-dry clay.
Place a finished village within one of these Christmas mantel arrangements, respecting any fireplace clearances.
Before drying, curing and displaying clay
Make one test piece before producing a set. Keep thickness even where possible, add hanging holes before the clay hardens and allow the full drying or curing time. Treat homemade dishes as decorative unless the complete clay and finish system is specifically suitable for food use. Use removable battery lights inside houses.

Written by Stephanie Fallis
Mom and homemaker who shares budget friendly DIY projects, decorating tips and gardening ideas for busy families.
More about me → Christmas ideas19 Christmas Jewelry Ideas That Are Simple to Make
 Christmas ideas12 DIY Christmas Costumes That Are Easy to Make
 Christmas ideas15 DIY Christmas Wreath Ideas Using Greenery, Paper and Yarn